

Materials need:
- PLUS Air Dry Clay
- Pencil or a wooden skewer
- Cheese cutter
- Buttons, stamps or anything with a good texture
- Clear acrylic spray to seal
- Cooking Spray
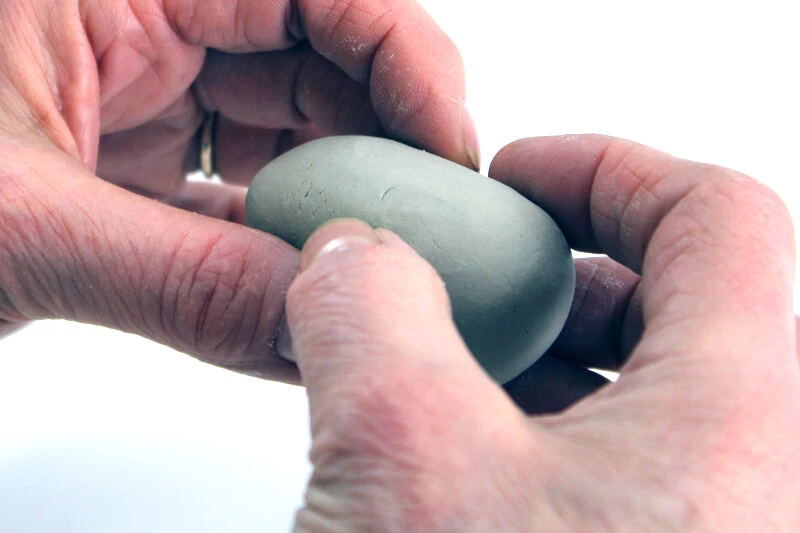
Step 1:
Pull or cut a piece of PLUS Air Dry Clay off about the size of a walnut. Without over-working the clay, shape the clay into a ball by rolling in between hands.
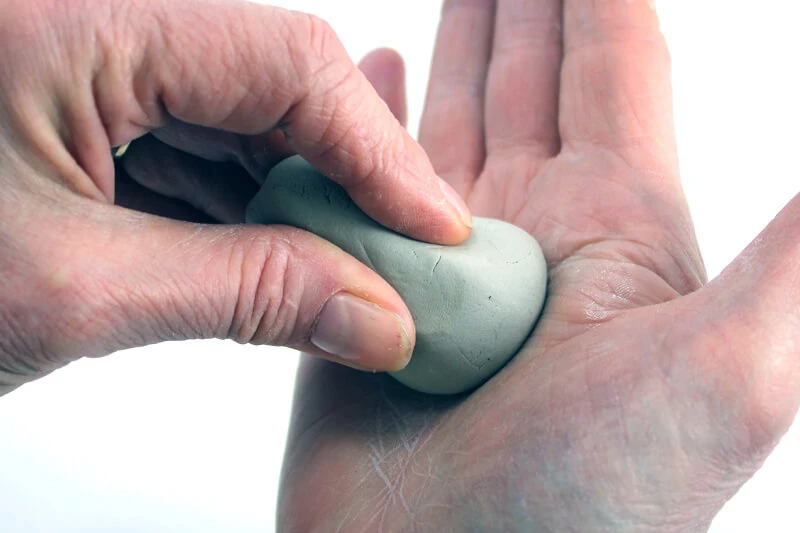
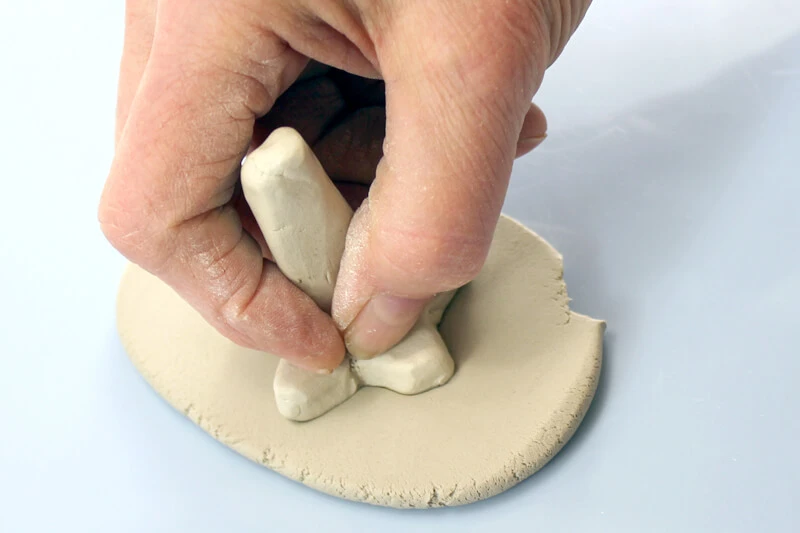
Step 2:
Begin forming the handle of the stamp by grasping ball in the middle and pulling and rolling a handle or doorknob shape.
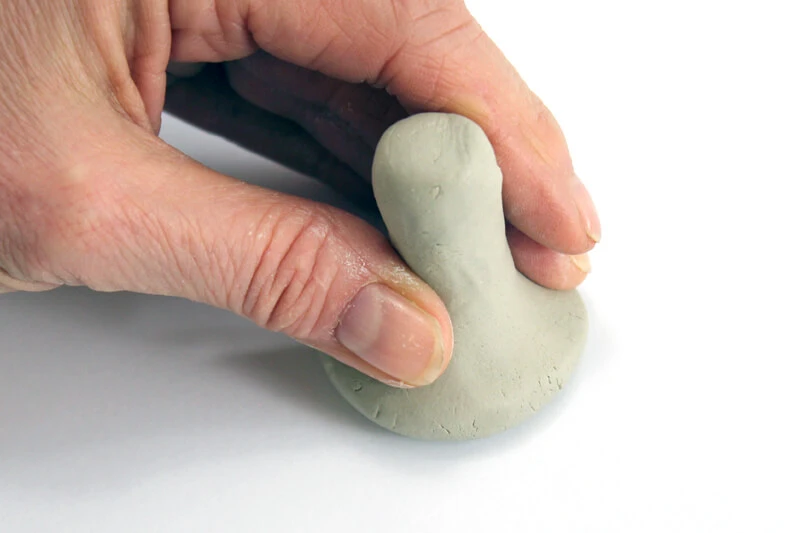
Step 3:
Tap the ball end of the stamp lightly on a flat surface to make the stamp work space.
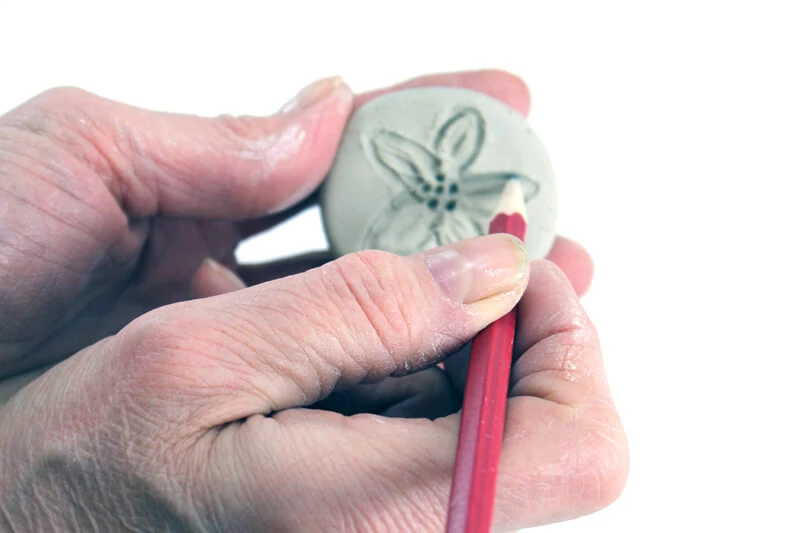
Step 4:
Take a pencil and make a design in the clay that is deep enough to leave a good impression. At this point, do not moisten either piece as this will make it very hard to remove the pressed in object.
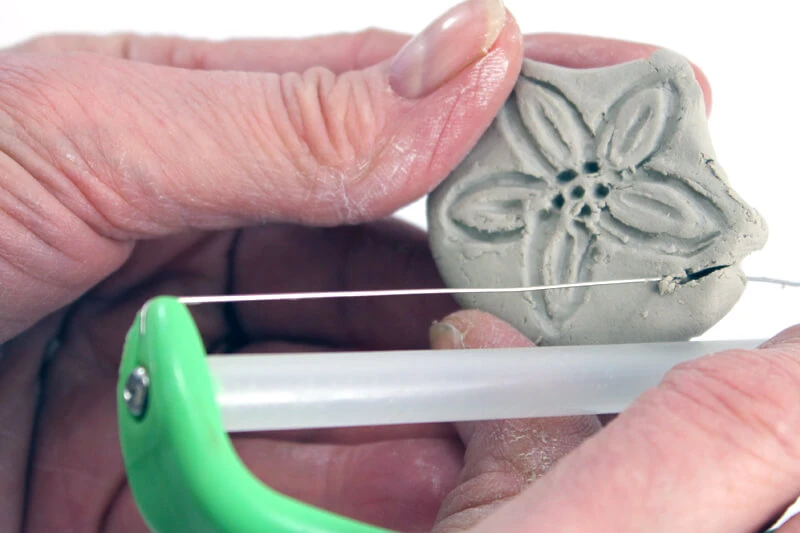
Step 5:
(Optional) Use a cheese cutter to cut around the stamp to make a more interesting design.
Step 6:
Allow to dry thoroughly. The PLUS Air Dry Clay will become lighter in color and will not be cool to the touch. This may take a day or two. Spray the stamp with clear acrylic spray to make it water resistant. Let it dry and then spray lightly with a cooking spray for easy release.
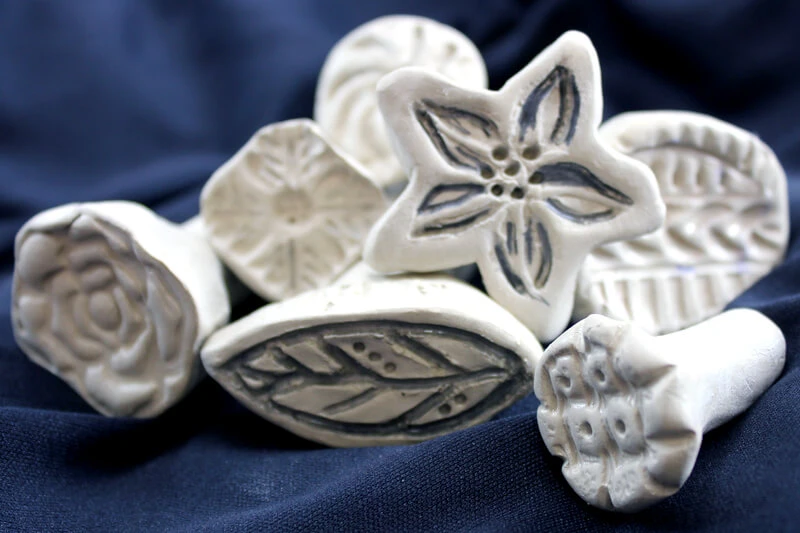
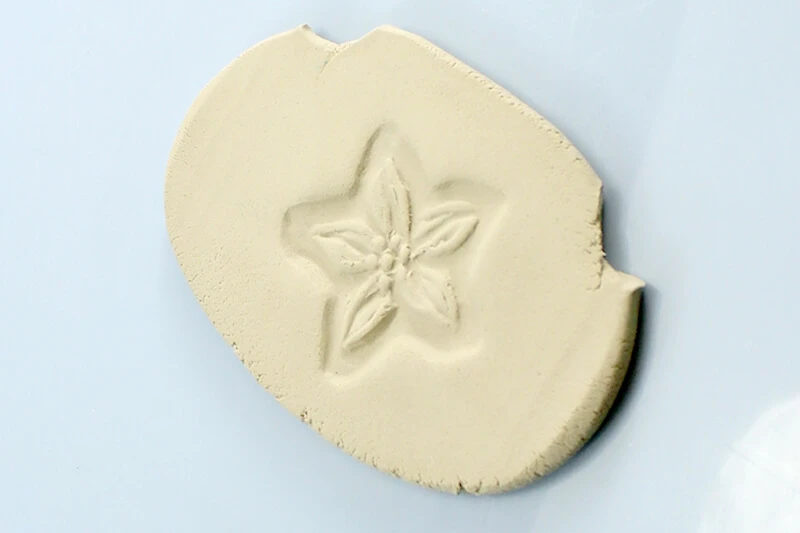
Step 7:
Enjoy your newly created stamp by using it to make a unique impression!
Created by Karen Lowrey (March 2015); photographs by Suzanne Bardwell