Materials Needed:
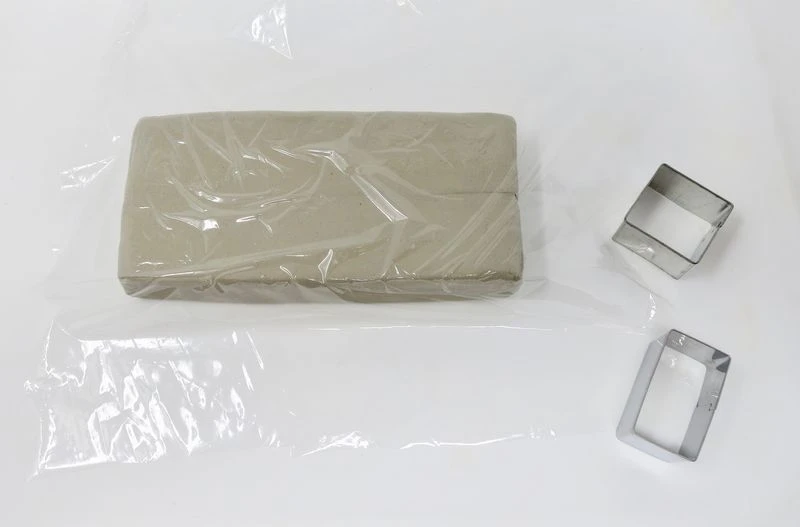
- ACTIVA’ White Plus Clay
- Activ-Tools: Clay Tool Set
- Activ-Tools: Geometric Cutters Set
- Plastic Wrap
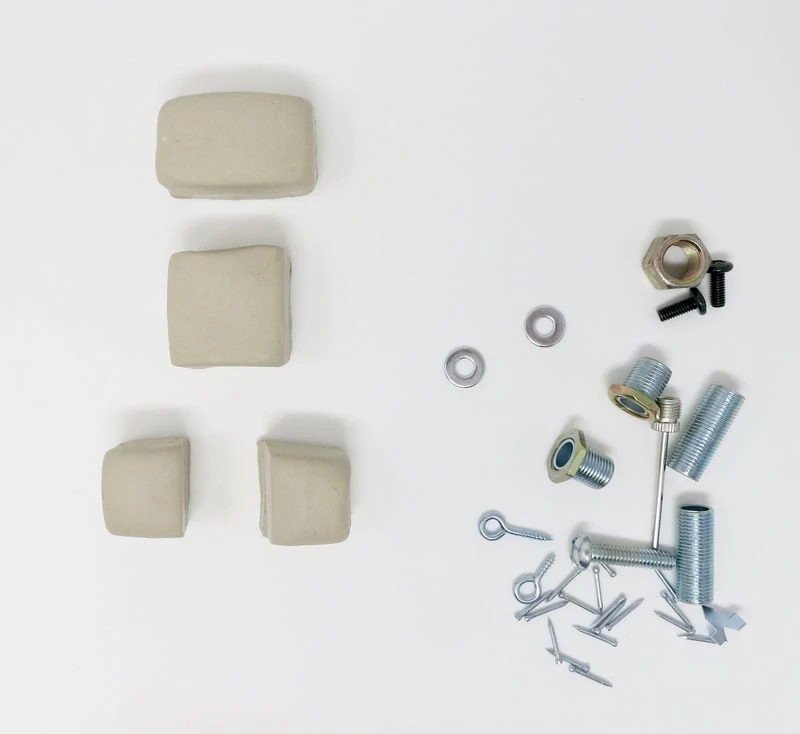
- Misc. Hardware: springs, screws, nails, nuts & bolts, etc.
- Water Bowl
- Silver Acrylic Paint
- Brush
Step 1:
Preparing The Clay
Carefully remove the clay from the package. Smooth out any bumps with a rolling pin.

Step 2:
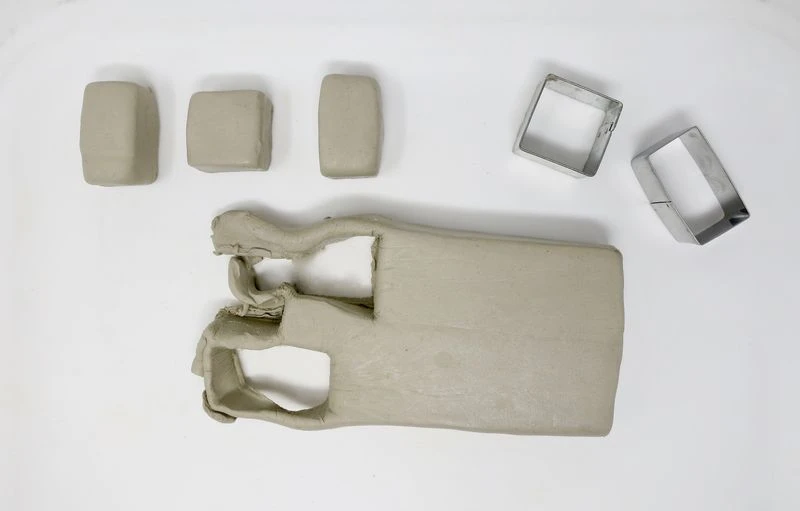
Shapes
Cover the slab of clay with plastic wrap.
Firmly press the desired geometric cutters into the clay slab.
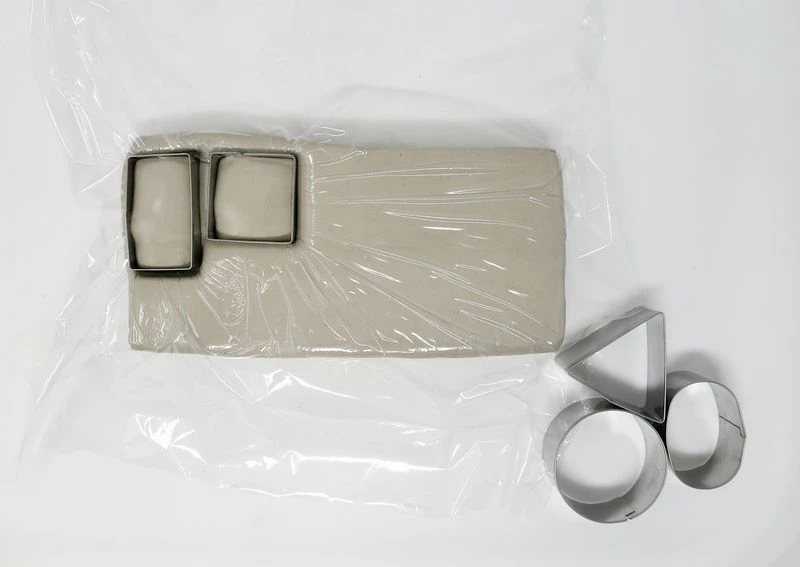
Gently remove the geometric cutters from the clay and the excess clay around the shapes.
Step 3:
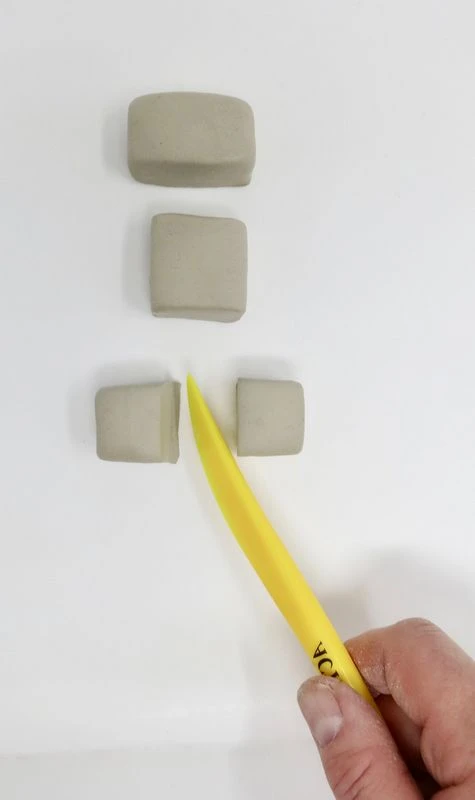
Arrangement
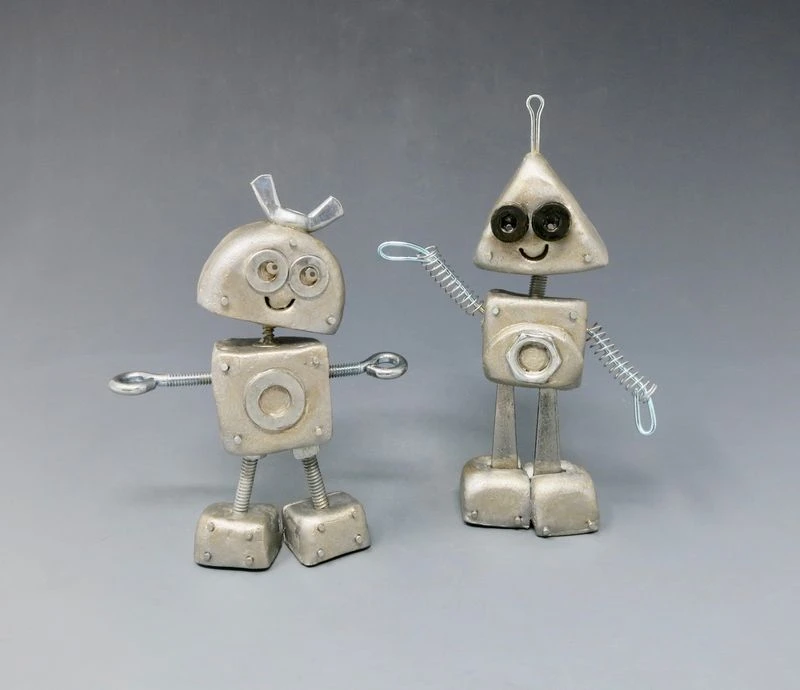
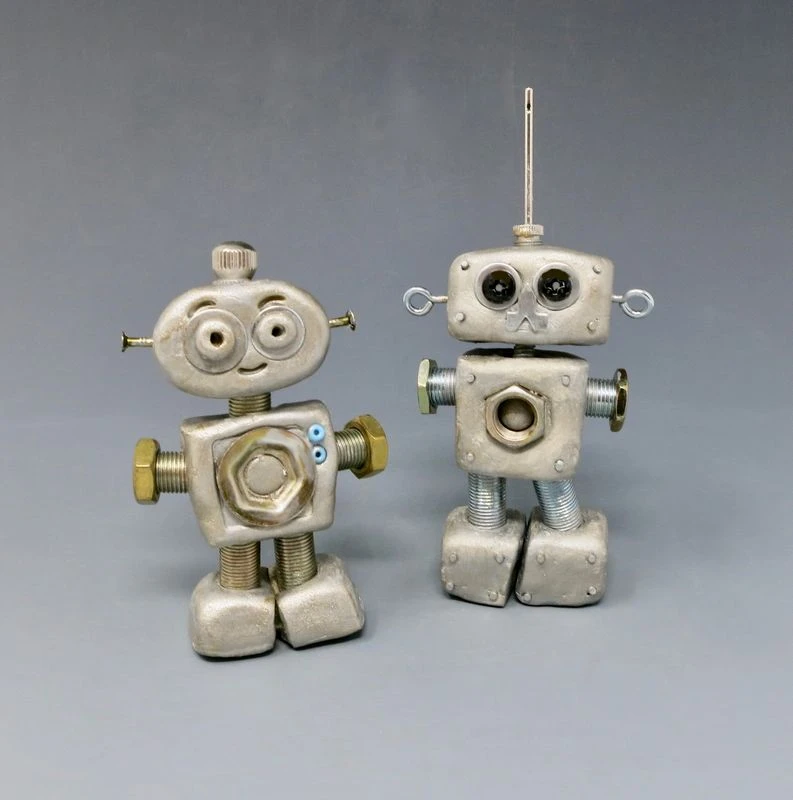
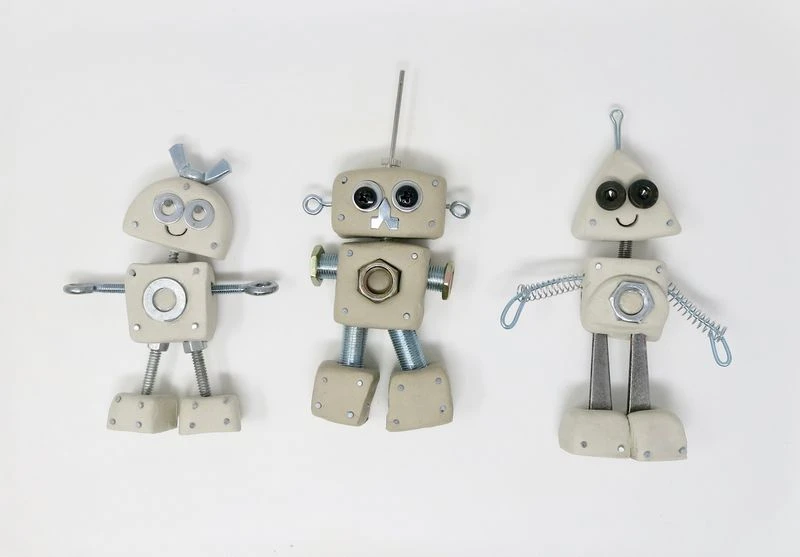
Arrange the shapes into the order of the robot’s head, body and feet.
Step 4:
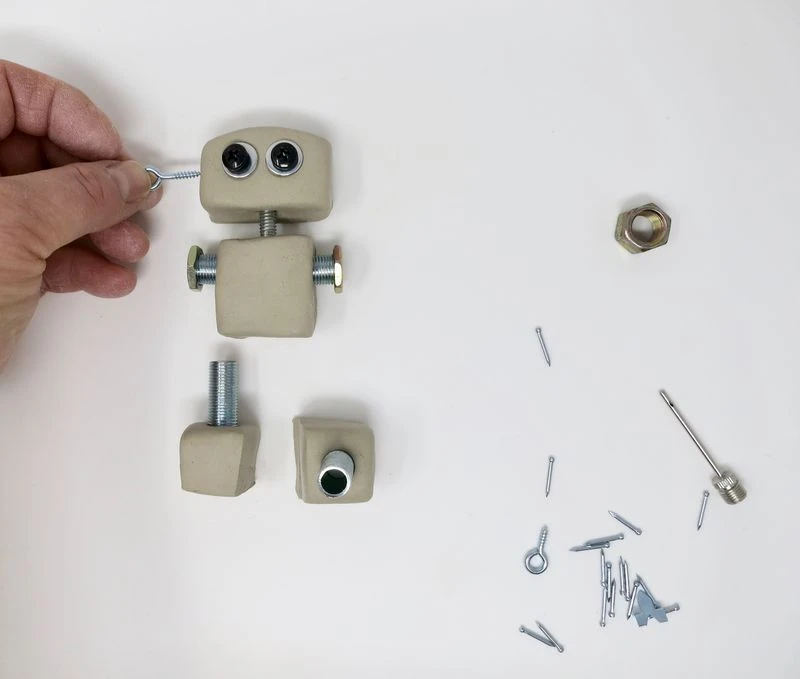
Assembly
Insert the hardware pieces. Use thick and strong pieces for the neck, arms and legs. Use smaller pieces for the trimmings, like antenna, eyes, nose, mouth, ears, and gears.
Step 5:
Dry
Allow the clay to dry for 24 hours. The sculpture can be dried flat or in the upright position depending on the weight of the sculpture.
Step 6:
Paint
Paint the clay parts of the sculpture using silver acrylic paint.