

Materials Needed:
- ACTIVA’ Extra White Plus Clay
- Activ-Tools: Clay Tool Set
- Popsicle Stick
- Water
- Black Acrylic Paint
- Paint Brush
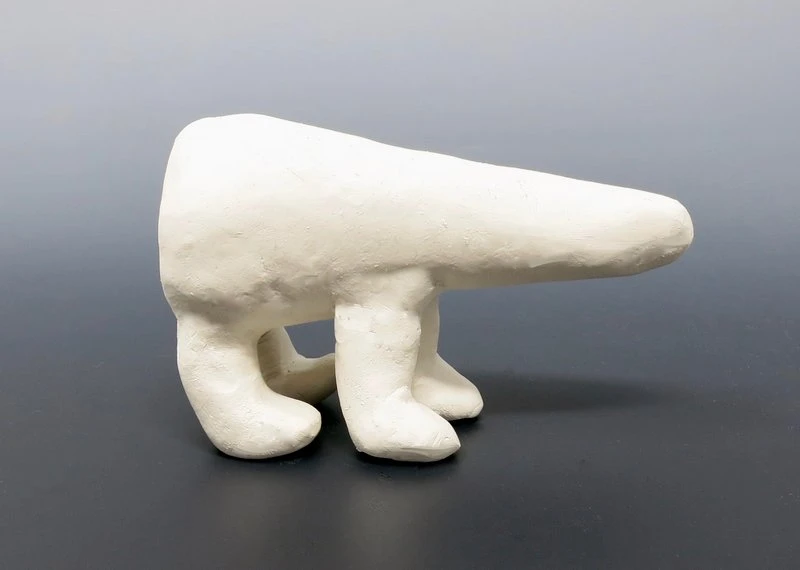
Step 1:
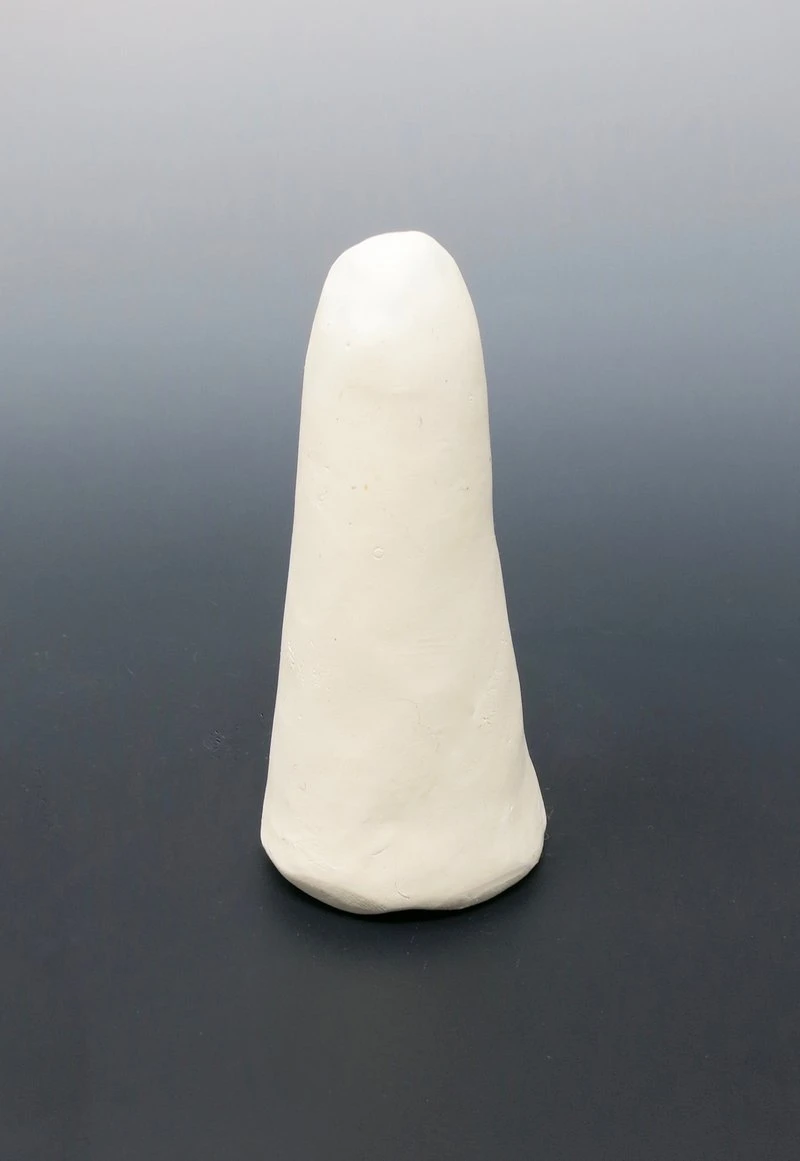
Body
Sculpt a cone form.
Step 2:
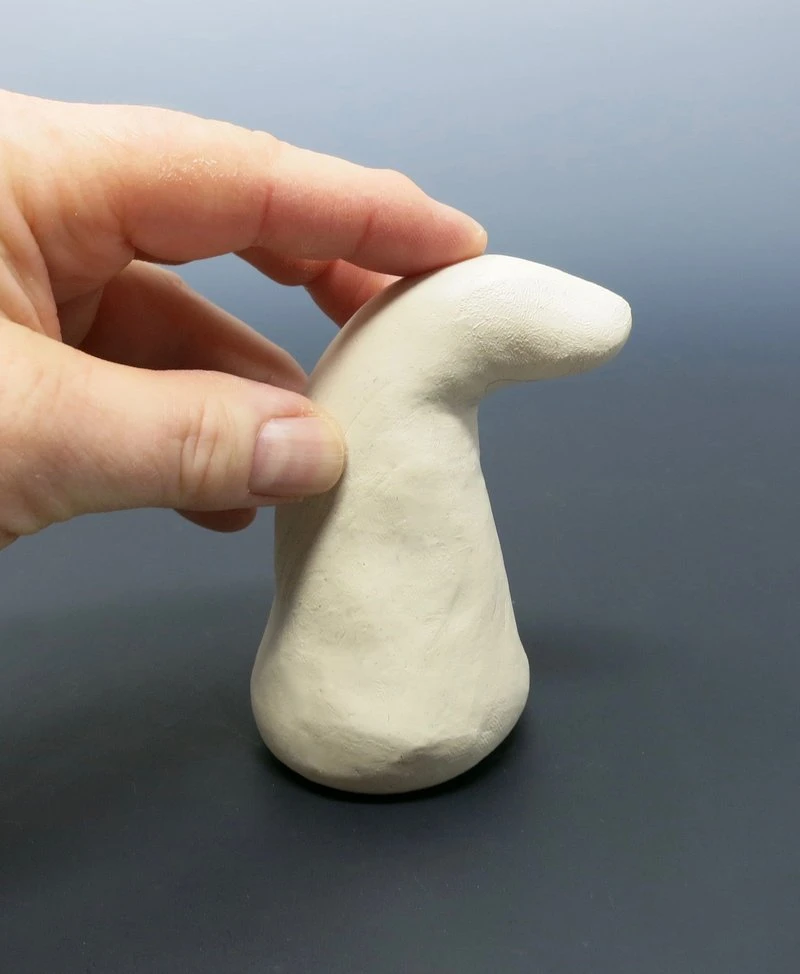
Head
Slightly bend down the tip of the cone to form the head of the bear.
Step 3:
Legs
Roll a long coil. Cut four short pieces all the same length.
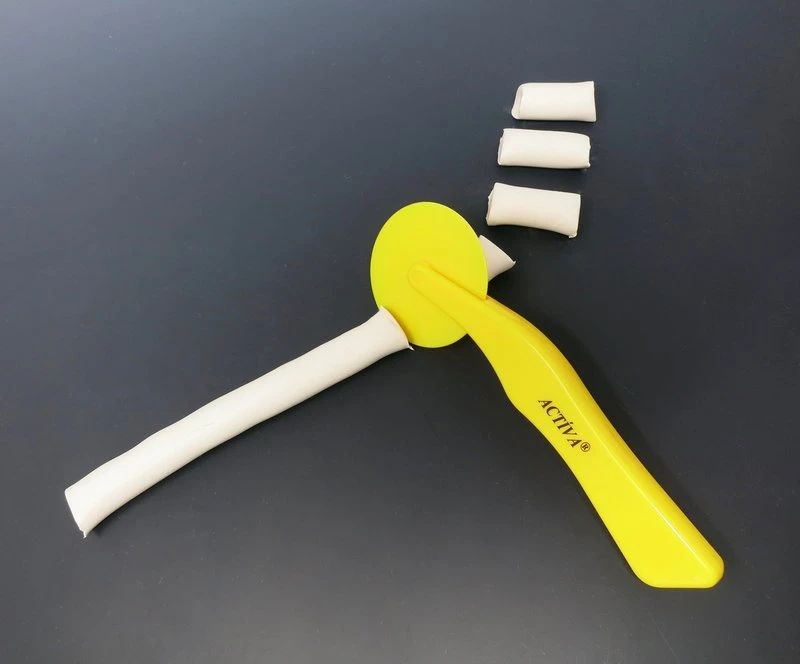
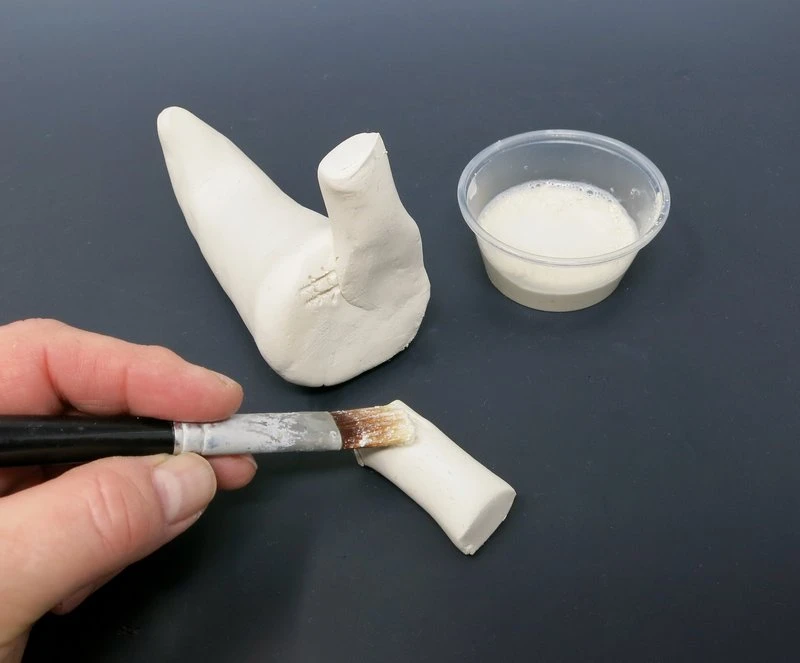
Score each piece. Draw # hashtag lines on the two areas that will be joined together.
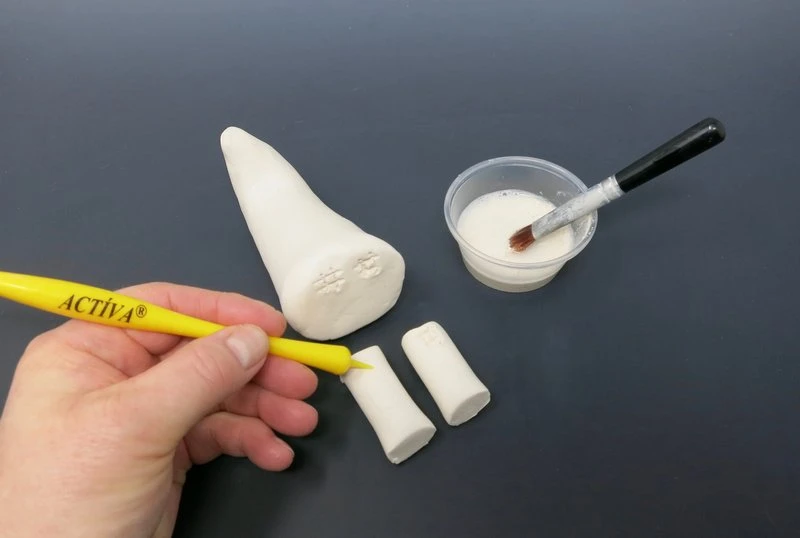
Apply slip on top of the lines and attach the two pieces of clay together.
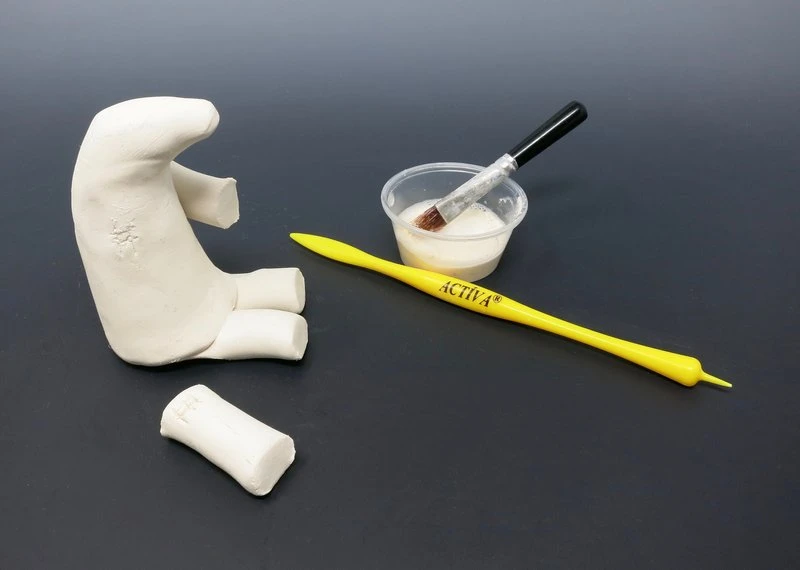
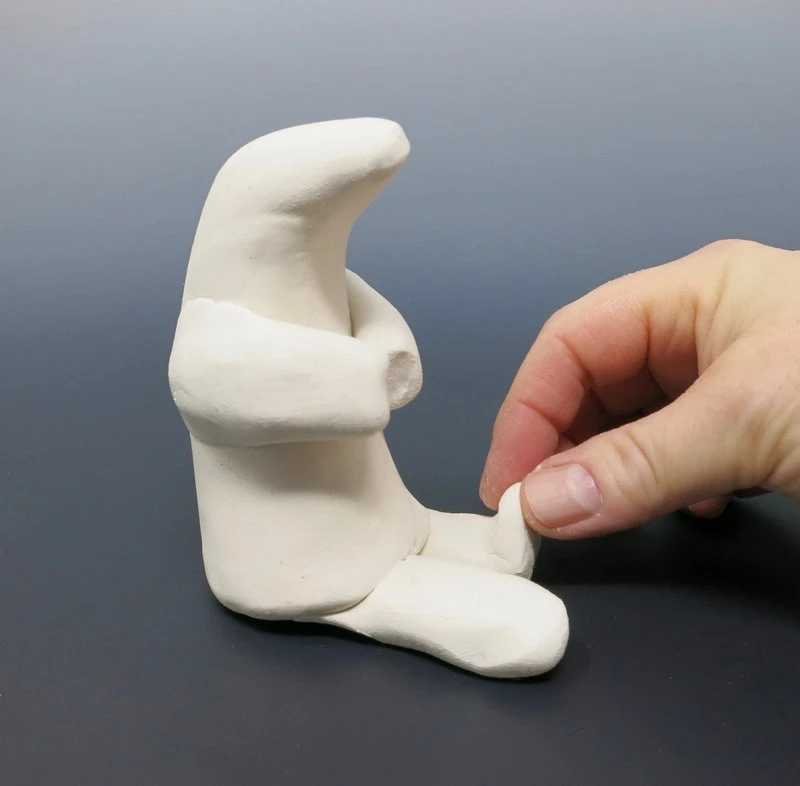
Step 4:
Feet
Slightly bend up the ends of the cylinders to form the bear’s feet. The feet can be arranged in the sitting or standing position.
Use a popsicle stick to indent the bear’s toes.
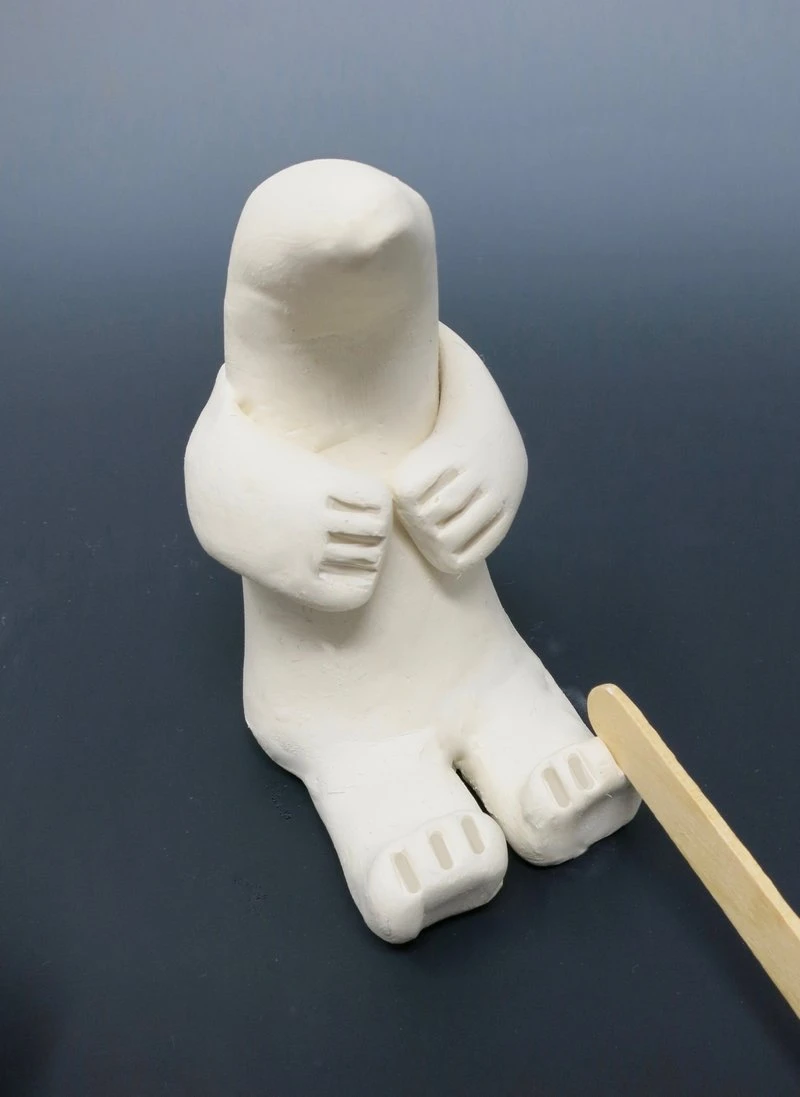
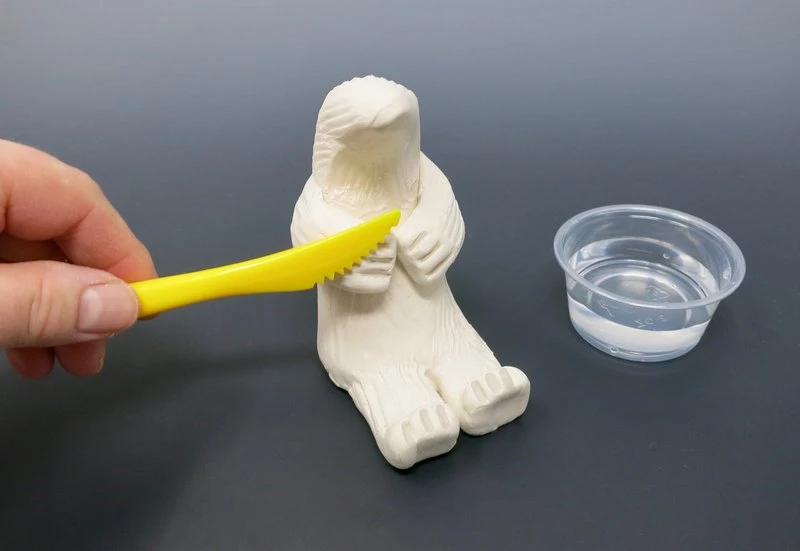
Step 5:
Fur
Use the serrated knife tool to create texture lines on the bear’s body.
Step 6:
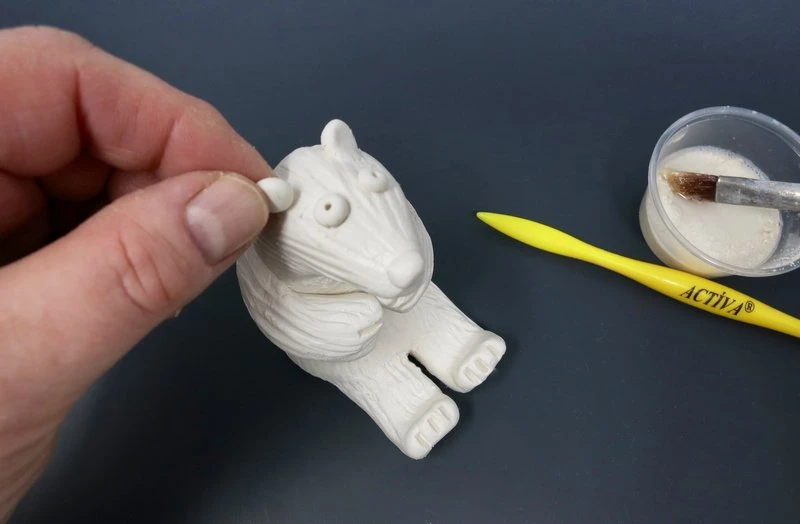
Tail, Ears, Eyes, and Nose
Roll a small sphere for the tail, two slightly smaller ones for the ears and three tinier ones for the eyes and nose.

Score and slip the spheres onto the bear’s body.
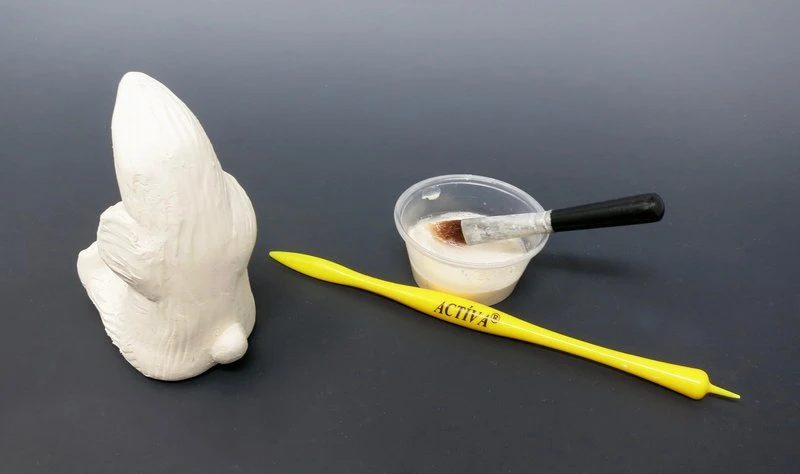
Step 7:
Dry
Allow the clay to dry 24 hours before painting.
Step 8:
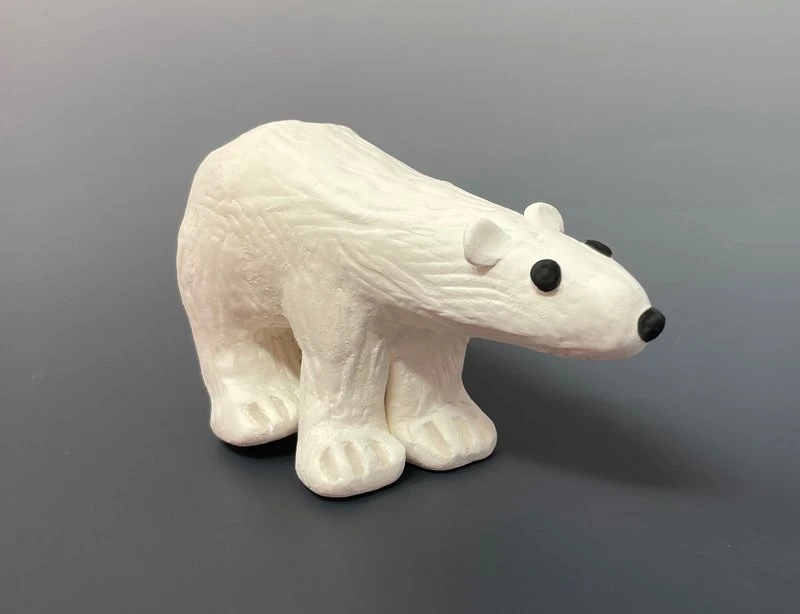
Paint
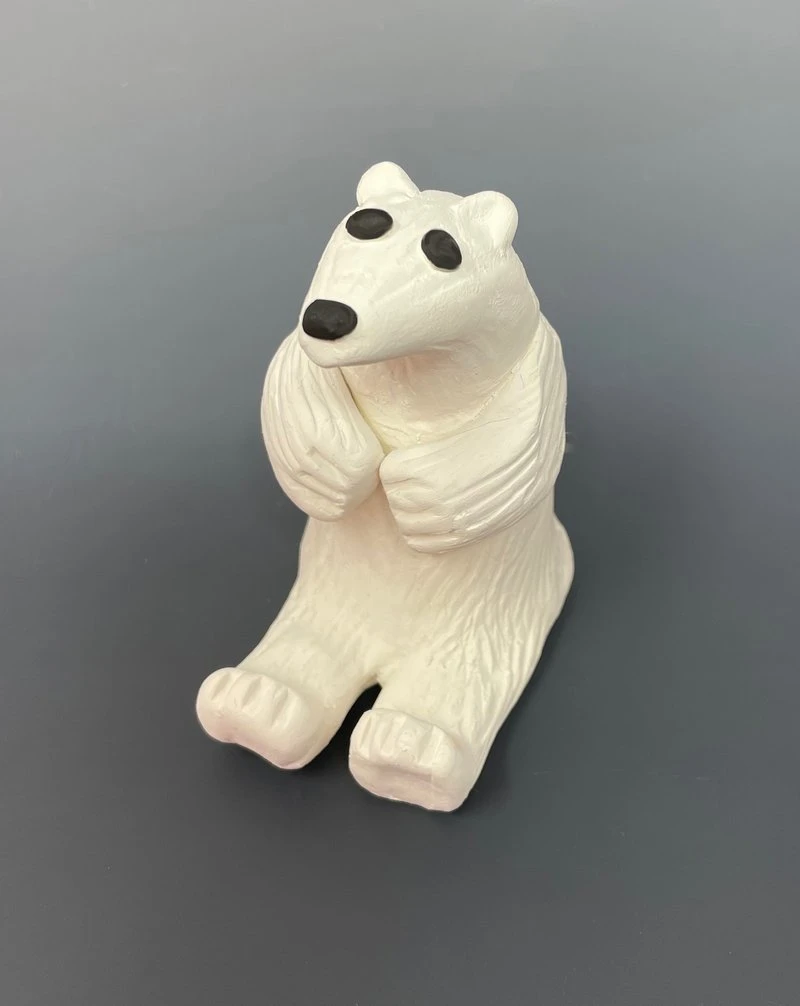
Use a fine tip brush to paint the bear’s eyes and nose.
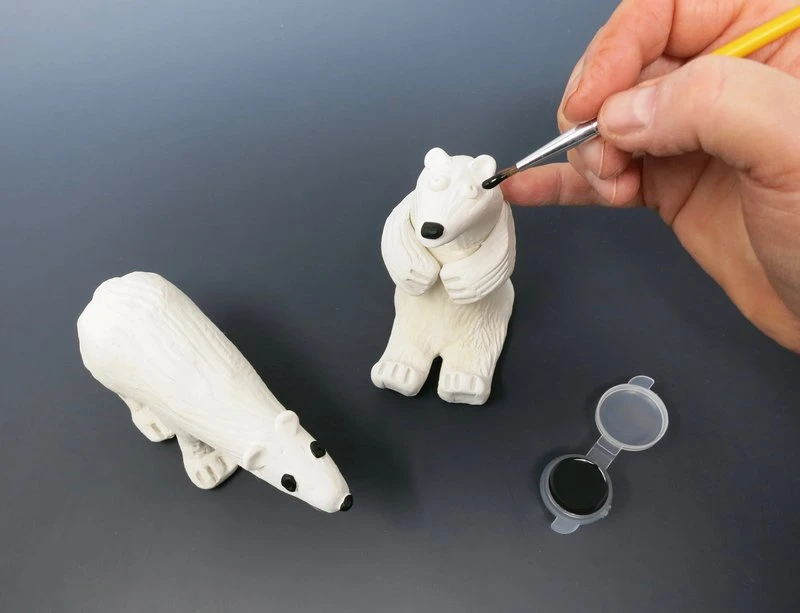
The ACTIVA’ Extra White Plus Clay will dry to a bright white.
 />
/>
 />
/>