
Summary:
At ACTÍVA, we know a thing or two about air dry clay. Well, actually, we know a lot about air dry clay because we sell nine varieties of it! Air dry clay is a wonderful medium for making arts and crafts projects, home decor items, and more, but it can be a little tricky to work with if you're not prepared. Because of that, we've compiled our best air dry clay tips and tricks to help you make your air dry clay projects the best they can be!
Click Here to Shop for Air Dry Clay in Our Online Store!
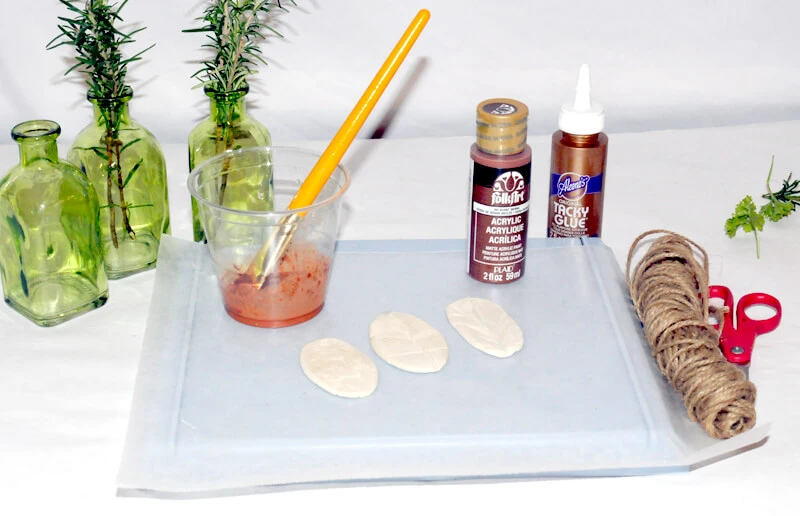
Tip One: Prepare Your Work Surfaces
Most air dry clays are sticky, and you don't want that on your work surface. We recommend protecting the work area with items such as wax paper, silicone baking mats, or vinyl placemats. This will keep your table protected and make clean up much easier!
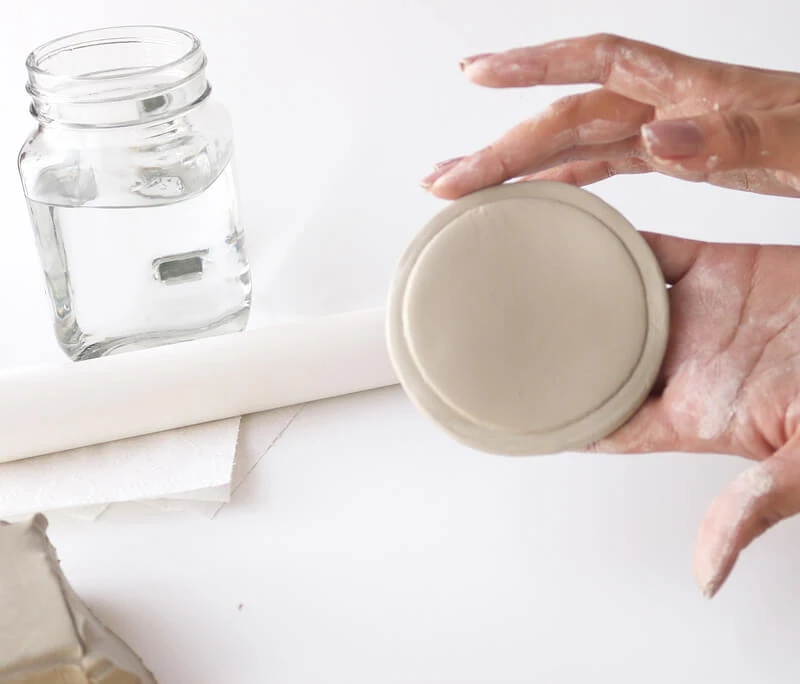
Tip Two: Work With Damp Hands
When working with air dry clay, it's a good idea to have damp hands. Keep a small bowl or glass of water near you to re-wet your hands when necessary. Damp hands will allow you to work with the clay more easily, and will prevent the clay from sticking to your skin too much.
Tip Three: Use a Mister Bottle
Gently misting air dry clay pieces while working on them will prevent them from drying out too quickly, which can cause cracking and crumbling.
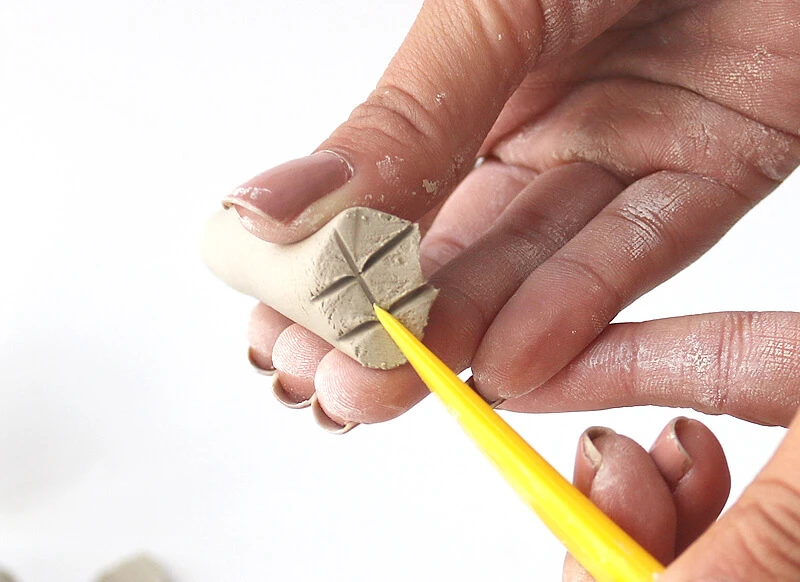
Tip Four: Score Pieces to be Joined
If you are connecting multiple pieces of air dry clay, use a knife or sharp tool to cut X's on each of the pieces to be joined. Then, press the pieces together. Scoring the pieces in this manner will help them stick together much better when drying, making them more secure for finishing.
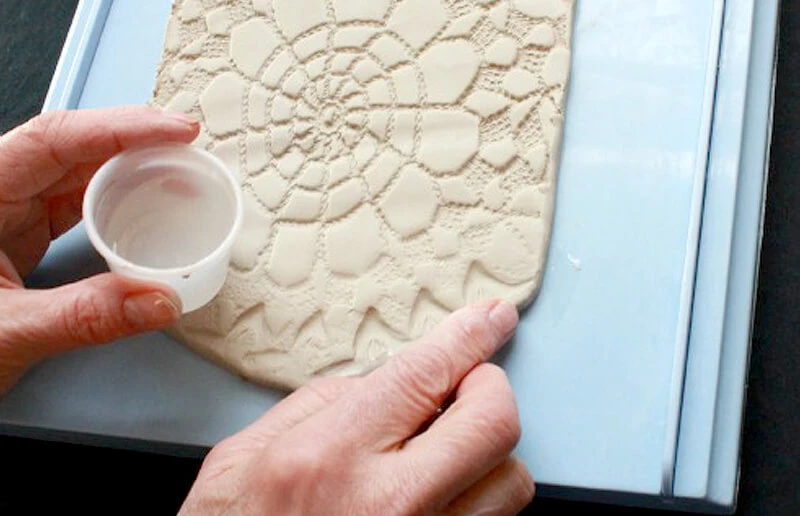
Tip Five: Minimize Cracks
If, as your project begins to dry, small cracks begin to appear in the piece, dampen your hands and smooth the cracks with the water on your fingers.
Tip Six: Use the Right Tools
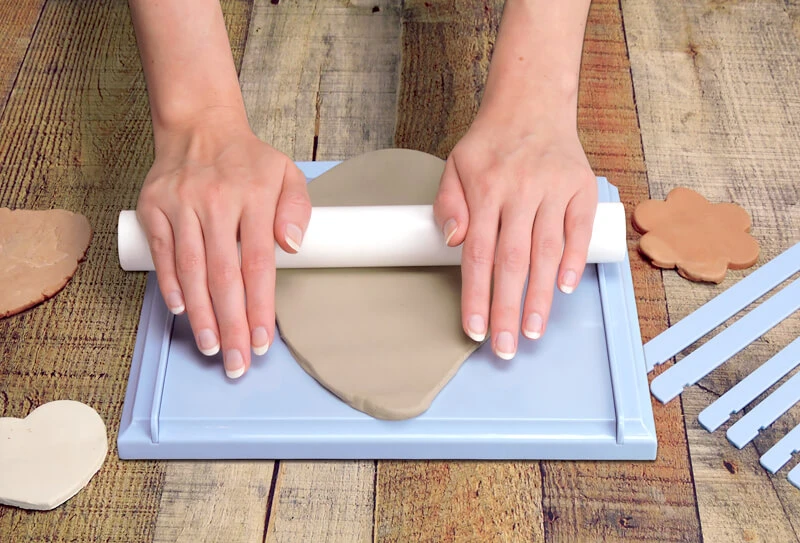
In order to get a professional look for air dry clay projects, make sure to use the right tools! Items like our Clay Roller Kit will help you get an even work surface and consistent thickness to your air dry clay. Also recommended is our Activ-Tools™ Clay Tools Set to help you achieve professional results!
Tip Seven: Store Works in Progress Properly
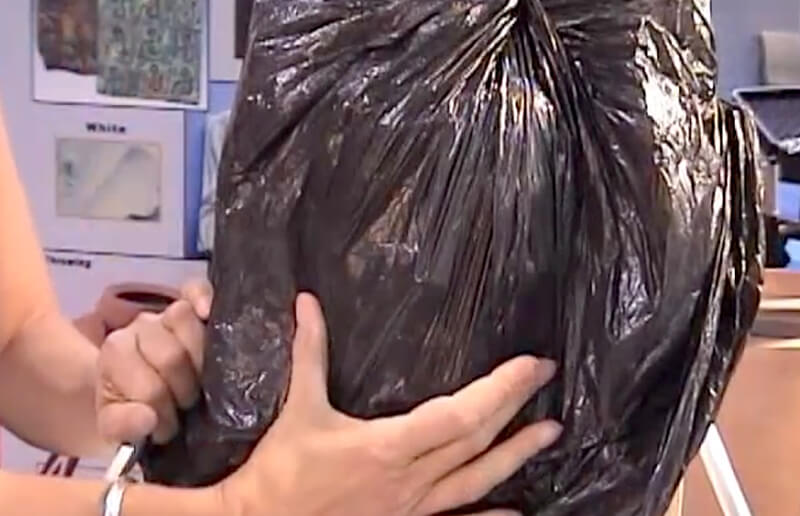
If you cannot finish an air dry clay project in one session, make sure to store it properly so that it does not dry out! Cover it with plastic wrap and place it in an air tight container, if possible. If you are unable to work on it within 24 hours, lightly mist it to keep it soft (see Tip Three, above).
Tip Eight: Dry Air Dry Clay Projects Correctly
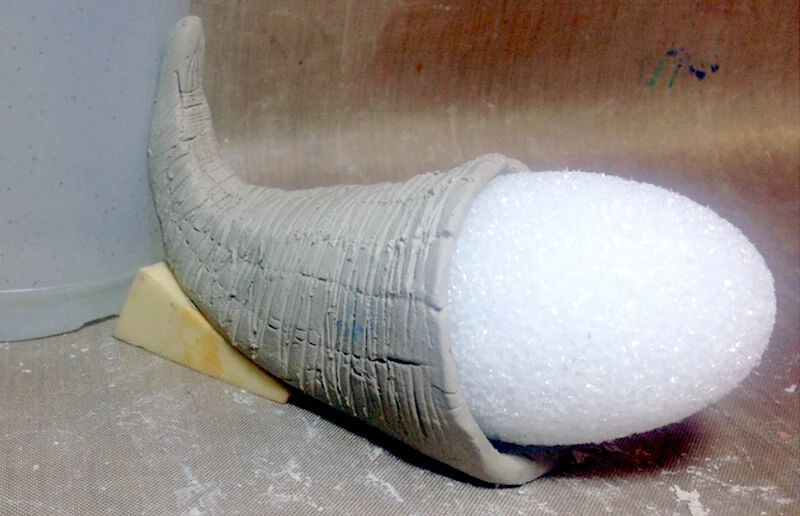
In order to dry properly, air dry clay projects should be exposed to air on all sides at the same time. This will help prevent warping and cracking. We recommend drying pieces on a screen or cookie rack, for example, where air flow is the same on all sides.
If it is not possible to dry your air dry clay project in such a manner, make sure to rotate the item regularly to ensure that all sides are dry prior to finishing.
Tip Nine: Store Unused Clay Properly
If stored properly, unused air dry clay should last indefinitely. We recommend wrapping the unused clay in plastic wrap or in a Ziploc bag, and then in another airtight container.
If you put these tips into practice, you should be creating air dry clay masterpieces in no time!
Make sure to check out the wide varieties of air dry clay available in our online store. We have clays that are perfect for every type of project: from jewelry-making, to doll-making, to home decor projects, to school projects, and more! You're guaranteed to find the right type of clay for whatever you're making!


 />
/>
 />
/>