

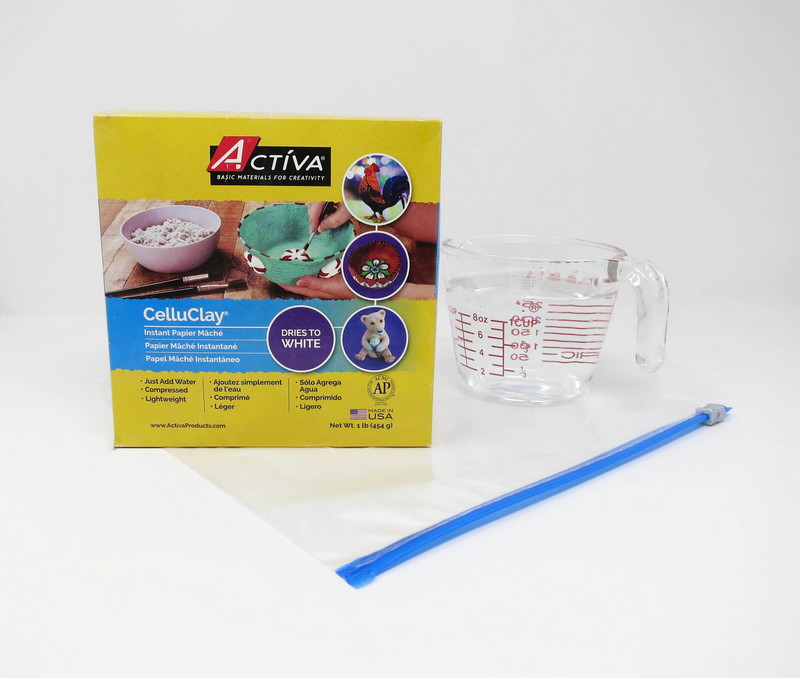
Materials Needed:
- Activa CelluClay
- Water
- Zip top bag
- Cylindrical lamp base
- Gesso
- Wax paper
- Cornstarch
- Rolling Pin
- Activ-Tools: Geometric Clay Cutters Set
- Activ-Tools: Clay Tool Set
- Water
- Activ-Tools: 10 inch Diameter Clay Sculpting Wheel
- 0.4” x 0.4” Colorful ceramic mosaic tiles
- Sponge
- Sandpaper
- Acrylic paint
- Paint brush
Step 1
Prepare the CelluClay
Mix the CelluClay according to package directions.
Add 32oz. of warm water to 1 lb. of CelluClay mixing in a zip top bag.
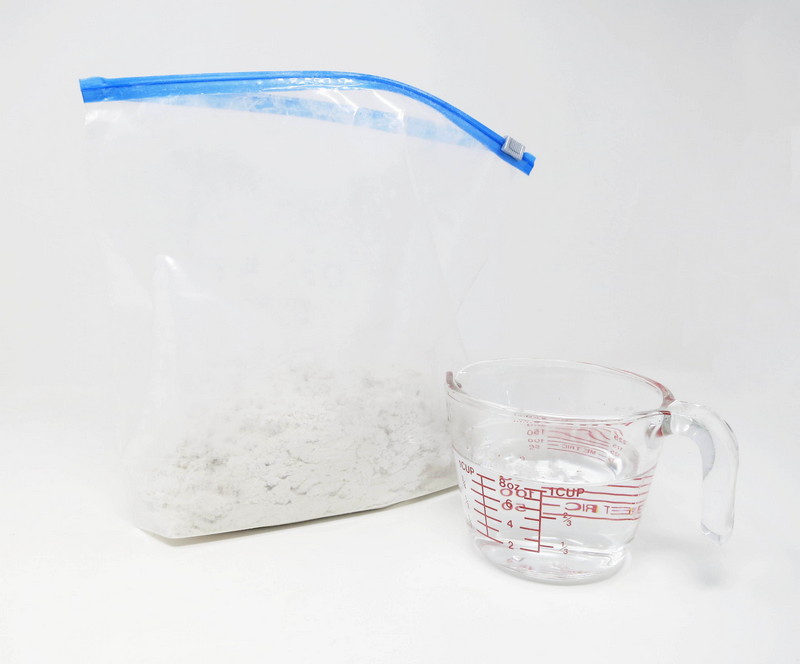
Knead with fingers until the CelluClay reaches the consistency of clay or stiff dough with no dry spots.

Add more dry CelluClay if mixture is too wet or soft, and more water if CelluClay if too dry or stiff.
Remove the Celluclay from bag when done mixing.

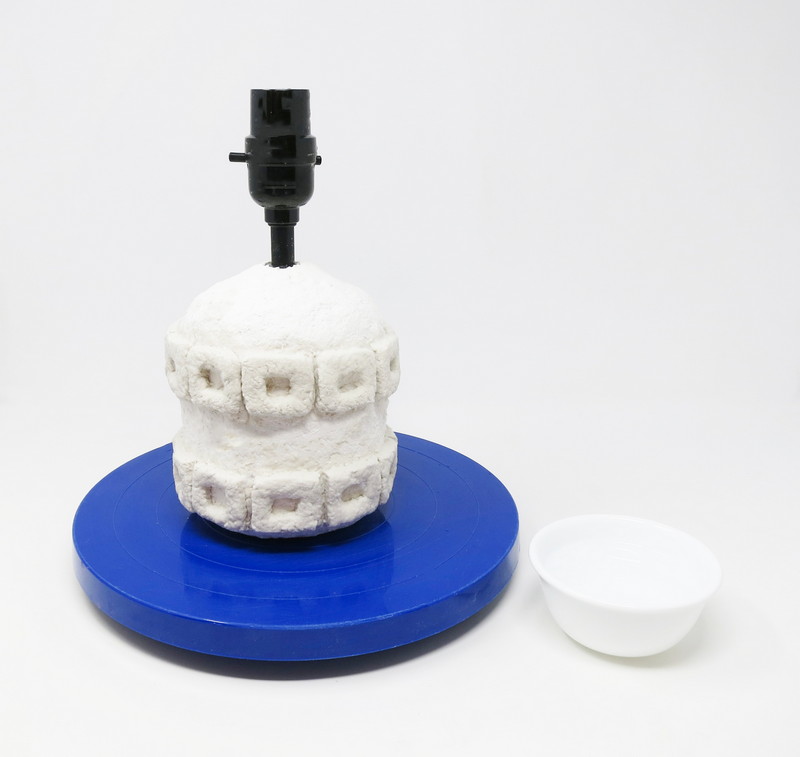
Step 2
Prime Base
Apply gesso to the cylindrical lamp base to prime the surface for the Celluclay application.

Step 3
Apply the Celluclay
Cover the lamp base with a thick layer of CelluClay.
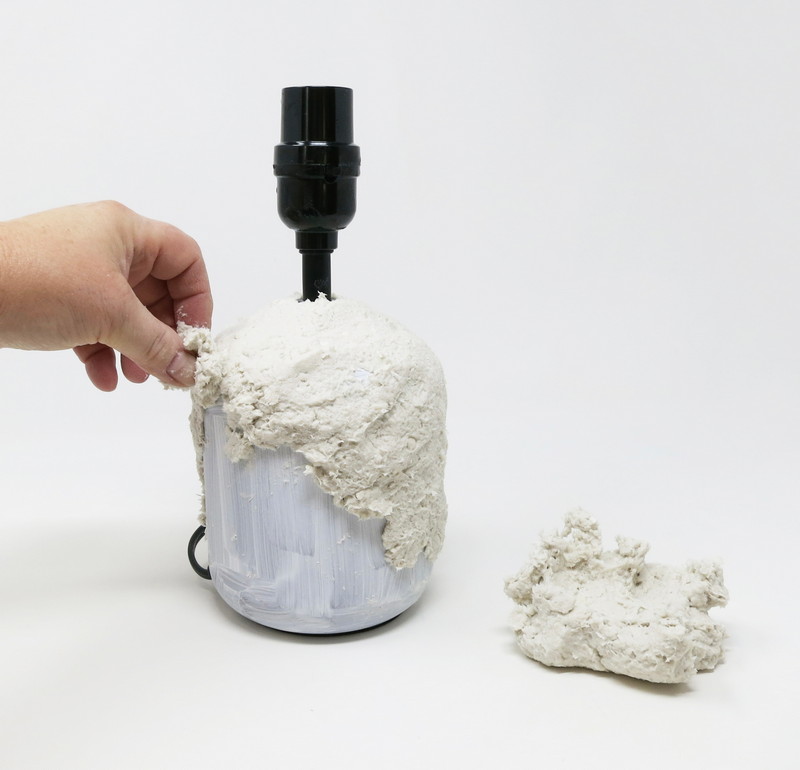
Smooth out any bumps in the CelluClay with wet fingertips.
Step 4
Geometric Shapes
Use a rolling pin to roll out a 1/4” slab of CelluClay on top of a piece of wax paper dusted with cornstarch.
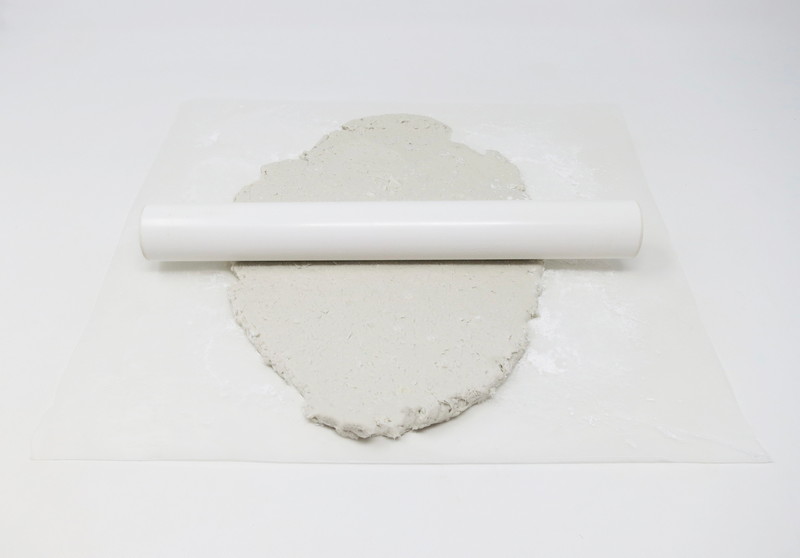
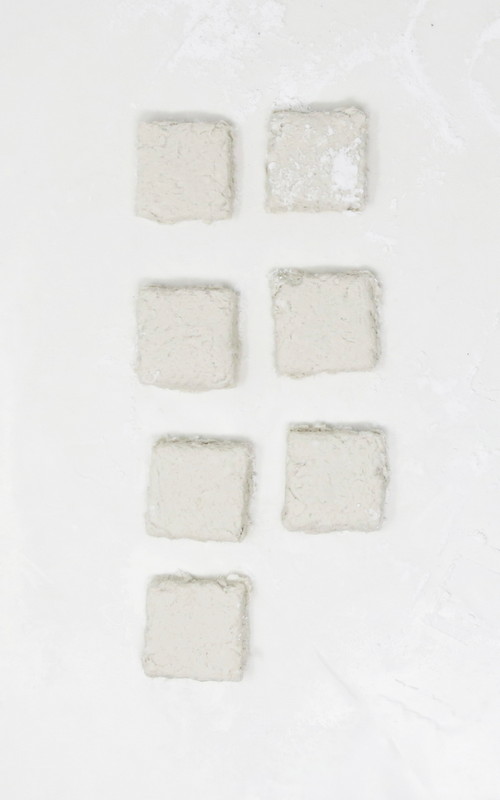
Use the geometric clay cutters to cut out desired shapes.
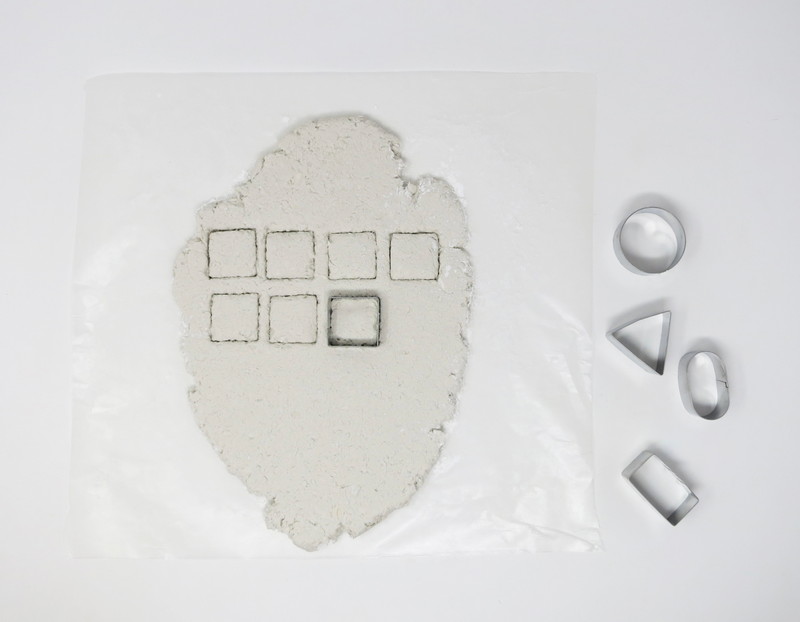
Shapes can be left solid or in addition negative space can be carved out.

Step 5
Attach Shapes
Arrange the CelluClay shapes in a pattern. Attach each shape to the lamp base using a small amount of water applied to the back of each shape.
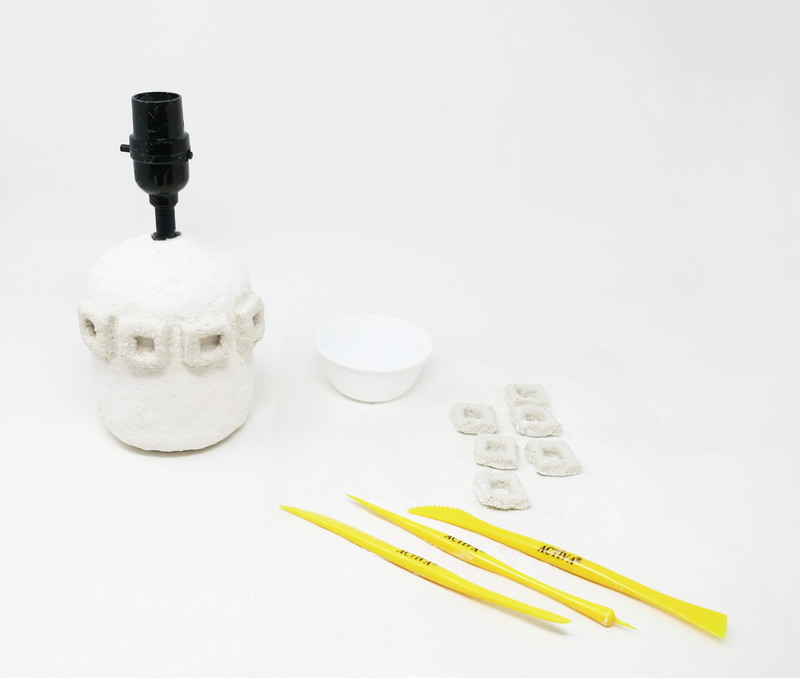
Spread each shape onto the lamp base using the sculpture tool to secure it in place.
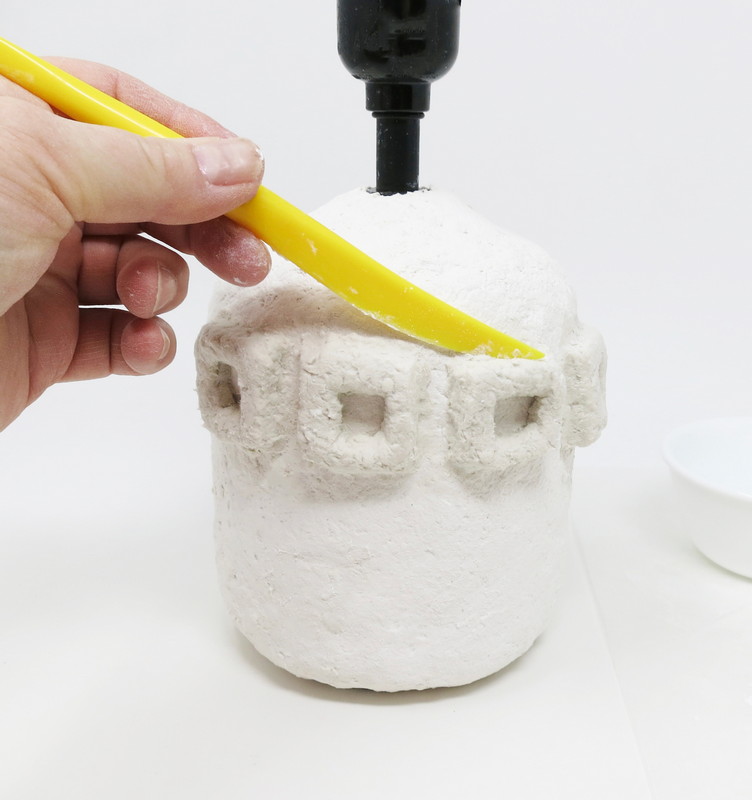
Smooth out any bumps in the CelluClay using wet fingertips.
*NOTE: A clay sculpture wheel is useful during this application process.
Step 6
Ceramic Tiles
While the CelluClay is still wet, insert the ceramic tiles.
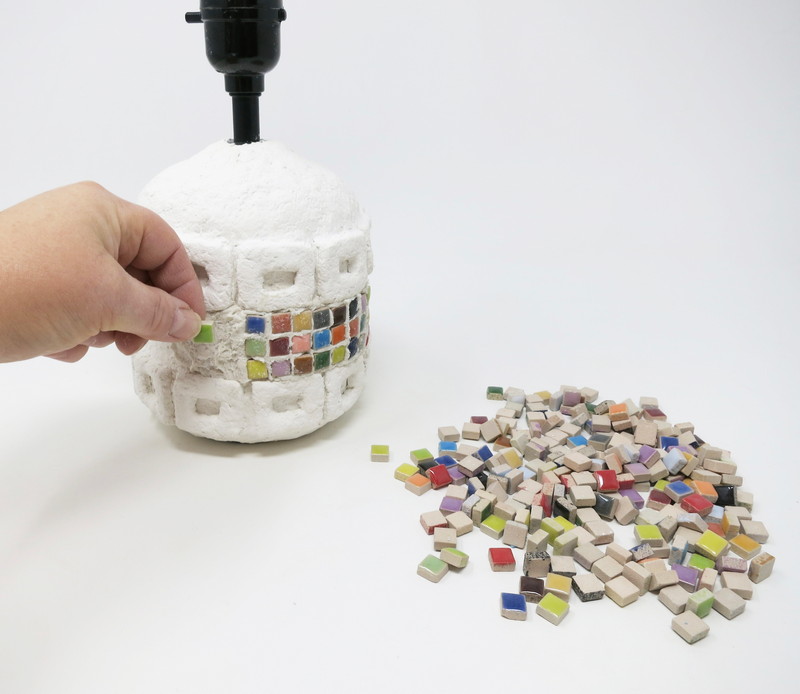
Remove excess CelluClay using a damp sponge.

Step 7
Dry
Allow the lamp base to air dry. Humidity levels will impact drying time.
The CelluClay will lighten in color and become harder as it is drying.
The CelluClay will feel room temperature when dry and have a bright white color appearance.
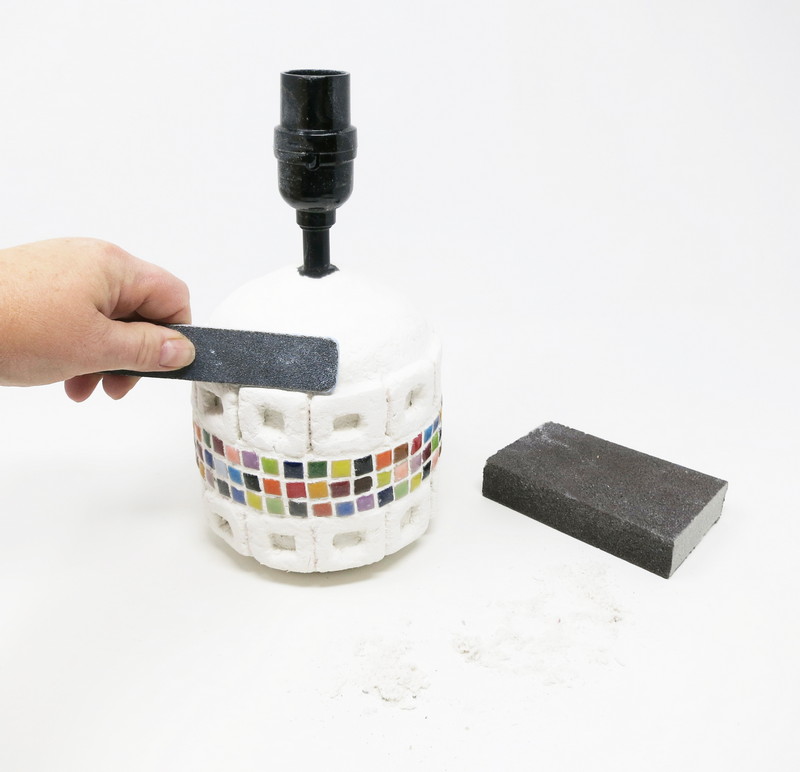
Step 8
Smooth
Use sandpaper to smooth out any rough areas or bumps on the CelluClay surface.
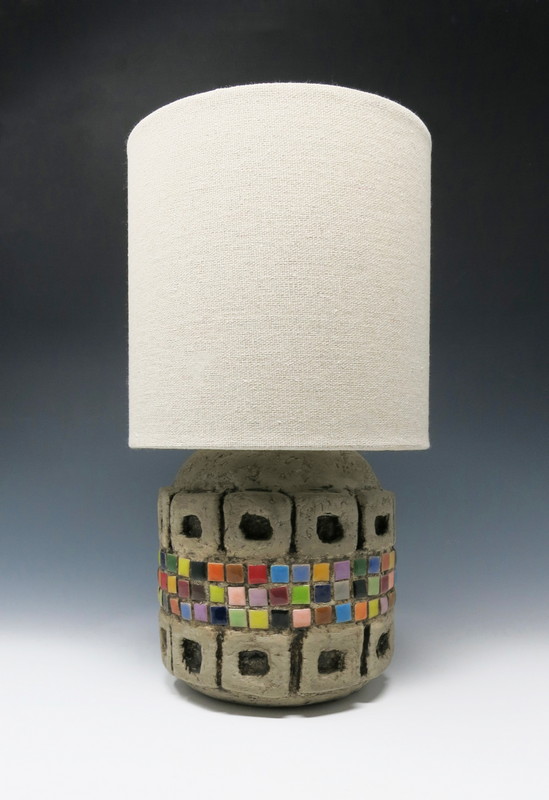
Step 9
Color
Use acrylic paint to paint the lamp base the desired color.


 />
/>
 />
/>