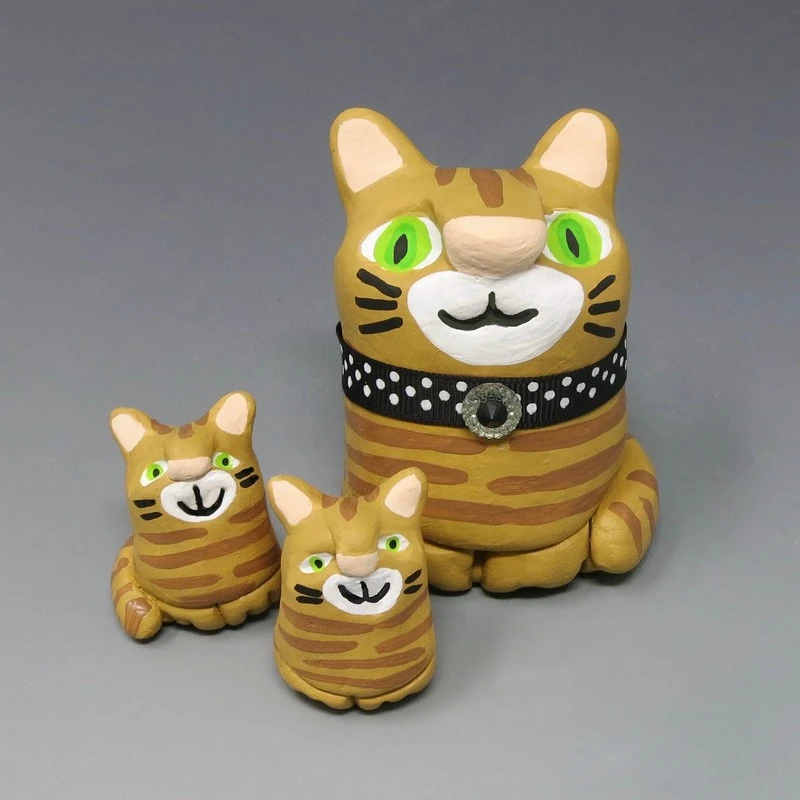
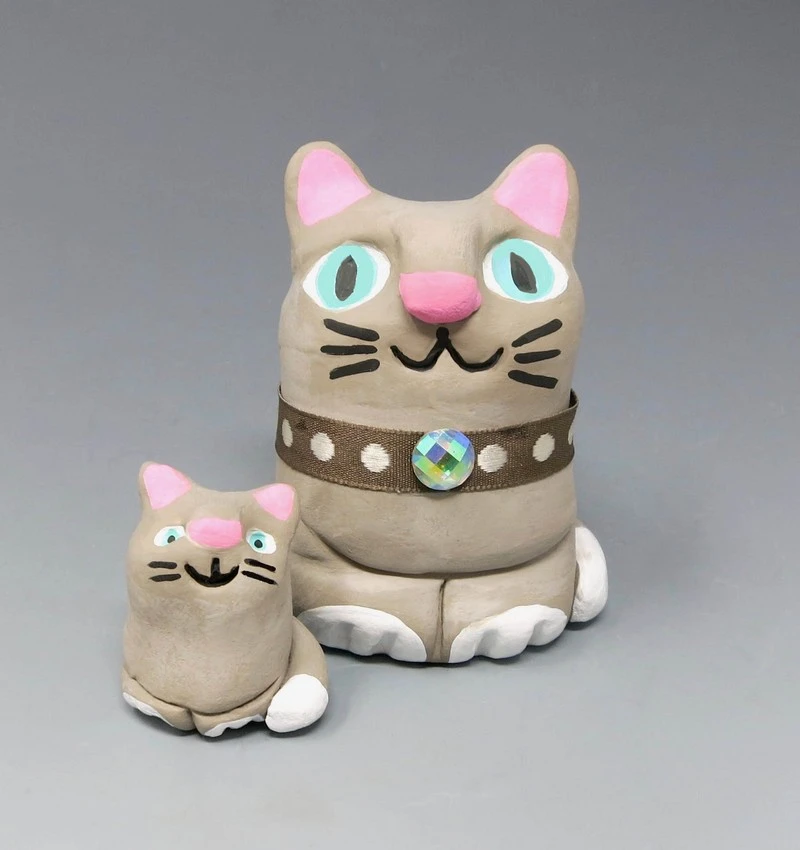
Materials Needed:
- Activa’ White Plus Clay
- Activ-Tools: Clay Tool Set
- Water Bowl
- Acrylic Paint
- Brushes
- Ribbon
- Rhinestones
- Glue
Step 1:
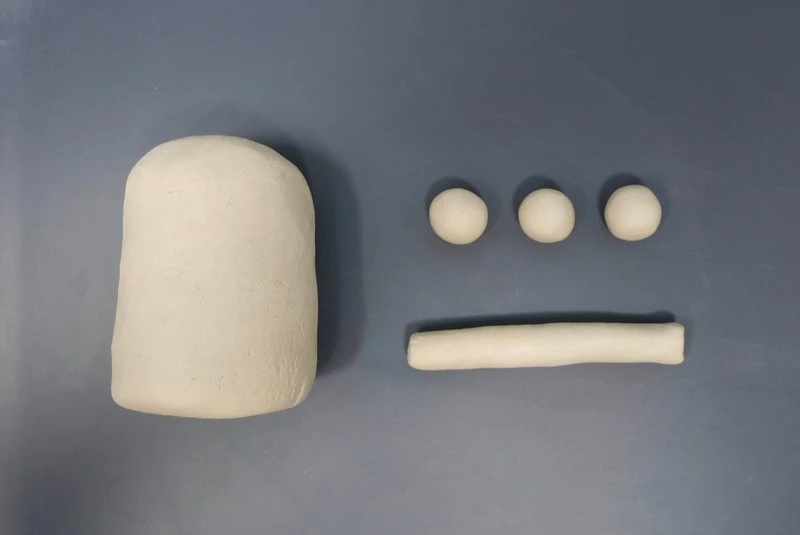
Preparing the Clay
Roll:
- 1 large cylinder
- 1 small cylinder coil
- 3 small spheres
Step 2:
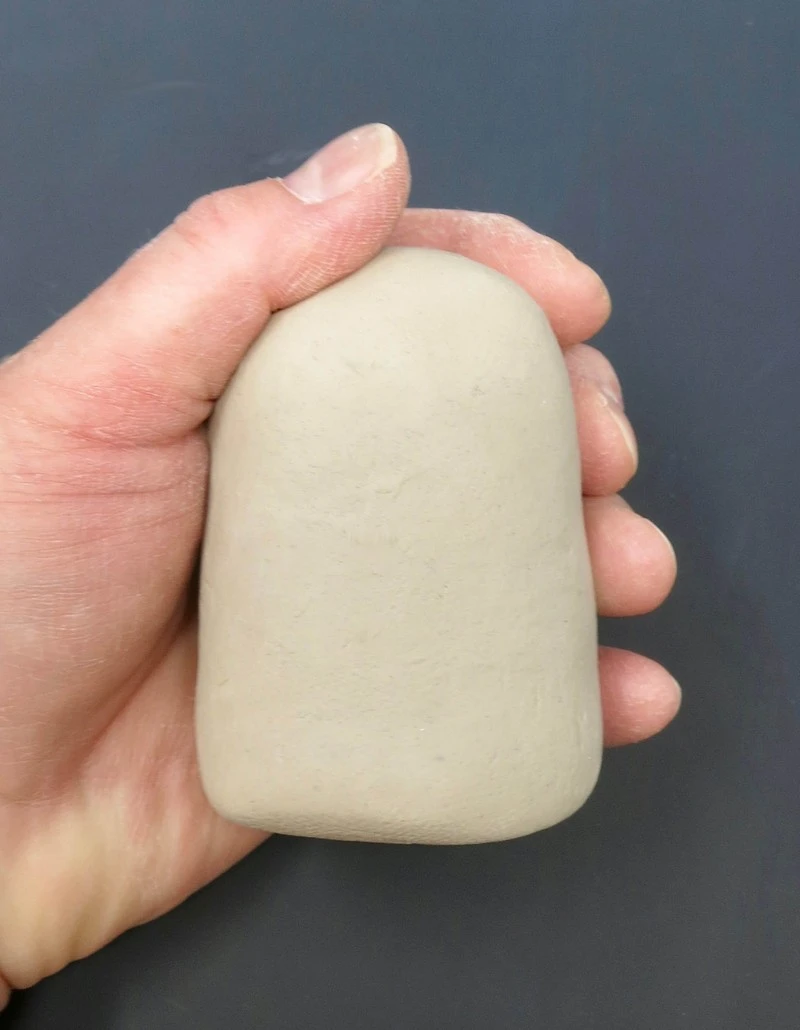
Head
Slightly round up the top of the cylinder.
Step 3:
Ears
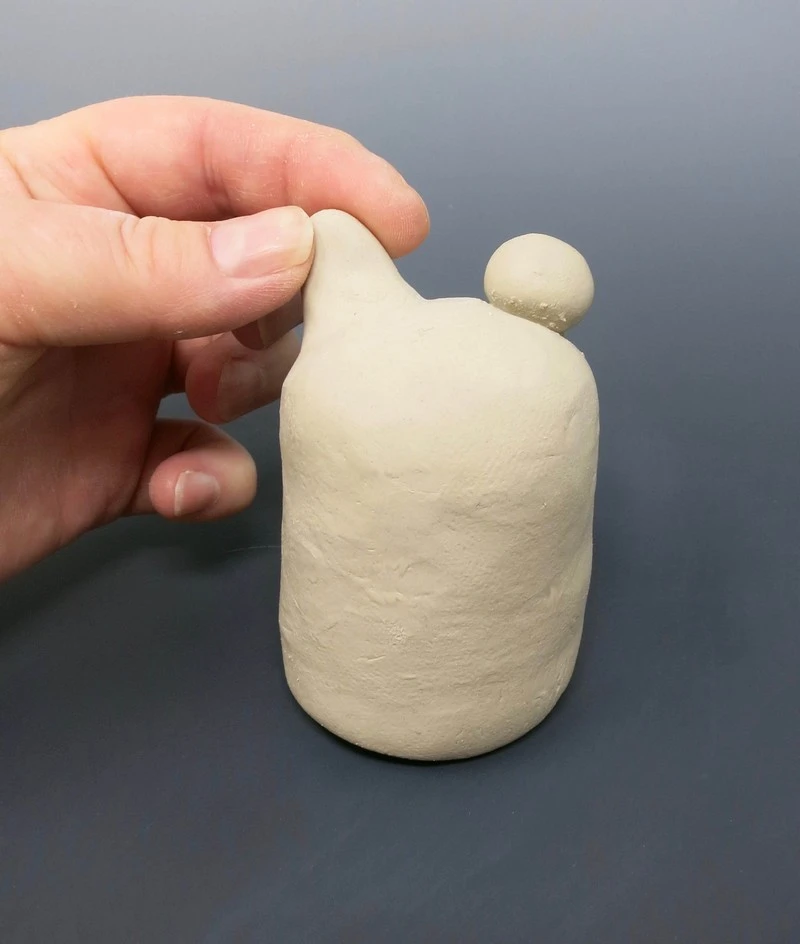
Attach two small spheres onto the top of the head by scoring and slipping. Pinch the spheres to make them slightly pointed.
Step 4:
Eyes
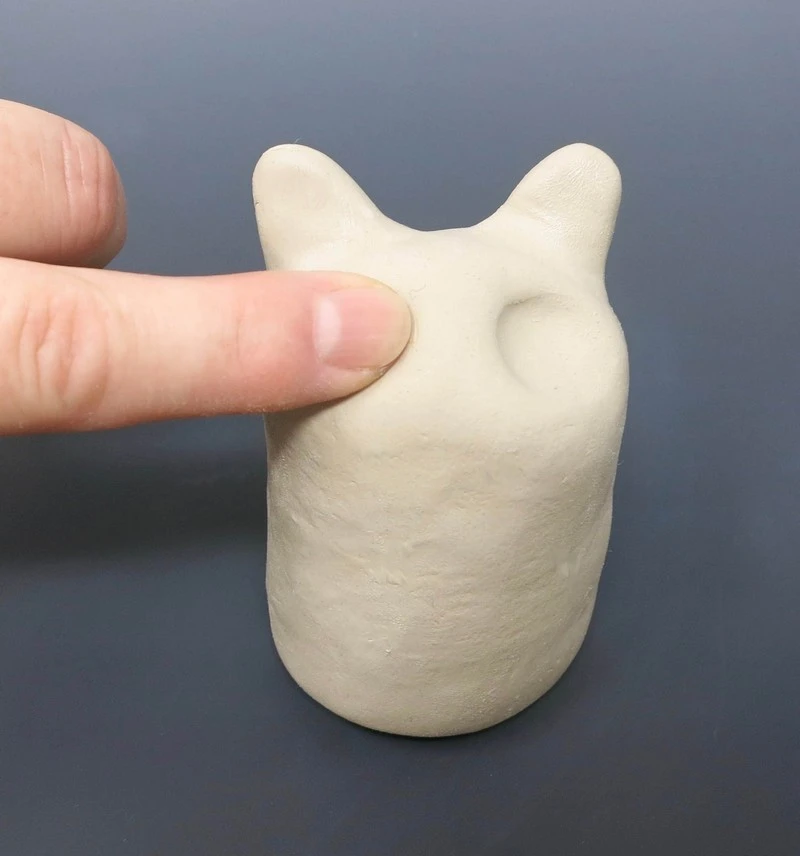
Press a finger tip into the clay to indent the eyes.
Step 5:
Nose
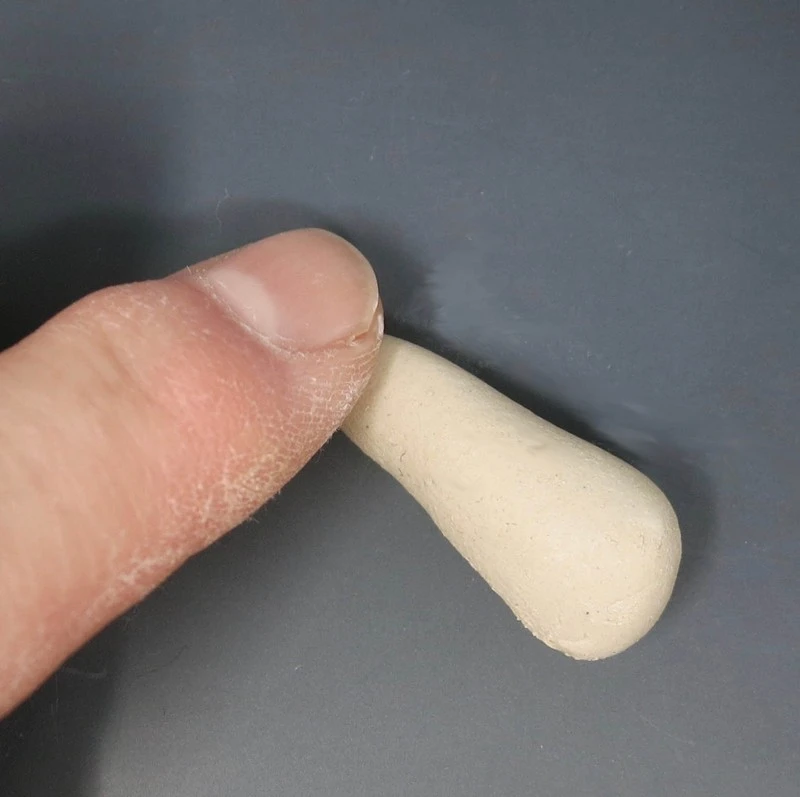
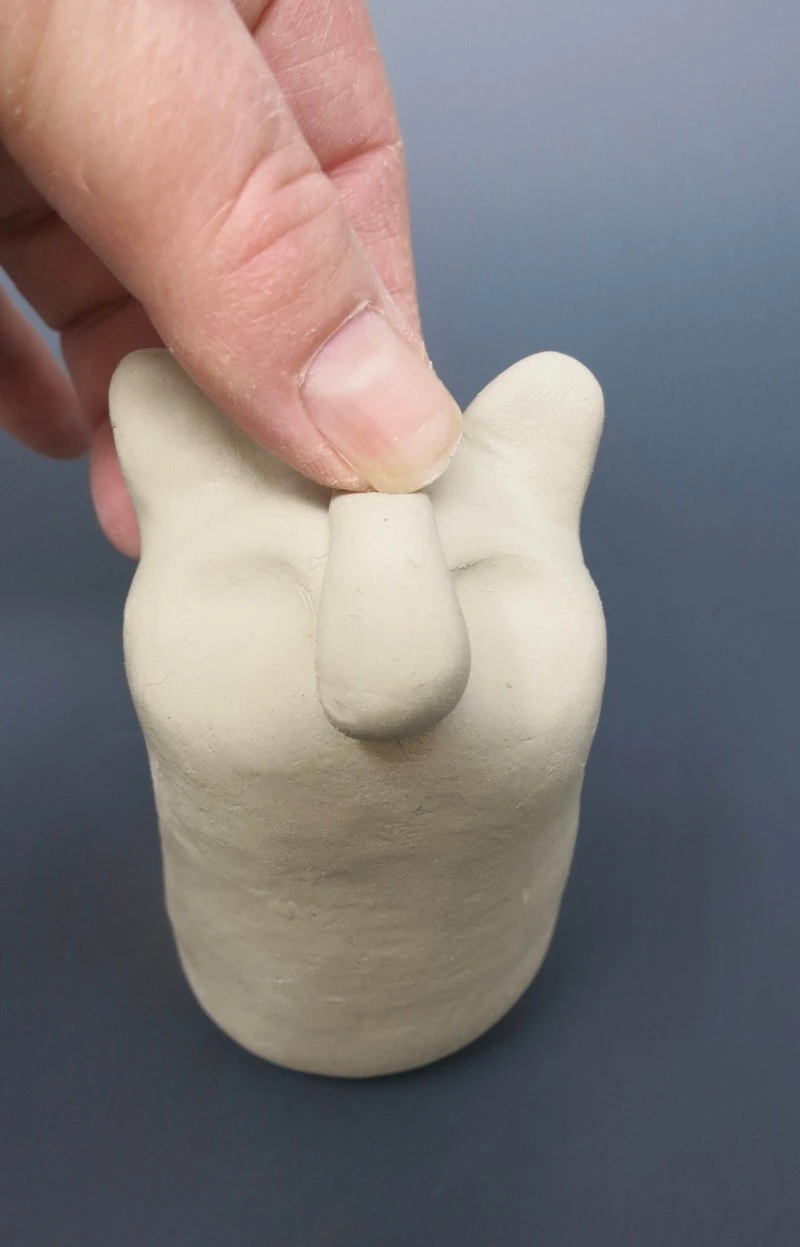
Roll the small sphere into a cone and attach by scoring and slipping it between the eyes on the head of the cat.
Step 6:
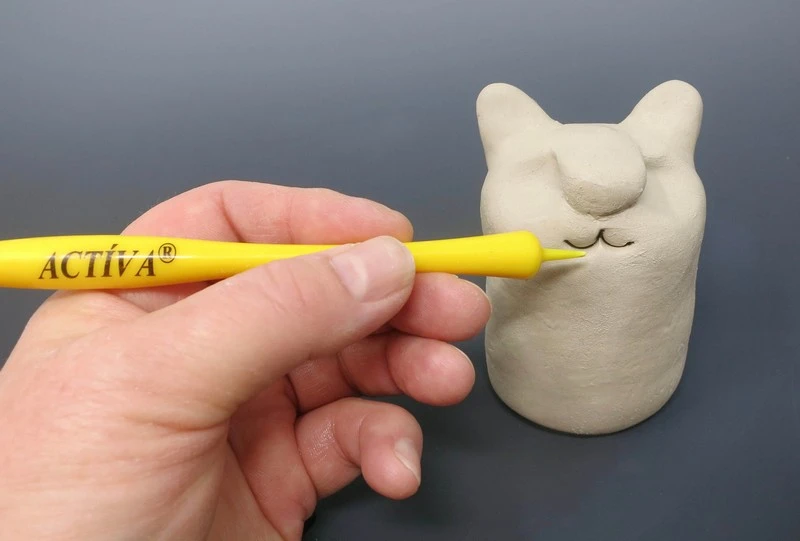
Mouth
Use the pointed tool to draw on the mouth.
Step 7:
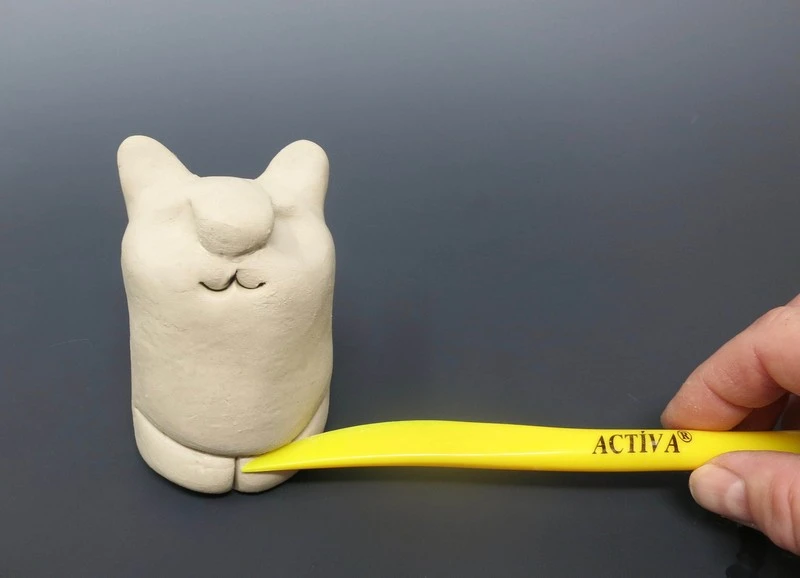
Feet
Indent the flat tool into the bottom of the cylinder horizontally and then vertically like the letter T.
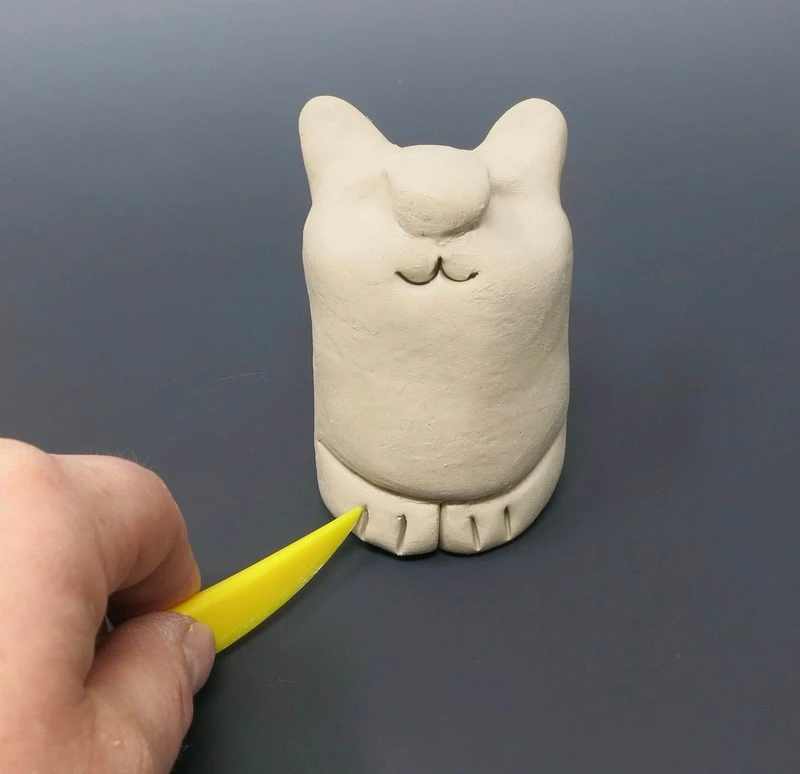
Indent the toes with the flat tool.
Step 8:
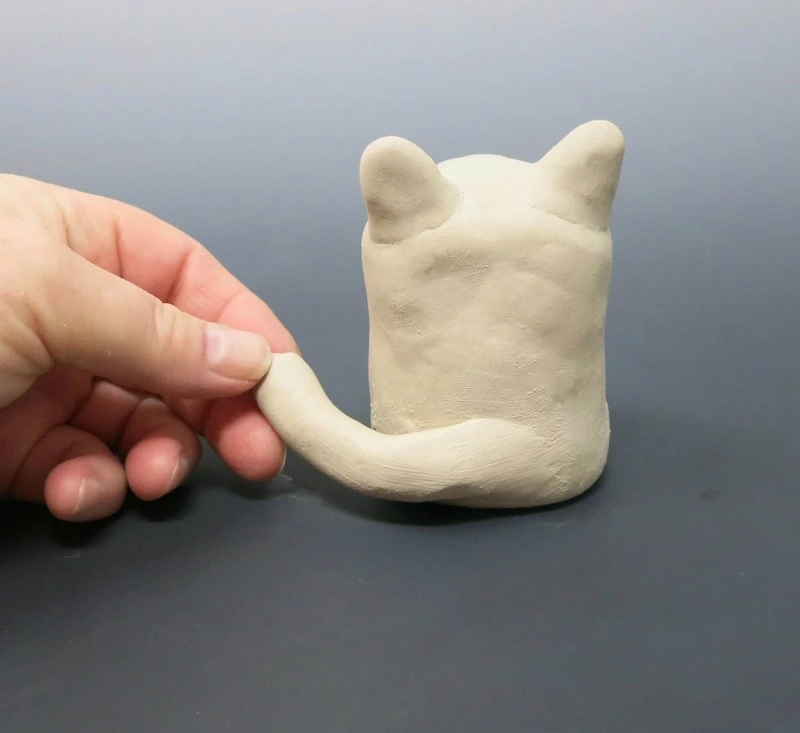
Tail
Attach the small cylinder by scoring and slipping it to the back of the body. Smooth one end onto the bottom and round off the other end. The tail piece of clay is thinner than the body and will air dry faster. To avoid the tail from falling off, press it close to the body rather than hanging off.
Step 9:
Kittens
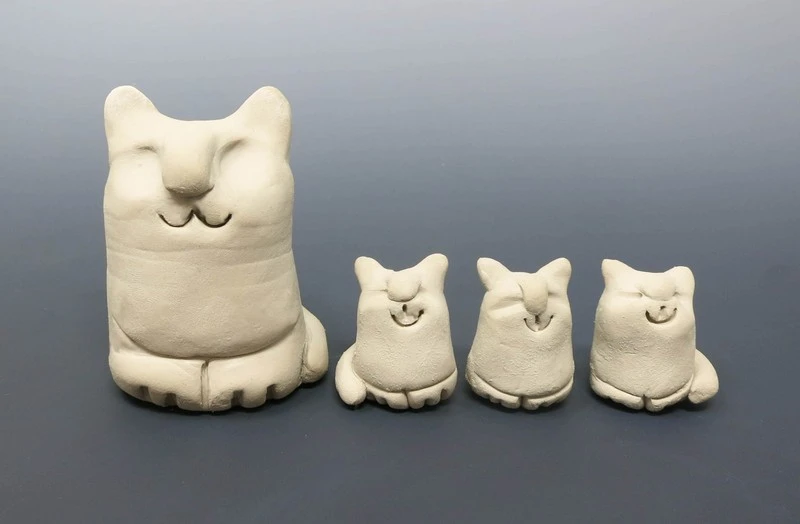
Kittens are young cats. Cats have between one and nine kittens in a litter. To create the kittens, repeat the same steps used to create the cat only scale down the size of the parts. Make them all the same size or vary the sizes.
Step 10:
Dry
Allow the clay to dry for 24 hours before painting.
Step 11:
Painting
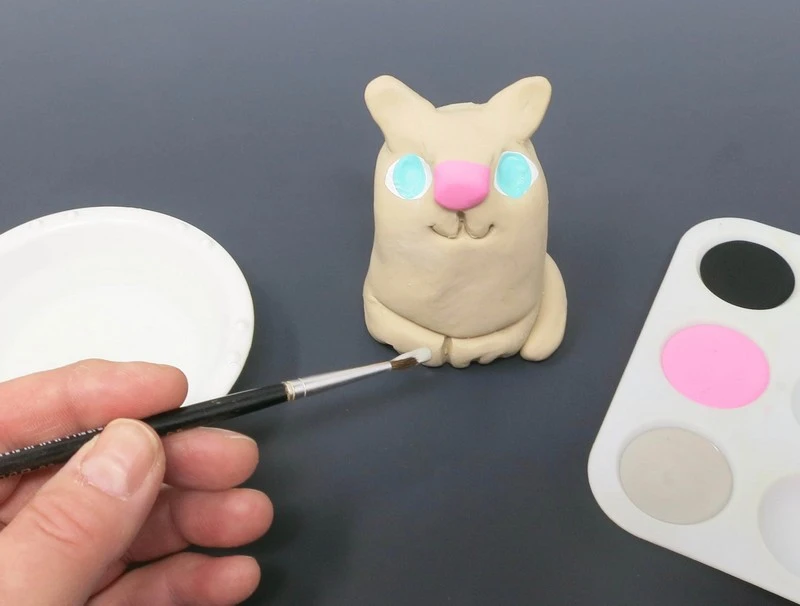
Use neutral colors to paint the cat. The neutral colors are white, black, gray and brown. Some cats are solid colored and others are multi-colored. Some cats have lines or shapes of colors on their fur coats. Kittens in the same litter can look very different. That’s because cats carry dominant and recessive genes, like blue eyes or short hair, which can result in a variety of kittens with different eye colors and fur lengths. Paint the kittens the same as the cat or make them all look different.
Step 12:
Collar
Use some ribbon and a rhinestone to create a collar.


 />
/>
 />
/>