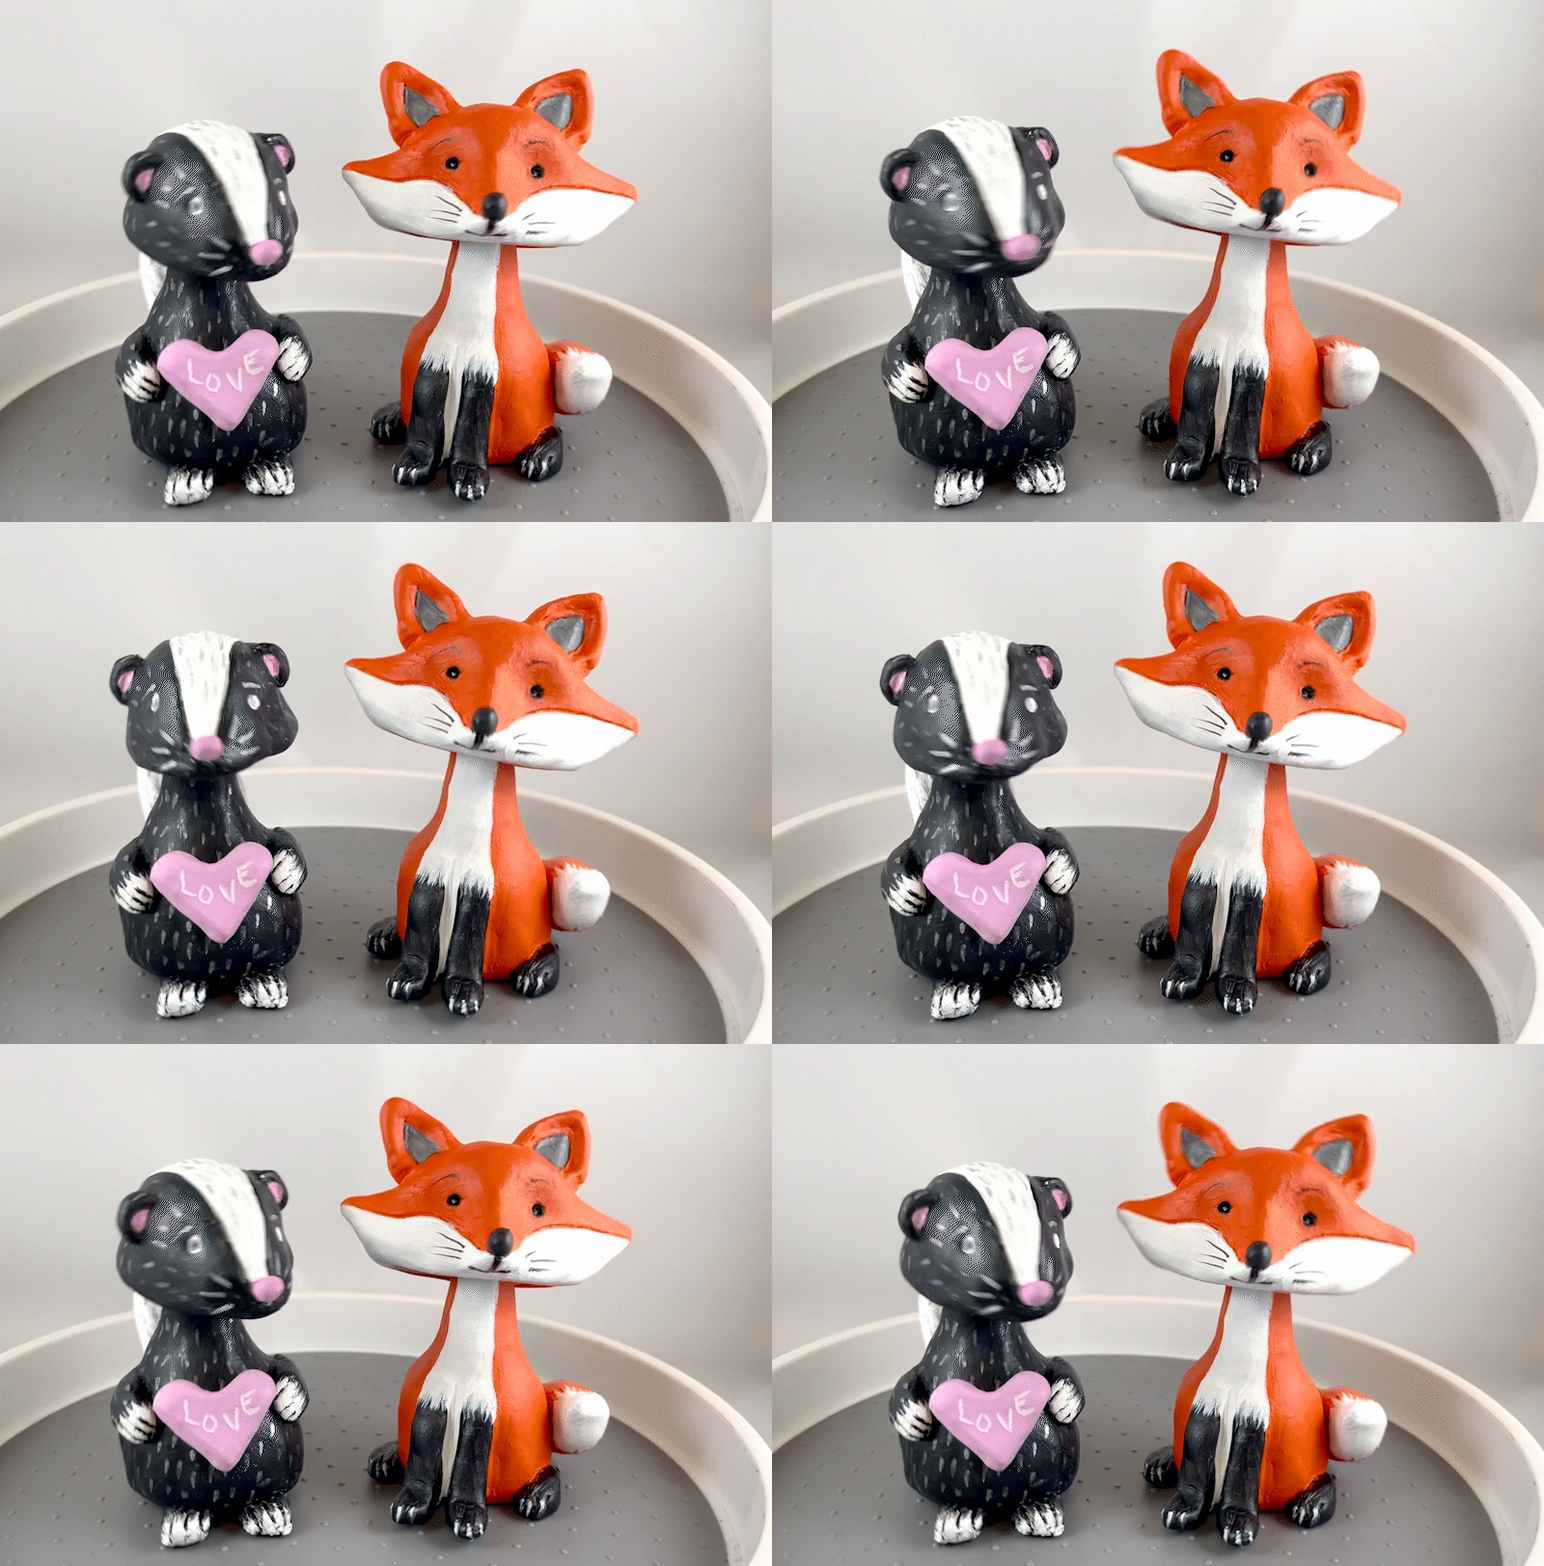
Materials Needed:
- Activ-Clay™ White Air Dry Clay
- Clay tools
- Pencil
- Messy mat
- Clay slip
- 18 gauge wire
- Paints and paint brush
- Water bowl
- Adhesive
Step 1
Body
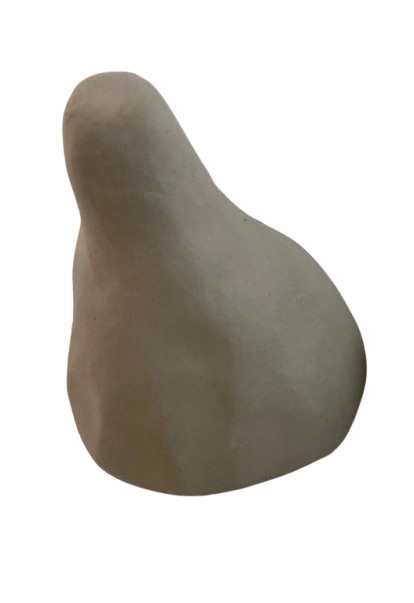
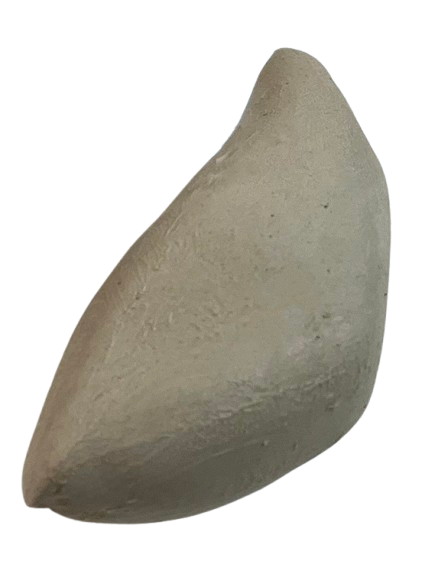
Roll a large sphere of clay and squeeze the top of it upward to form a pear shape.
Step 2
Head
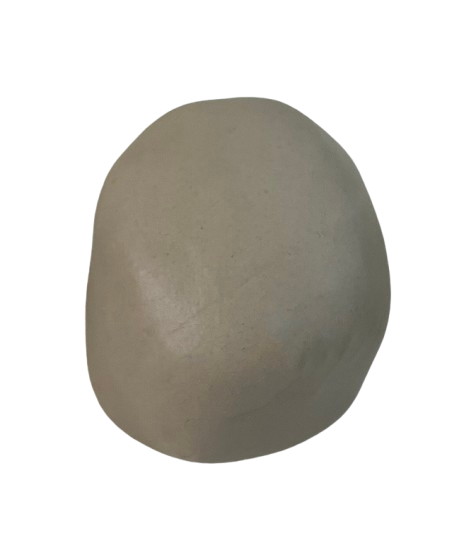
Roll a large sphere of clay.
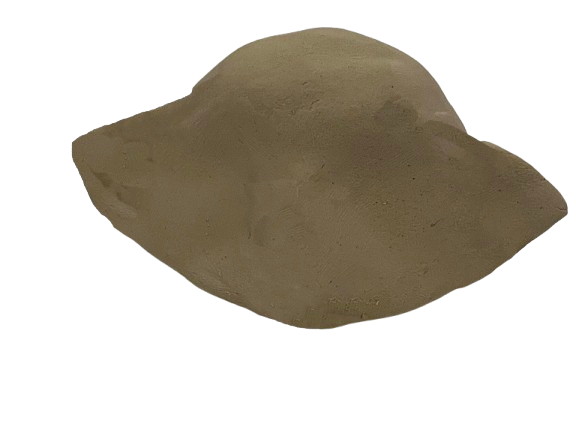
Turn the solid sphere of clay into a hollow pinch pot using your thumb and fingers.
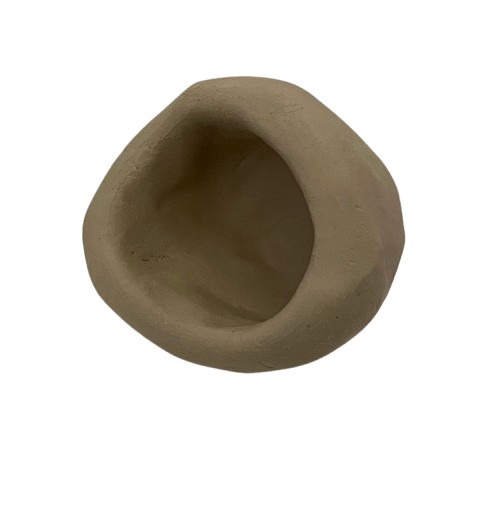
Create a small donut shape out of clay and attach it inside the pinch pot.
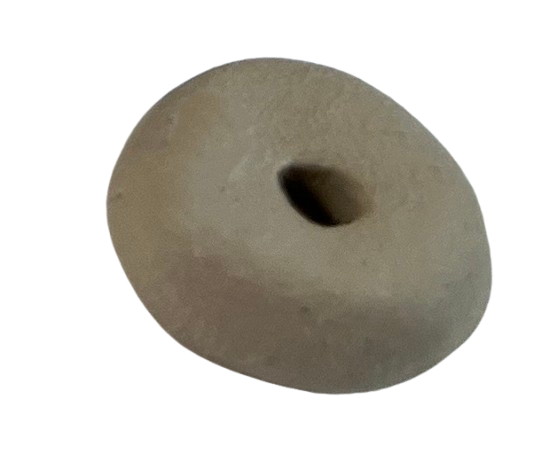
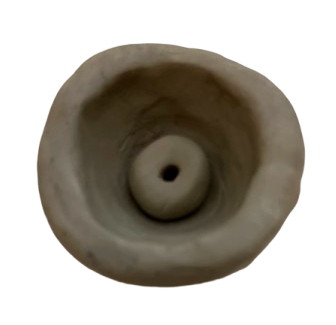
Step 3
Legs
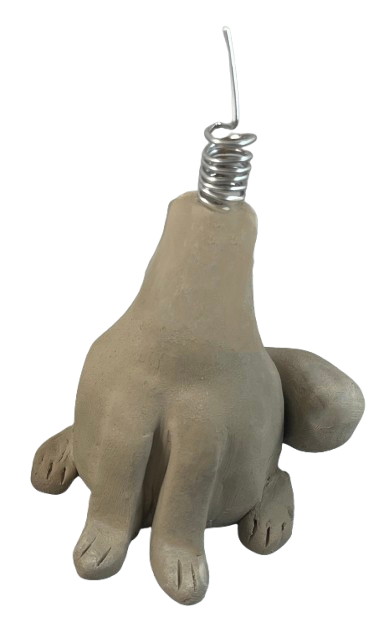
Roll two small coils of clay.
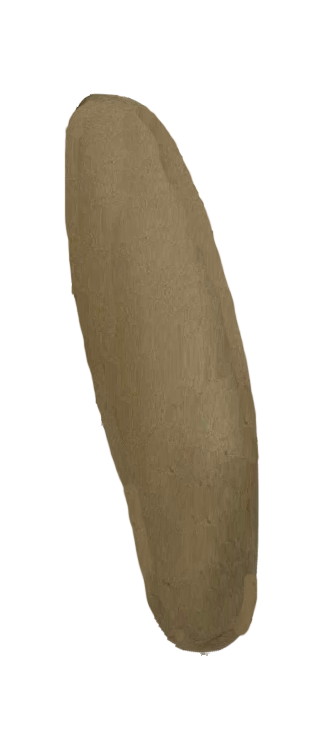
Score and slip the clay coils onto the front of the body shape.
Allow the bottom of the coils to slightly hang off the body.
Turn the ends of the coils upward to create the animal's feet.
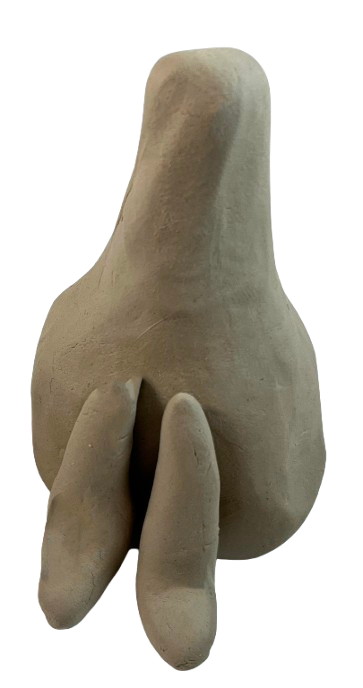
Roll two more small coils of clay and attach them to the side of the body shape.
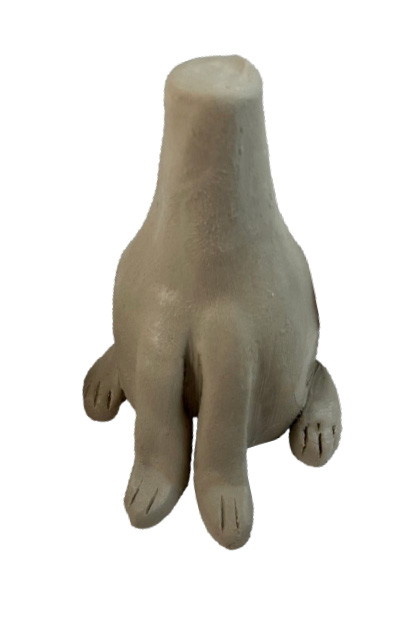
Draw in the animal's nails on each foot using a pointed clay tool.
Step 4
Head
Add additional clay onto the sides of the pinch pot to create the animal's cheeks.
Step 5
Face
Draw in two eyes using a pointed clay tool.
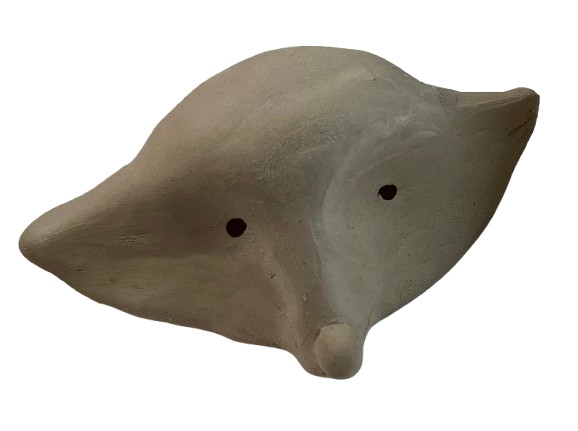
Add additional clay between the eyes and smooth it into a protruding nose.
Roll a tiny sphere of clay and add it to the tip of the nose shape.
Step 6
Ears
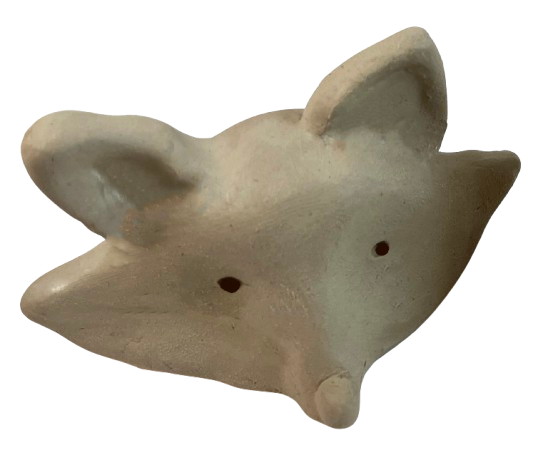
Shape two triangles out of clay. Score and slip them onto the top of the head.
Step 7
Tail
Roll a crescent shape out of clay for the animal's tail and attach it to the rear end of the body.
Step 8
Spring
Roll the wire around a pencil to create a coil spring.
Create a slot in the top of the body shape using a pencil and insert the coil spring.
Step 9
Dry
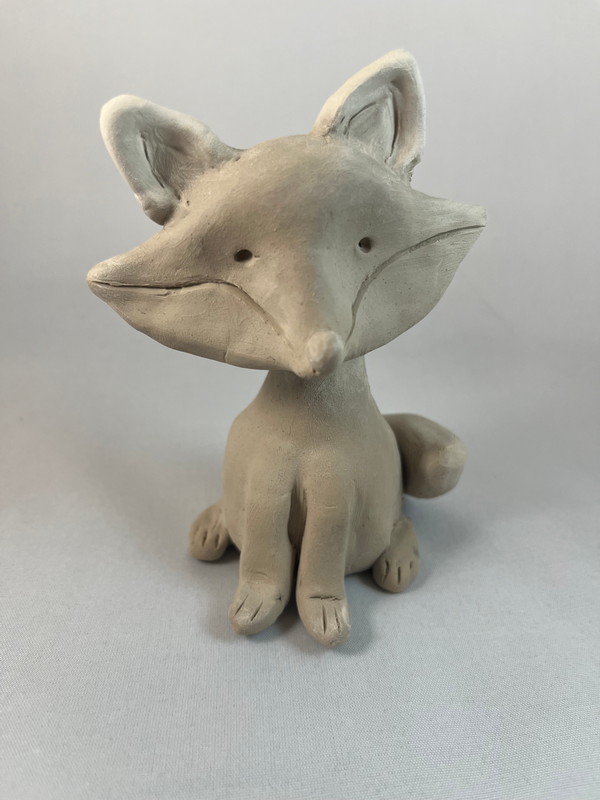
Allow the clay to fully dry.
Step 10
Paint
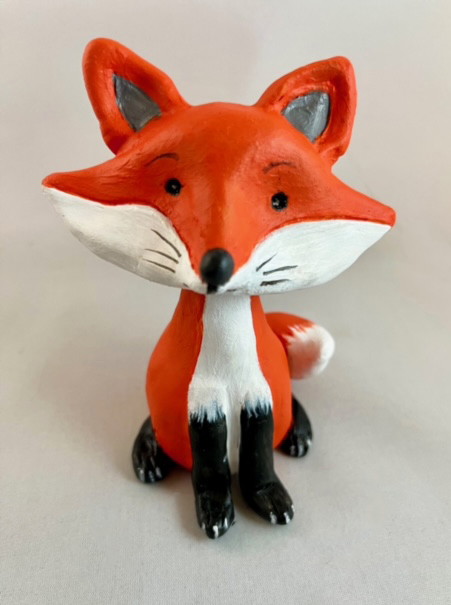
Paint the clay sculpture.
Step 11
Attach
Glue the spring into the slot on the body shape using adhesive.
Place the head on top of the body shape and allow the head to bobble back and forth.


 />
/>
 />
/>