Project by Jennifer Perkins.
Trendy terrazzo is easy to create yourself with the help of Plus Clay air dry clay from ACTÍVA. Add as many specks of color as you like or stick with a classic black and white color combo. Because terrazzo is all about random patterns, there is no right or wrong way to make these adorable terrazzo trays!
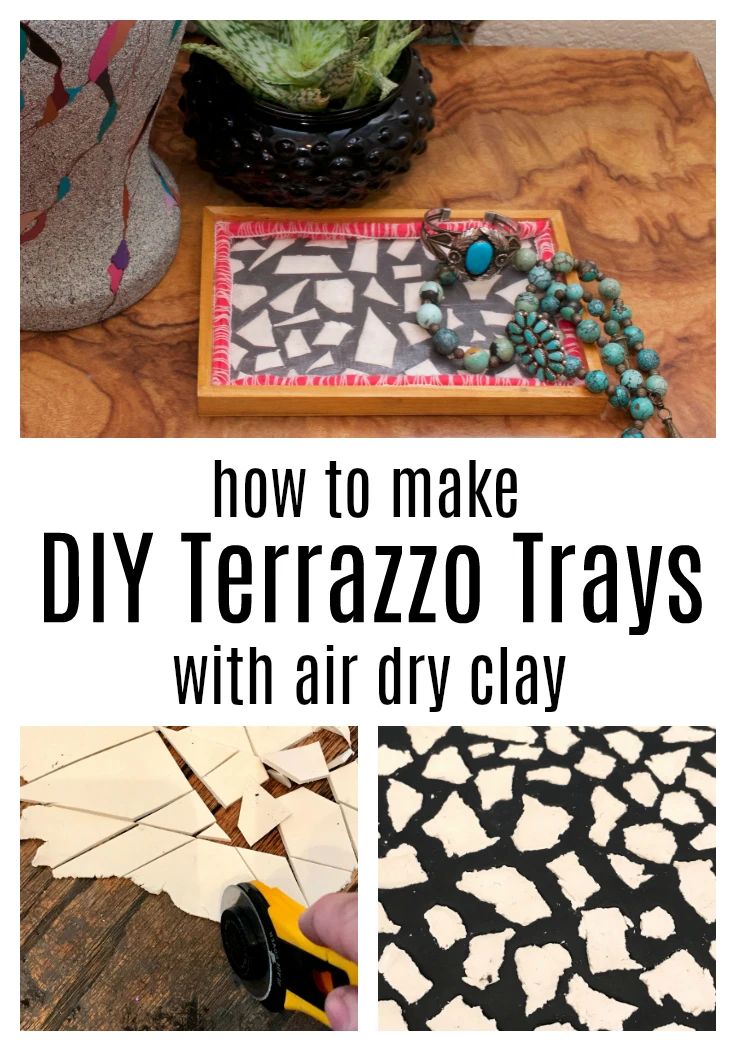
Supplies Needed to Make Terrazzo Trays
- Plus Clay air dry clay in black
- Plus Clay air dry clay in white
- Optional: Color Plus Clay in colors of your choice
- Rolling pin
- Wooden tray
- Decorative trim
- Hot glue and hot glue gun
- Rotary cutter
- Scissors
- Smooth, flat surface (like a fabric ruler)
- Protective high-gloss topcoat
How to Make Terrazzo Trays with Air Dry Clay
Step One: Roll out a thin sheet of Plus Clay air dry clay in black, slightly larger than the inset portion of your wooden tray.
Step Two: Roll out a thin sheet of Plus Clay air dry clay in white (or Color Plus Clay in colors of your choice). Use the rotary cutter to cut random shapes of clay.
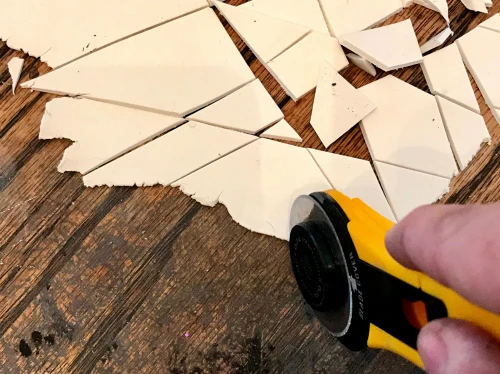
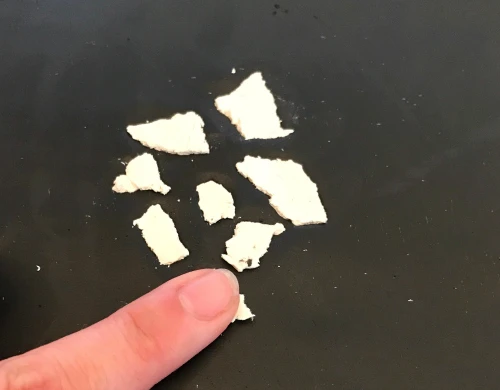
If you want a different look, "tear" the pieces of white clay so that they have rough edges.
Step Three: Gently push the cut pieces of clay into the black Plus Clay.
Step Four: Use a smooth, flat surface to apply pressure to the clay. Smooth the clay until it is all level.
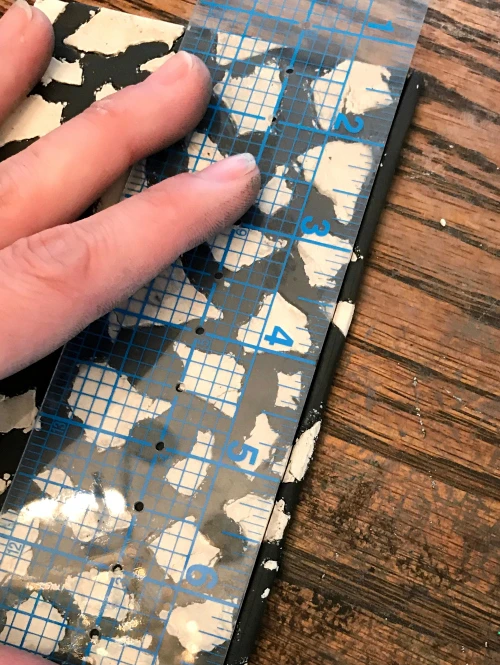
Step Five: Once the clay is smooth and the white and black pieces are level, cut the clay to the size of the inside of the tray, using the rotary cutter. Allow it to dry thoroughly.
Step Six: Once dry, glue the clay to the inside of the wooden tray with hot glue.
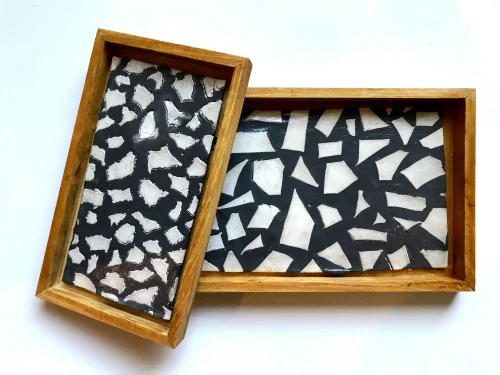
Step Seven: Apply a high-gloss topcoat and allow to dry.
Step Eight: Attach decorative trim around the edge of the clay terrazzo and the tray to fill in any gaps left between the surfaces.
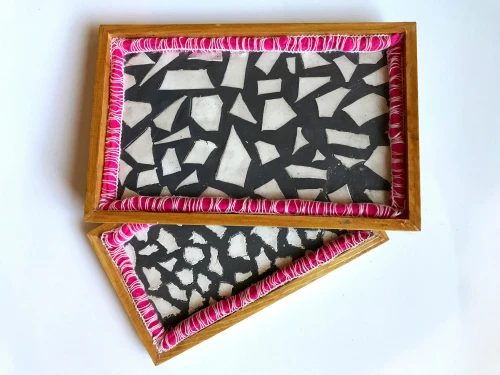
And that is all you have to do to make your own terrazzo trays!
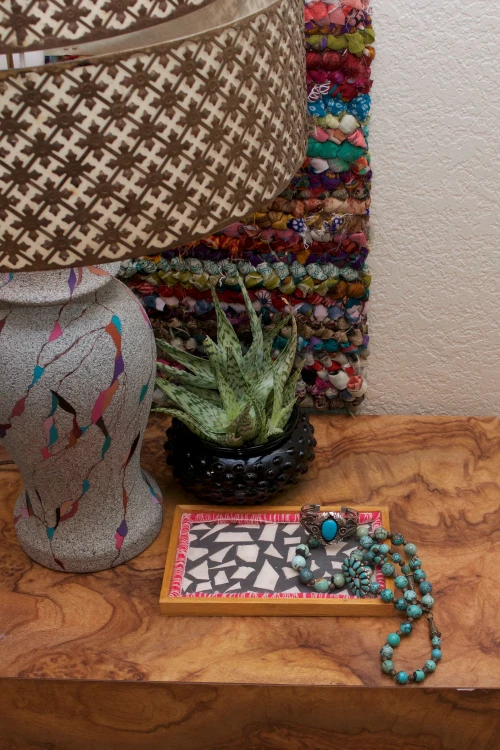
Display your favorite items and enjoy!
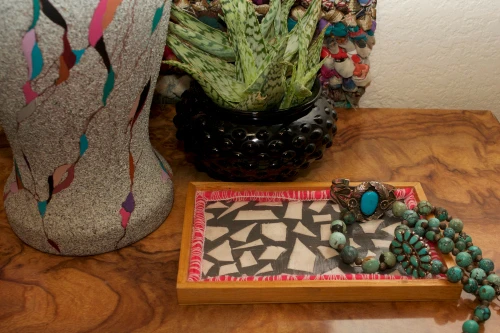
Shop for Plus Clay air dry clay in Black and White in our online store! And check out some of our other air dry clay projects here!


 />
/>
 />
/>