Materials Needed:
- Activa CelluClay
- Water
- Zip top bag
- Large half styrofoam ball
- Small styrofoam ball
- Cardboard tubes
- Scissors
- Hot glue gun
- 1/4” Mirror squares
- 2 Round mirror gems
- Foam egg crate cushion
- Activa Li-Qua-Che
- Paint brush
- Sponge
- Water bucket
Step 1
Prepare the CelluClay
Mix the CelluClay according to package directions.
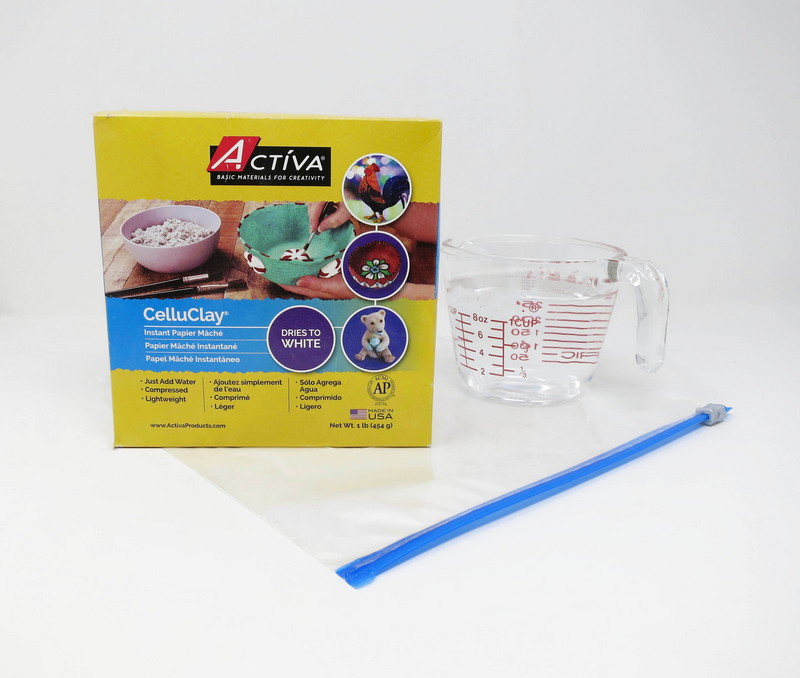
Add 32oz. of warm water to 1 lb. of CelluClay mixing in a zip top bag.

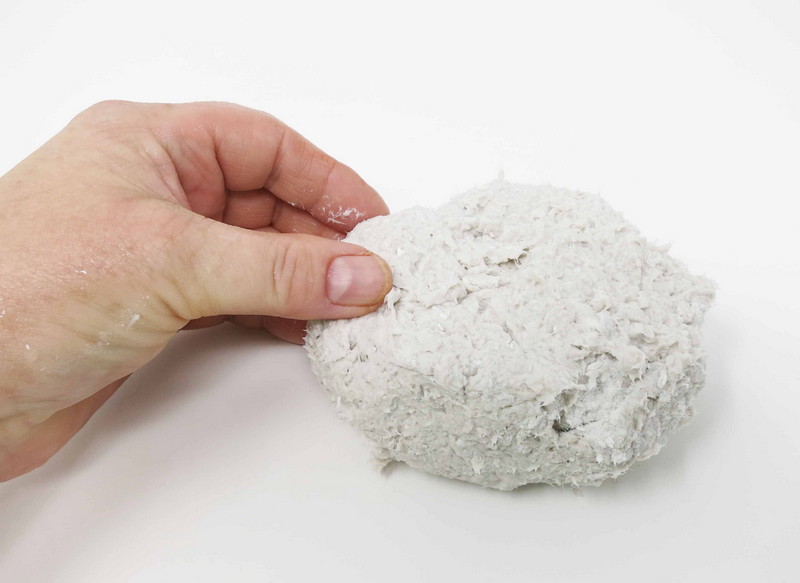
Knead with fingers until the CelluClay reaches the consistency of clay or stiff dough with no dry spots.

Add more dry CelluClay if mixture is too wet or soft, and more water if CelluClay if too dry or stiff.
Remove the Celluclay from bag when done mixing.
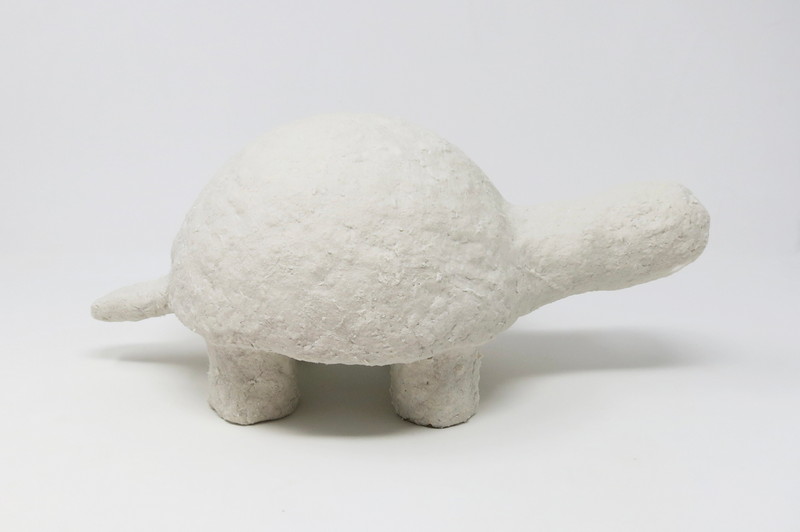
Step 2
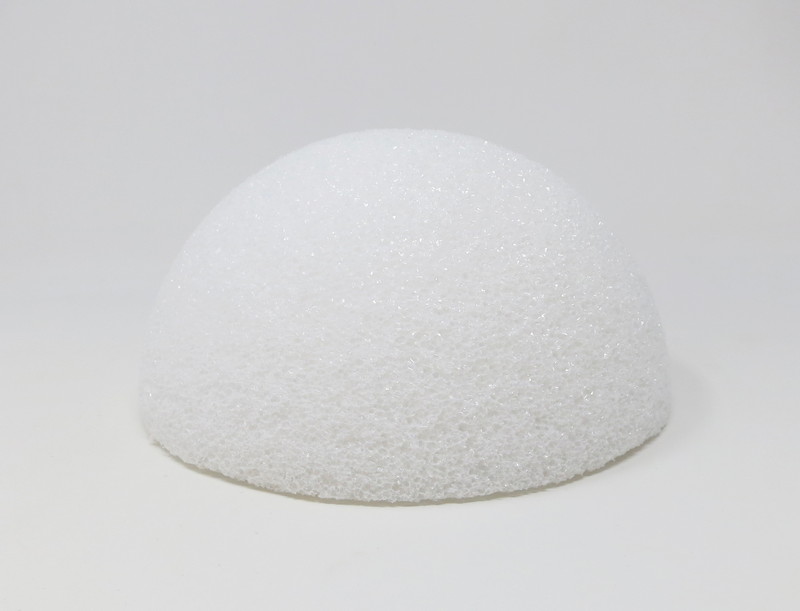
Body
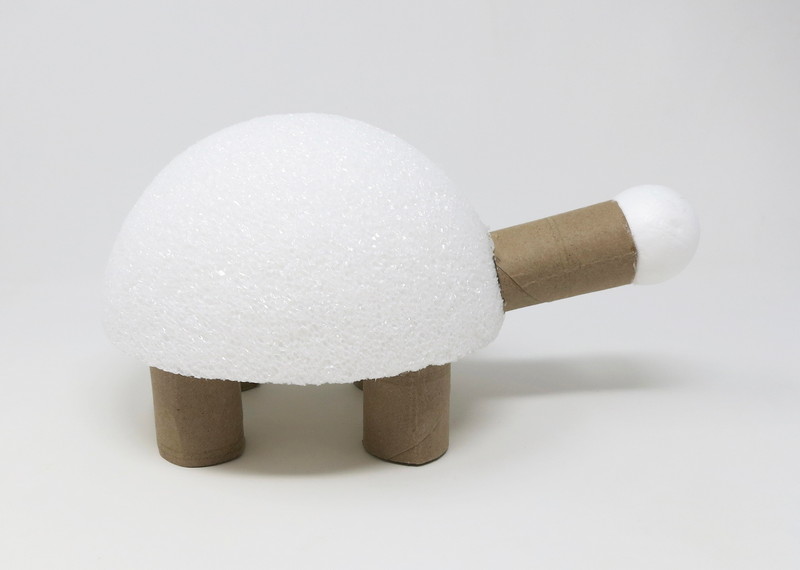
Use the large half styrofoam ball for the turtle’s body.
Step 3
Legs
Cut two 4” cardboard tubes in half.
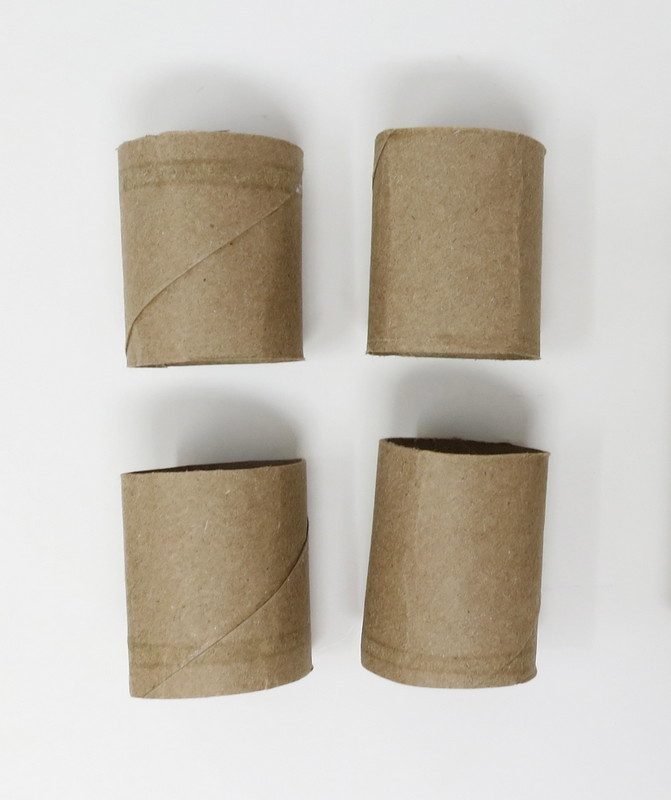
Attach all four cylinders to the flat side of the large half styrofoam ball using a hot glue gun.

Step 4
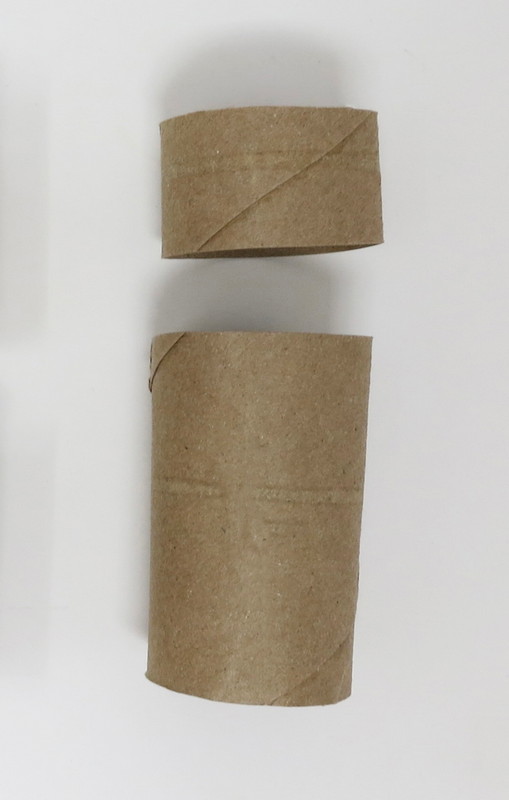
Head
Cut a 3” cylinder section out of a 4” cardboard tube.
Attach a small styrofoam ball onto the end of the large cylinder section using a hot glue gun.

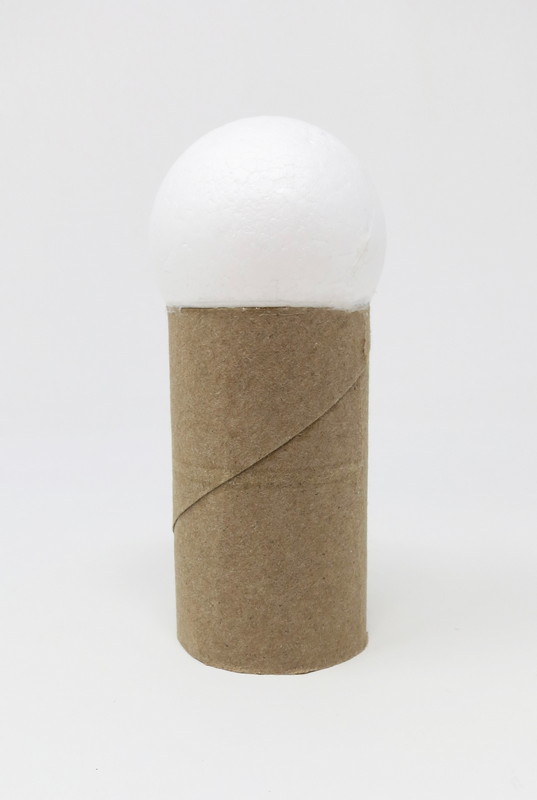
Attach the head to the turtle’s body using a hot glue gun.
Step 5
Tail
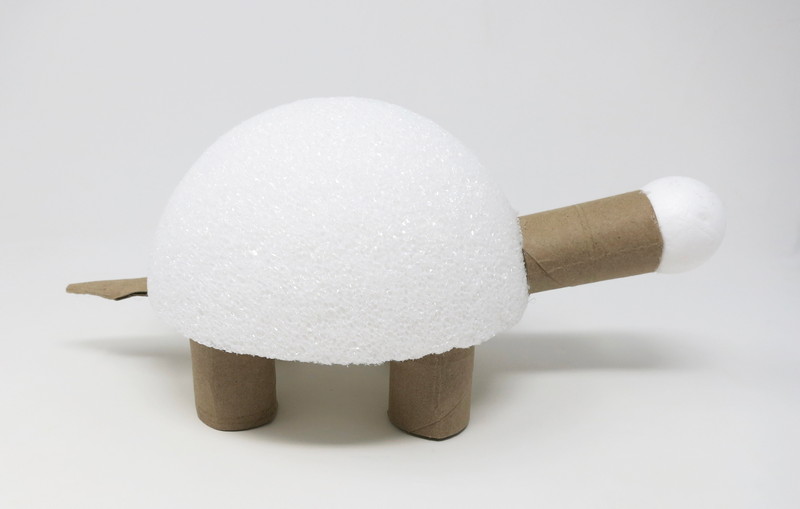
Attach the remaining cardboard cylinder section to the turtle’s body at the opposite side of the head.
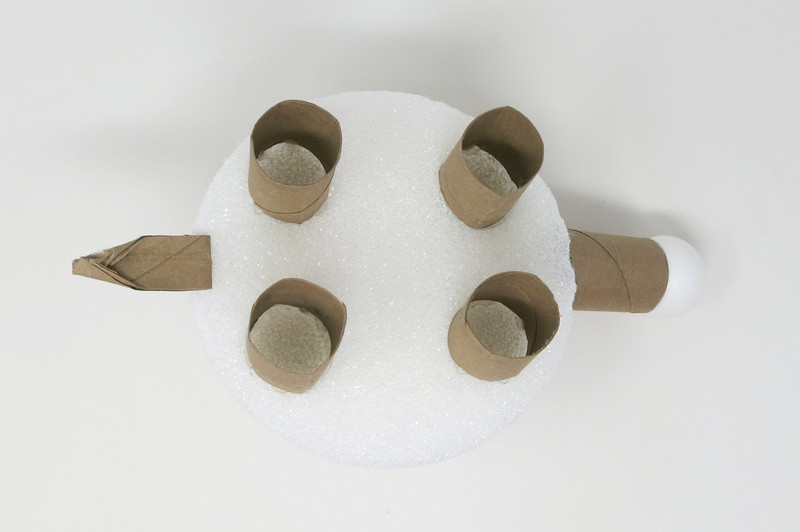
Gently fold in the edges of the cardboard tube to create a pointed tip.
Step 6
Layer
Cover the turtle armature with a coat of the CelluClay.
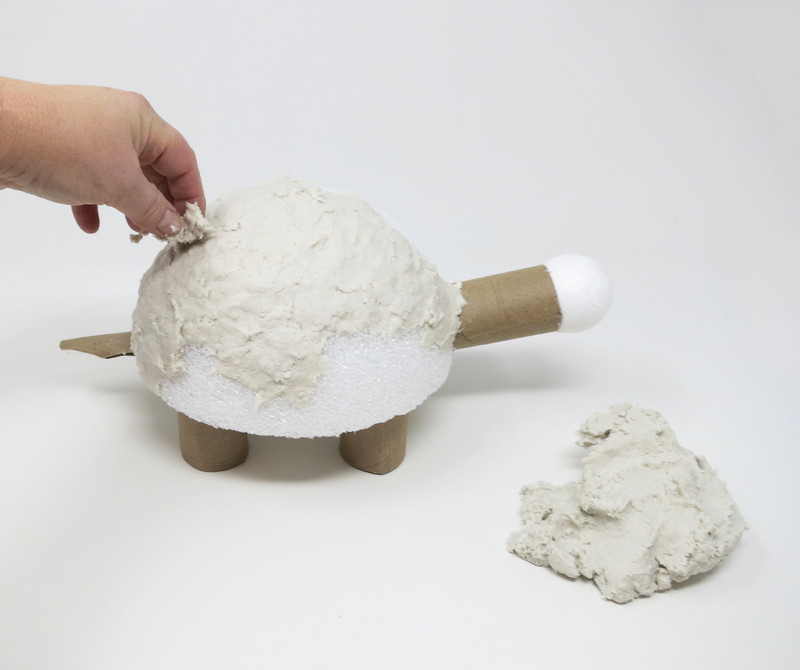
Smooth out any bumps in the CelluClay using wet fingertips.
Apply several coats of CelluClay as needed to cover the armature completely.
Step 7
Mirror Tiles
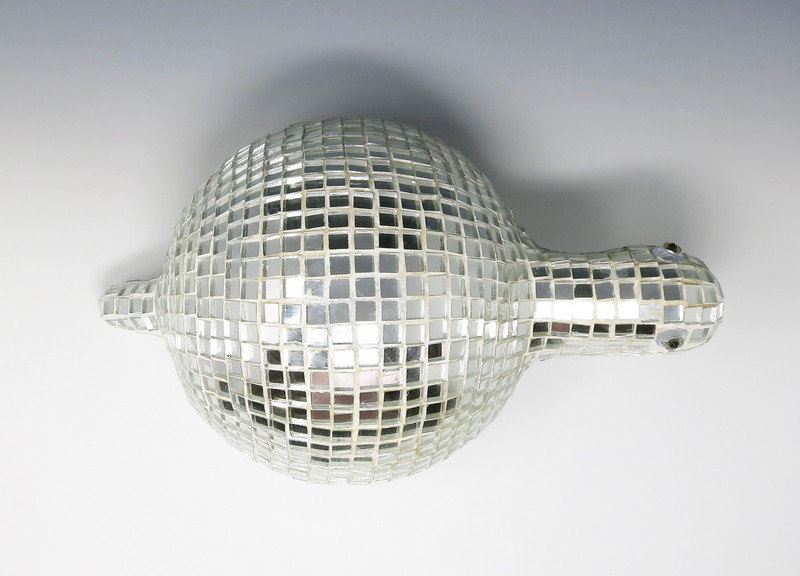
While the CelluClay is still wet, embed the square mirror tiles into the CelluClay.
Arrange the tiles next to each other in a row. Continue placing the tiles in this pattern until the surface of the turtle is covered.
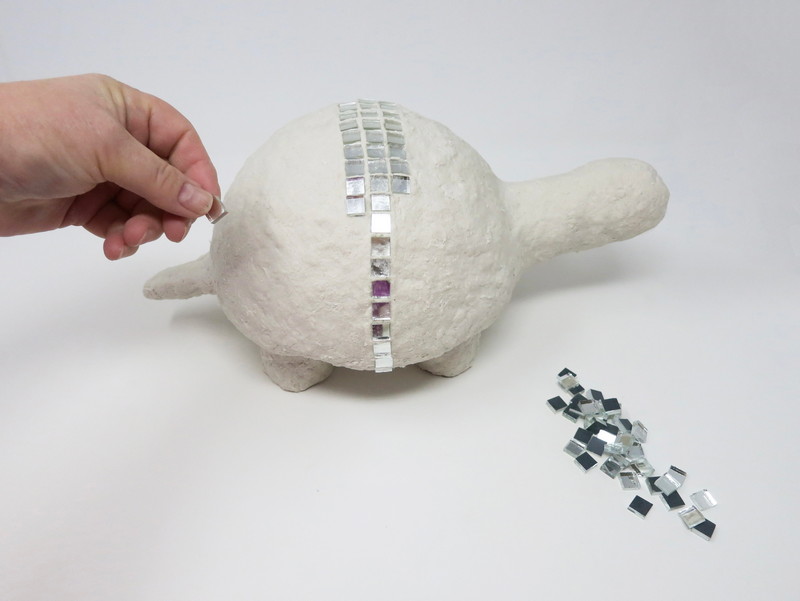
*NOTE: Round mirrored gems may be used in place of square tiles for the turtle’s eyes.

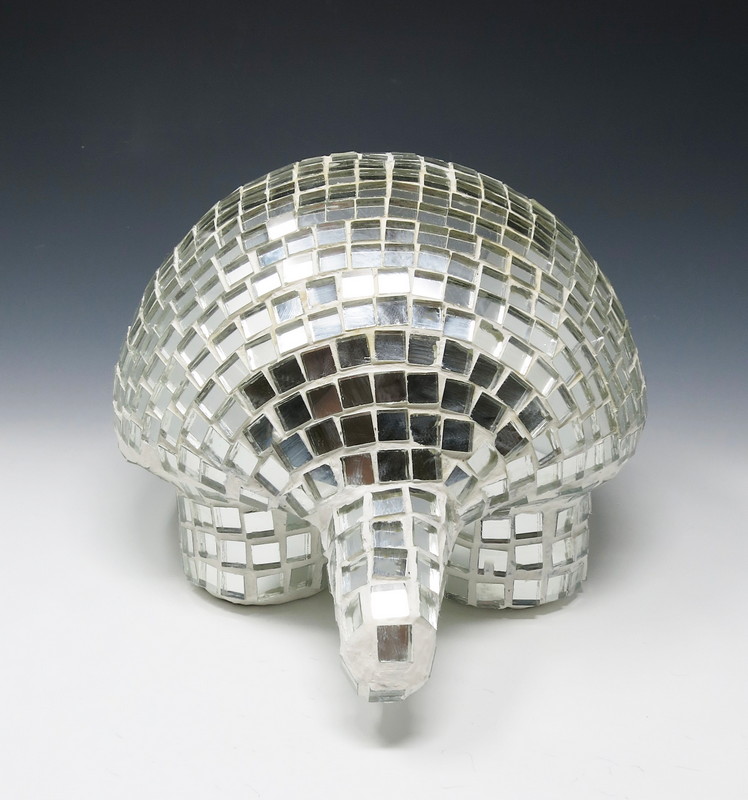
Once all the mirror tiles are in place on the top half of the turtle sculpture gently turn it over.
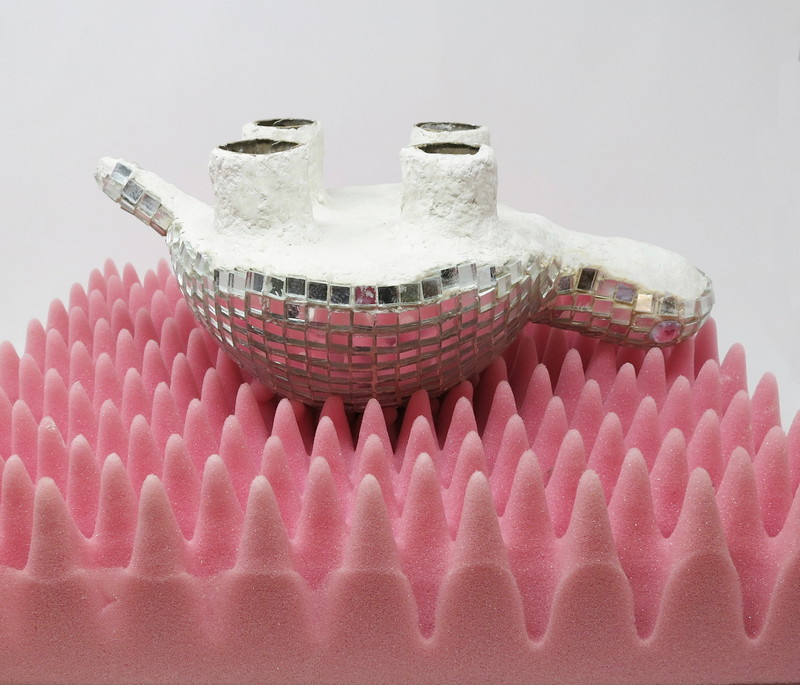
*NOTE: A foam egg crate cushion may be used to help support the fragile mirrored sculpture.
Complete the underside of the sculpture by inserting additional tiles on the belly and legs of the turtle.

Step 8
Dry
Allow the sculpture to air dry. Humidity levels will impact drying time.
The CelluClay will lighten in color and become harder as it is drying.
The CelluClay will feel room temperature when dry and have a bright white color appearance.
Step 9
Grout
Brush a coat of Li-Qua-Che into the gaps around all of the mirror tiles to reinforce the tiles like grouting a surface.
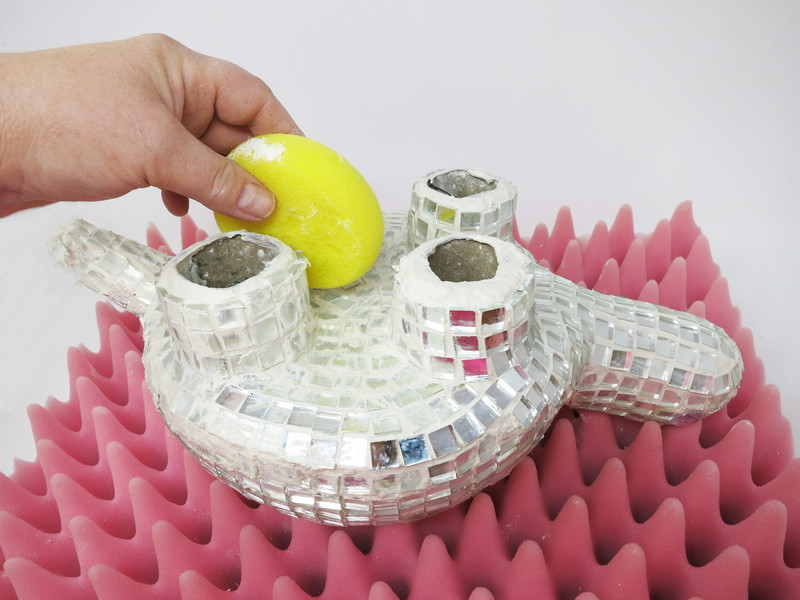

Remove any Li-Qua-Che covering the mirror tiles using a moist sponge. This process might take several passes to complete.

Polish the mirror tiles with a wet or dry paper towel if needed.