

Materials Needed:
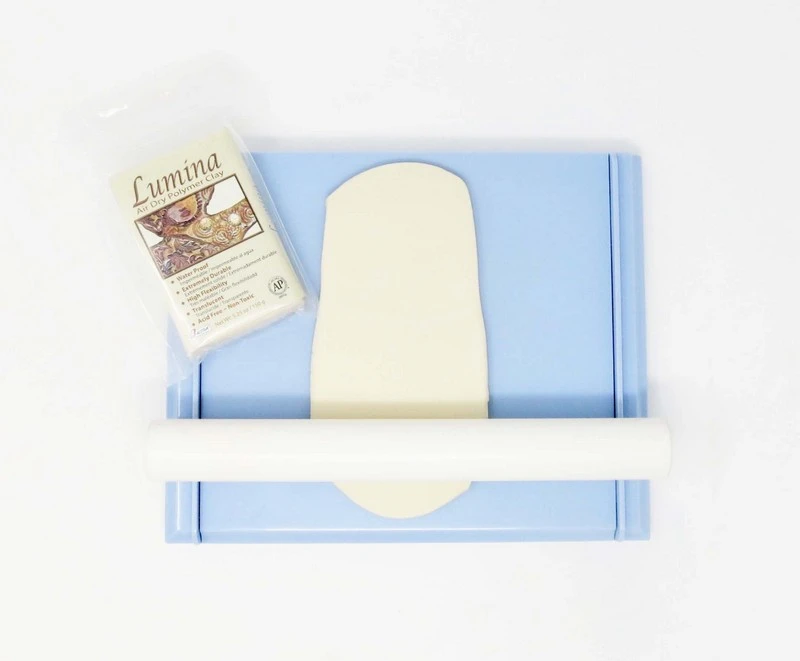
- Lumina Air Dry Polymer Clay
- Clay Roller Kit
- Activ-Tools: Clay Tool Set
- Activ-Tools: Geometric Clay Cutters Set
- Ruler
- Water Bowl
- Acrylic Paint
- Gloss or Matte Varnish
- Brush
Step 1:
Slab
Open the package of Lumina Clay and center it on the Clay Roller Kit. Roll all the clay out to form a 1/4” thick slab.
Step 2:
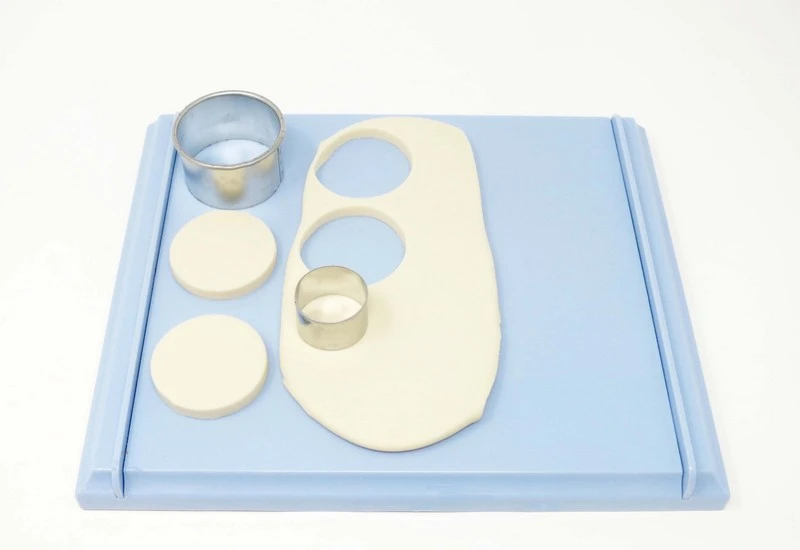
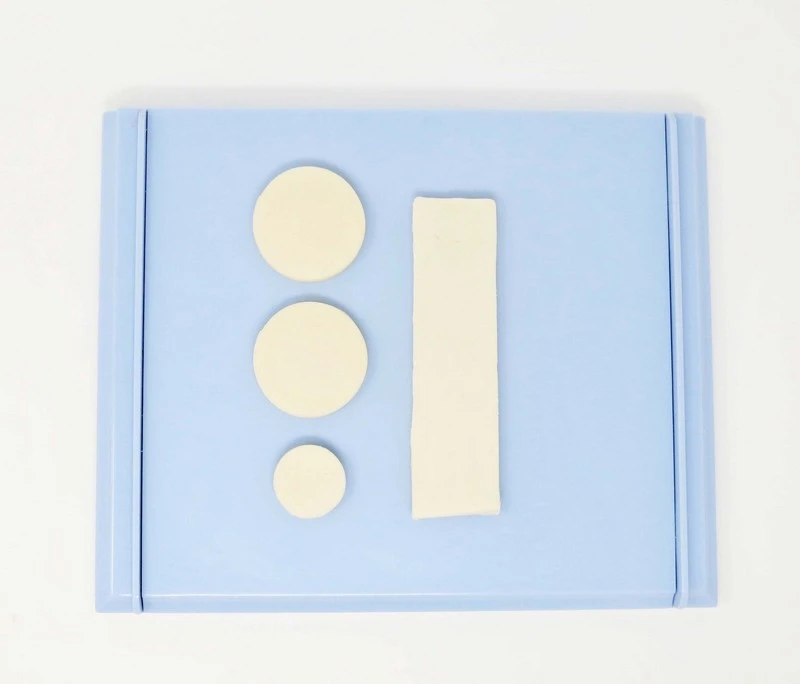
Circle Shapes
Cut out three circles: two large and one small. Use the Activ-Tools: Geometric Clay Cutters Set or similar cookie cutters.
Step 3:
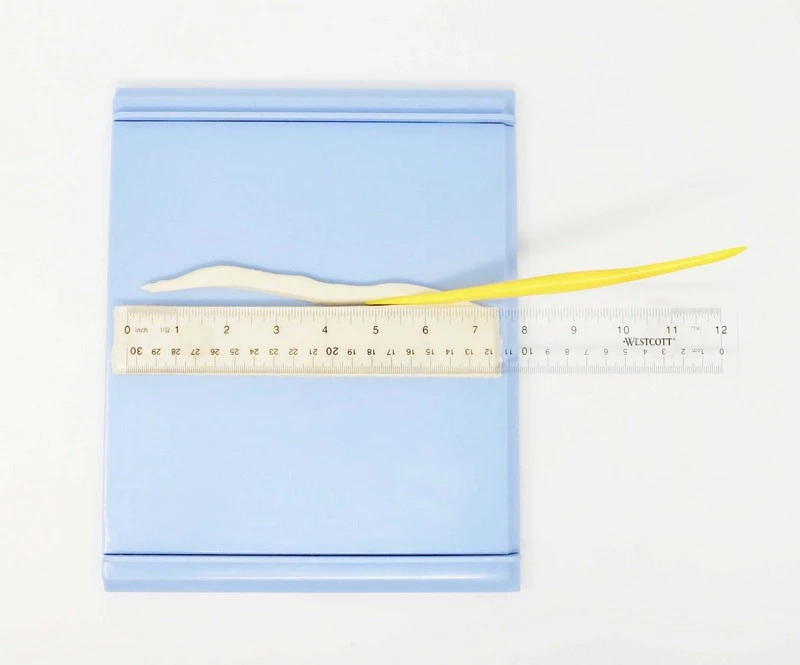
Rectangle Shape
Cut out a long rectangle: 1” wide by the length of the diameter of the large circle shape. Use a ruler to measure and help achieve a straight edge.
Step 4:
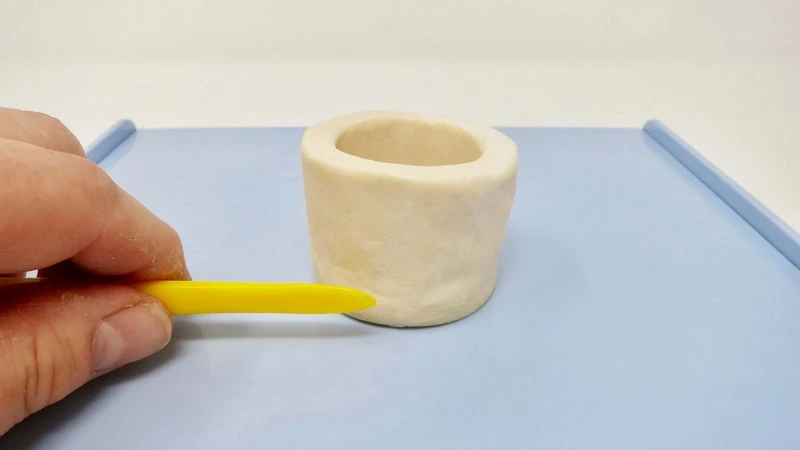
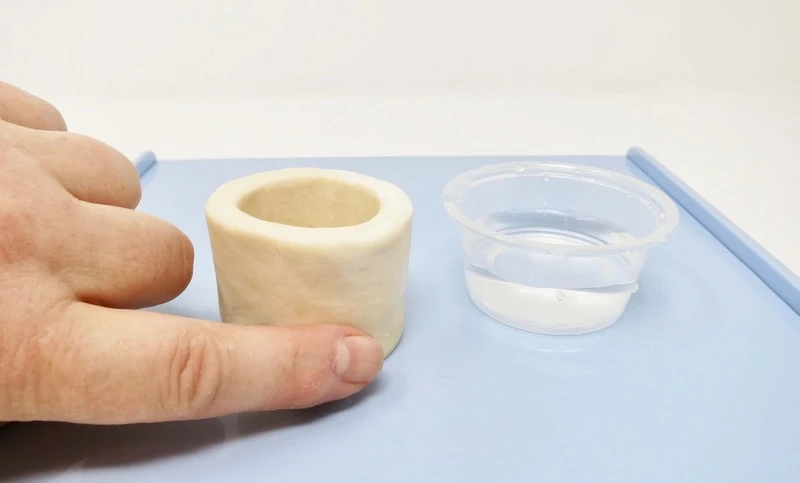
Bottom
Join the rectangle shape to one of the large circles. Gently bend the rectangle to fit on top of the circle. Use a little water to join the pieces together. Smooth both pieces with a flat ended tool and finger tip to form one piece.
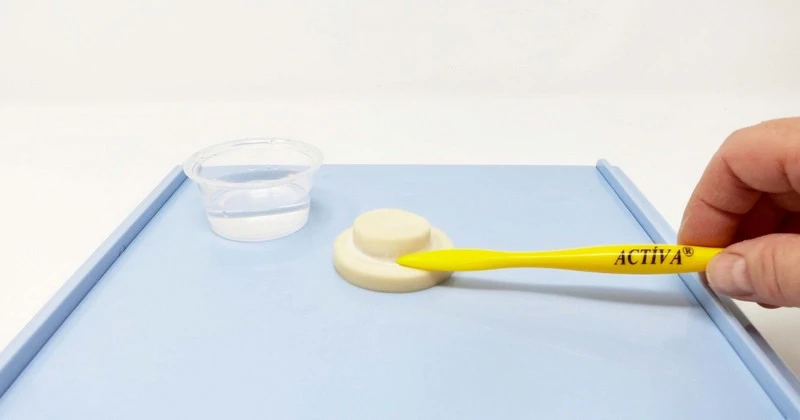
Step 5:
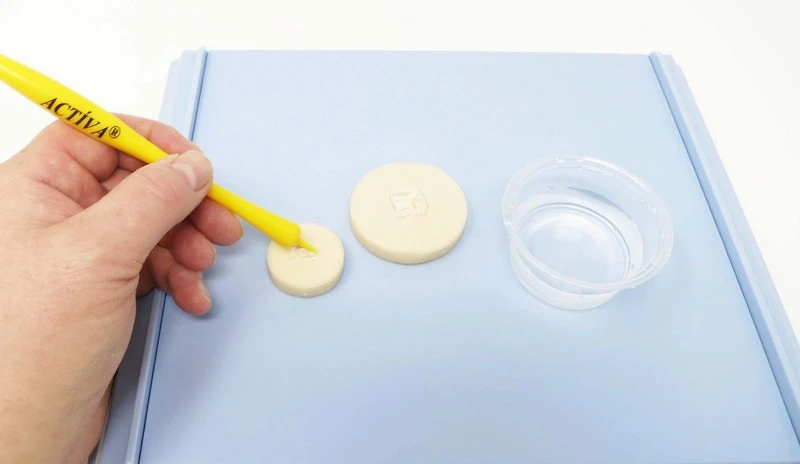
Lid
Join the small circle on top of the large circle. Rough up the clay with a few lines drawn in the center of each piece with a pointy tool. Then use a little bit of water to join the two pieces together. Smooth both pieces together with a flat ended tool to form one piece.
Step 6:
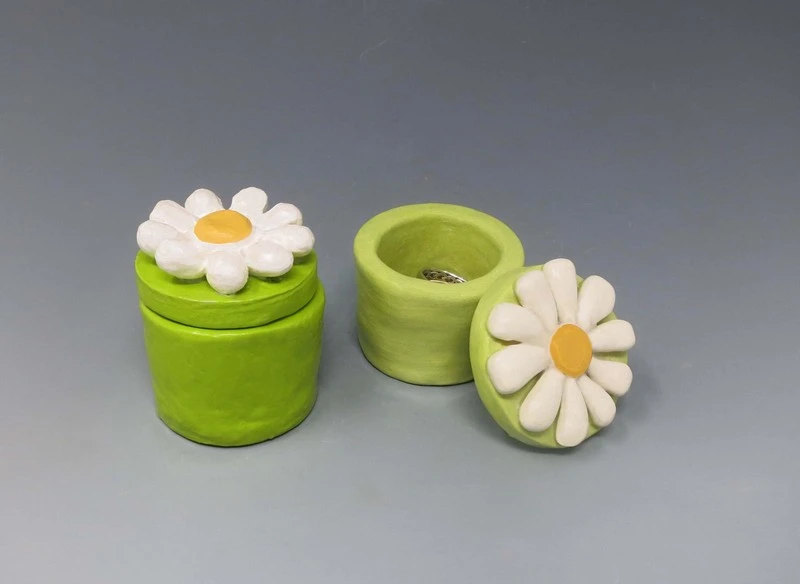
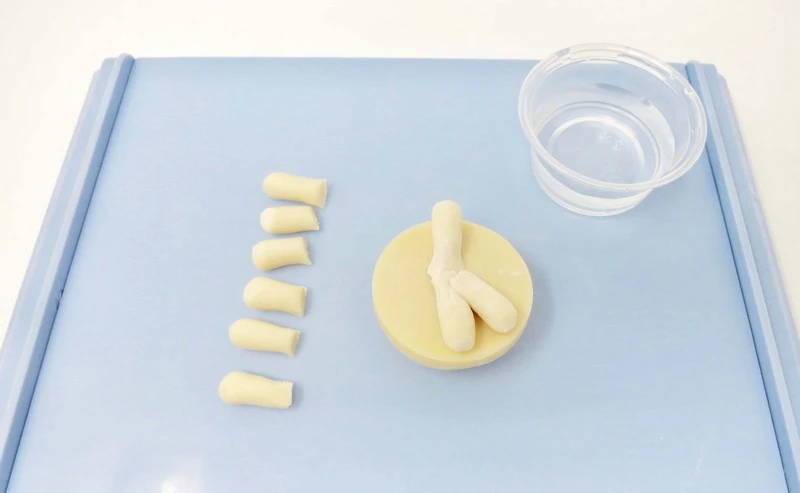
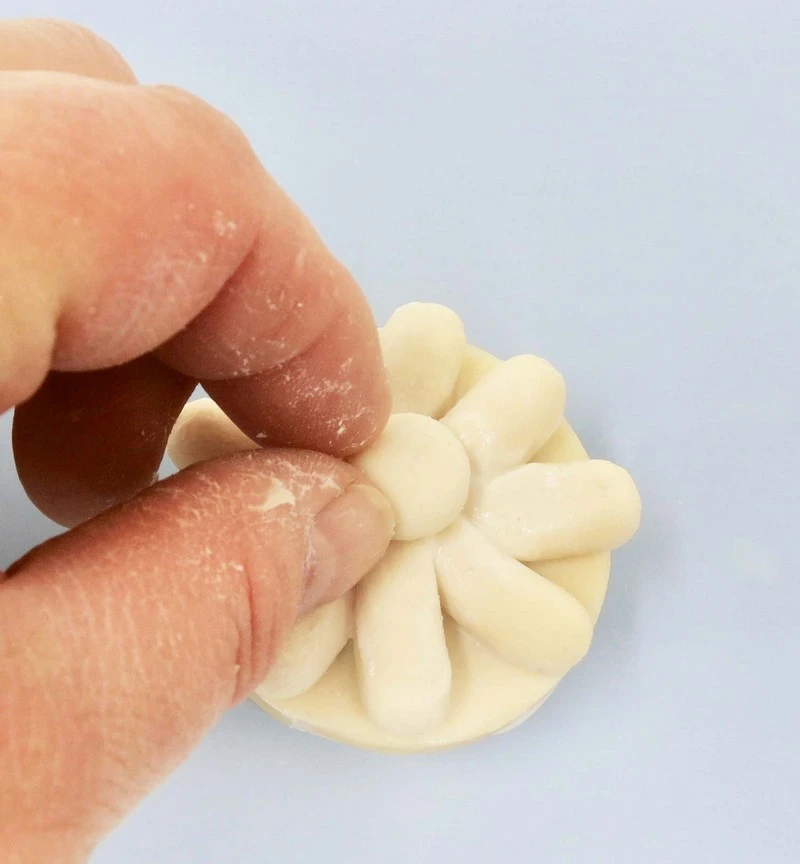
Decoration
Add additional clay pieces to create a decorated lid. Any subjects may be added: a heart, smiley face, flower, etc.
Step 7:
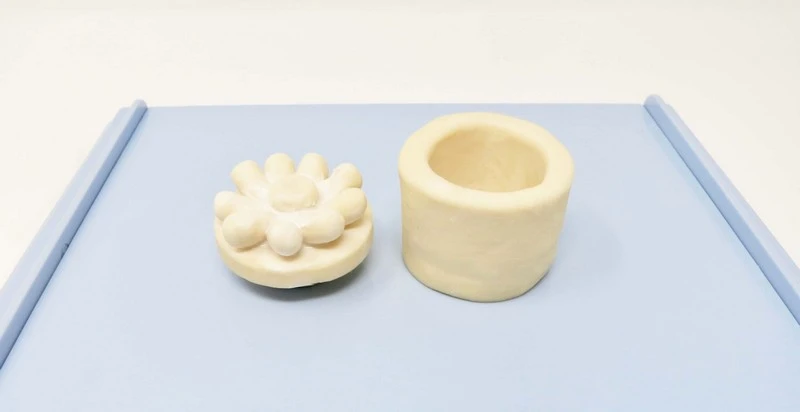
Air Dry
Separate the lid from the bottom of the container and allow the clay to air dry for 24 hours to a firm consistency.

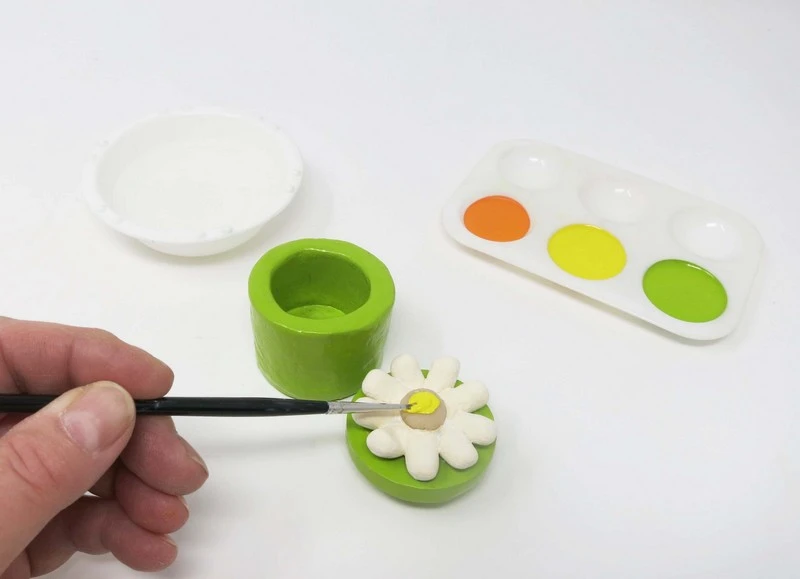
Step 8:
Paint
Use acrylic paint to paint the container.
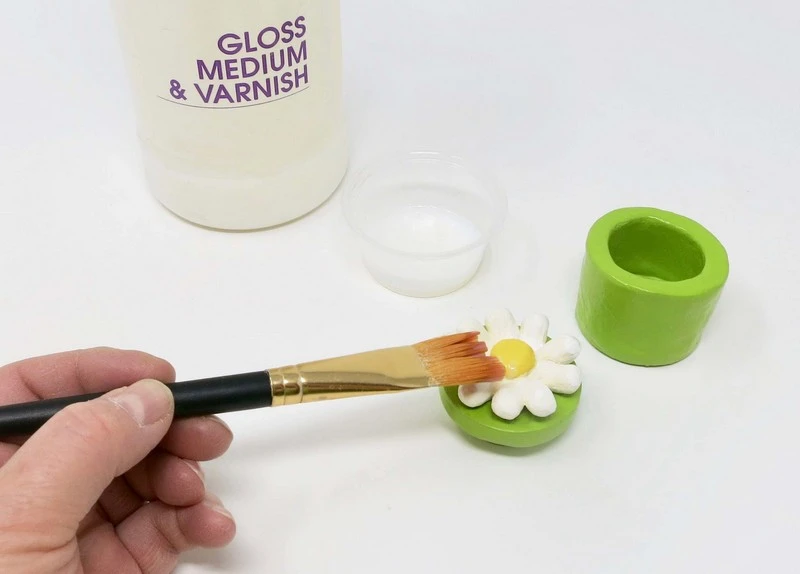
Step 9:
Varnish
Seal in the paint with a matte or gloss varnish.
Step 10:
Dry
Allow the varnish to dry 24 hours before placing the lid on the bottom to avoid the pieces from sticking together.
 />
/>
 />
/>