Summary:
Flower drying has never been easier thanks to ACTÍVA® Flower Drying Art™ Silica Gel and your trusty microwave! It's true that you can not only dry flowers in a microwave, but also preserve the flowers' natural beauty for years to come! This is, by far, the easiest and best way to dry flowers in a microwave.
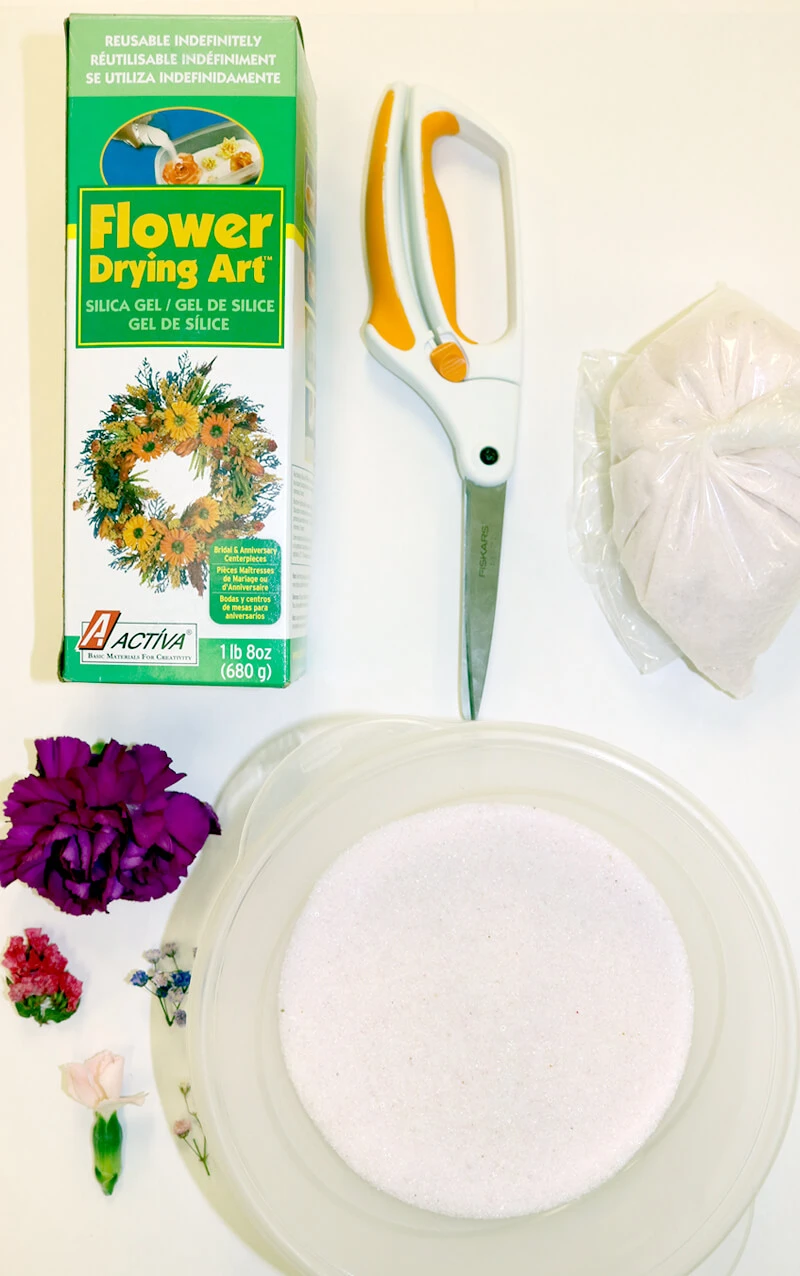
Materials needed:
- 1.5 lb (680 g) of Flower Drying Art™ Silica Gel
- Flowers
- Scissors
- Microwave
- (2) Microwavable containers
- Water
Step 1:
Before beginning the flower drying process, it's important to read your microwave's manual and know its heating power level. Then, get a microwave-safe container that will accommodate the depth, size, and shape of the flowers you want to dry.
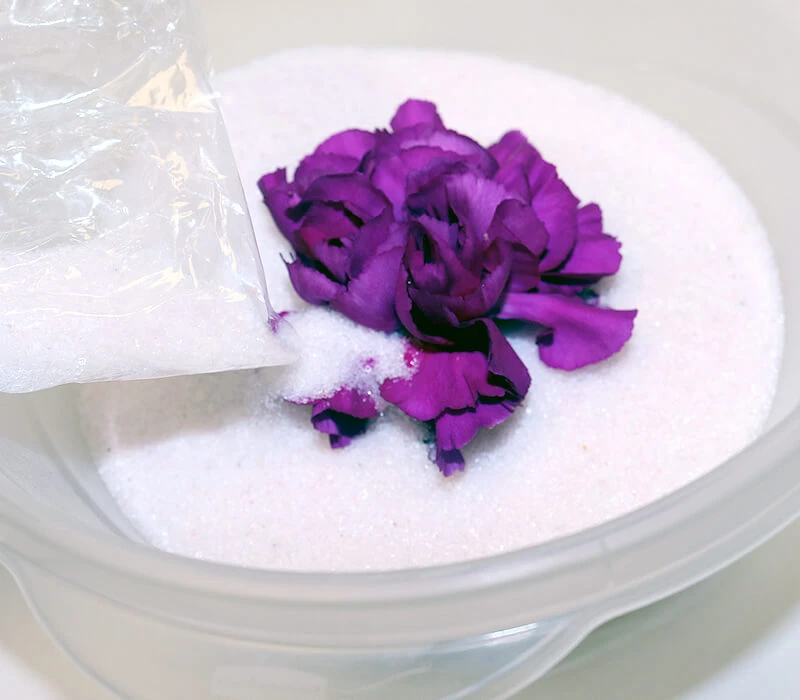
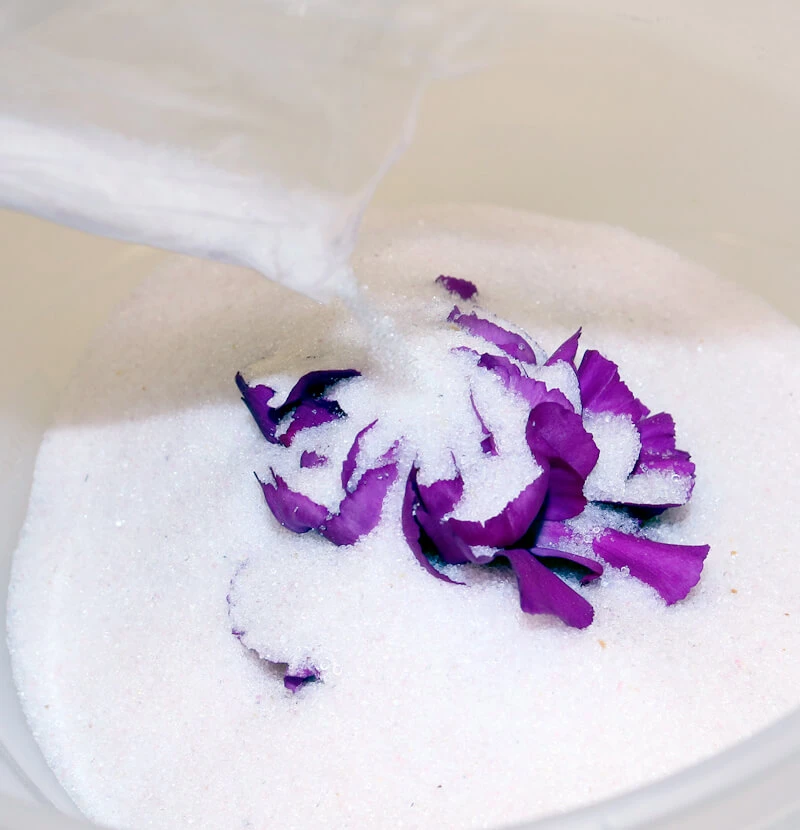
Step 2:
Pour Flower Drying Art™ Silica Gel into the microwave-safe container to a depth of one to one-and-a-half inches. Cut flower stems to about one to two inches in length. Place the flowers to be dried face up on the surface of the Flower Drying Art™ Silica Gel. Pour more Flower Drying Art™ Silica Gel around the base of the flowers, covering the centers of the flowers carefully. Take care not to crush any of the flowers' petals.
Step 3:
Put the container with the flowers into the microwave. Make sure there is no lid on the container. Then, place a glass of water (1 cup of water) in the back of the microwave.

Step 4:
Set the power level of the microwave to medium, and set the cook time according to this timetable:
|
Drying Time (Medium Power) |
Types of Flowers |
|
1 to 2 minutes |
Small flowers: pansies, violas, baby’s breath, buttercup, feverfew, heather, ferns, and other small open-faced flowers |
|
2 to 3 minutes |
Medium flowers: azalea, calendula, daisy, aster, bachelor button, larkspur, delphinium, foxglove, and other multi-petaled flowers |
|
3 to 3.5 minutes |
Large, dense flowers: roses, carnations, gardenia, marigold, hydrangea, hyacinth, chrysanthemum, orchid, snapdragon, stock, peony |
Adjustments will be made for things like the number of flowers in the container and the density and size of the flowers. The timetable is a guideline.
If flowers are dried in the microwave for too long, they will become over-dry and will lose their color or become discolored.
Step 5:
Remove the container of flowers from the microwave with pot holders. Make sure to use caution when removing the container, as the Flower Drying Art™ Silica Gel will be very hot. Set the container on a heat-resistant surface and do not disturb the Flower Drying Art™ Silica Gel in the container until it is completely cool.
Flowers will continue to dry as the Flower Drying Art™ Silica Gel cools. Once cooled, if flowers have not completely dried, re-cover the flowers with Flower Drying Art™ Silica Gel, refill the glass with water, and microwave on medium power for one to two more minutes - repeating this process until the flowers are fully dried, but taking care not to over-dry them.
Step 6:
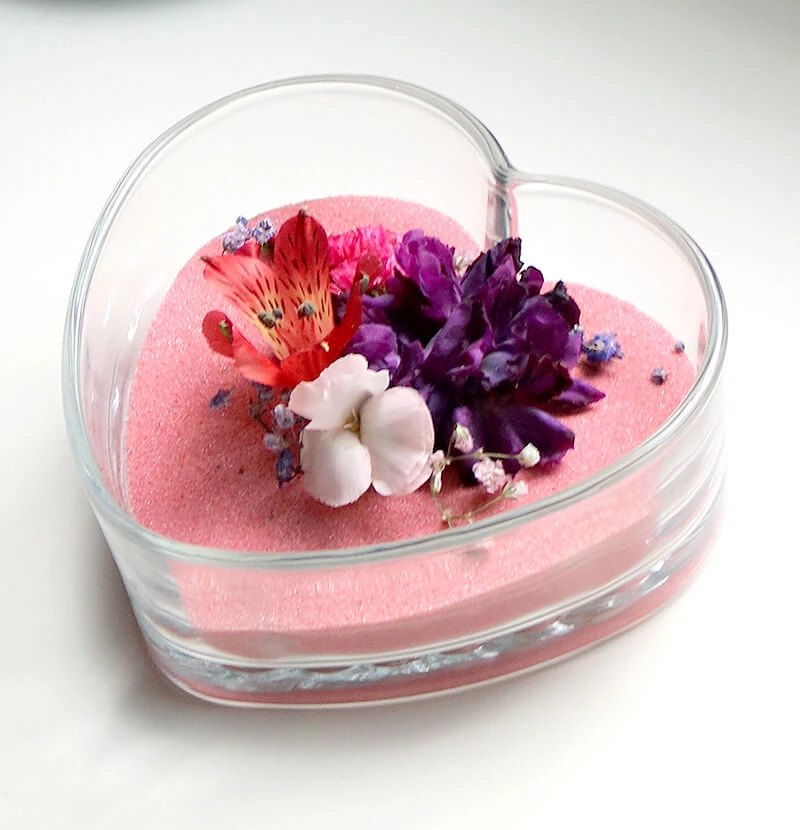
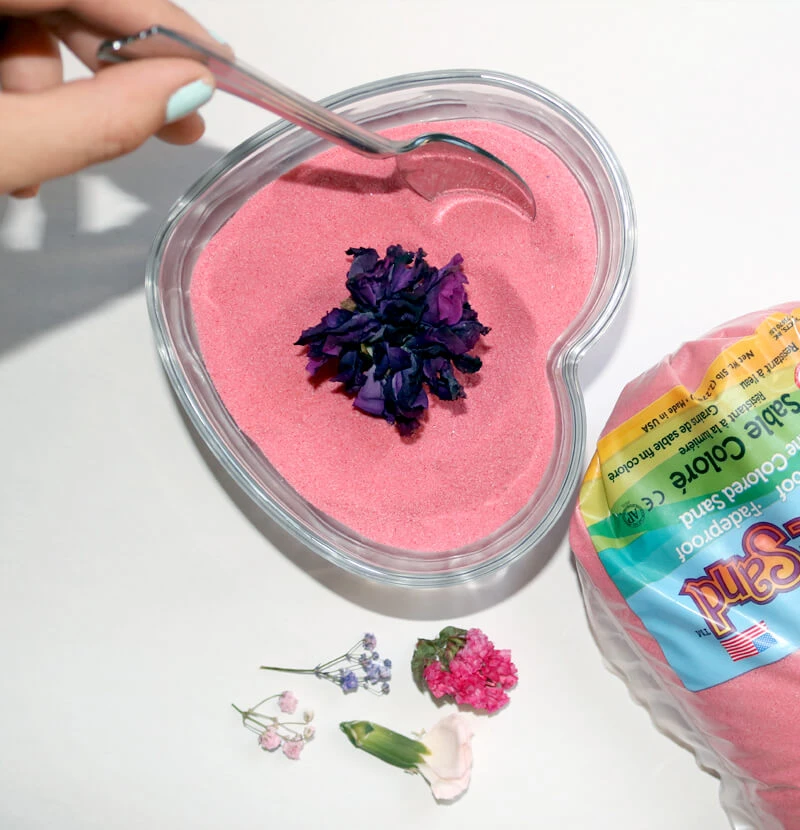
Once you've fully dried flowers in the microwave, make a beautiful creation with them! Place them in a vase with gorgeous shades of decorative colored sand, or make a beautiful dried flower craft project.
Don't forget that Flower Drying Art™ Silica Gel is able to be re-used by following the instructions in the package. There is truly no limit to the amount of dried flowers you can make!