The kids will be back to school soon, so help them deck out their backpacks with cute and totally customizable DIY Backpack Charms made with Rigid Wrap! It's easy to make them in any shape. 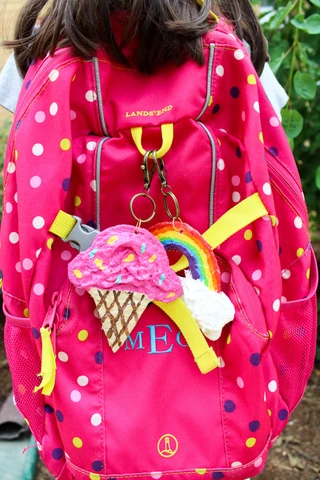
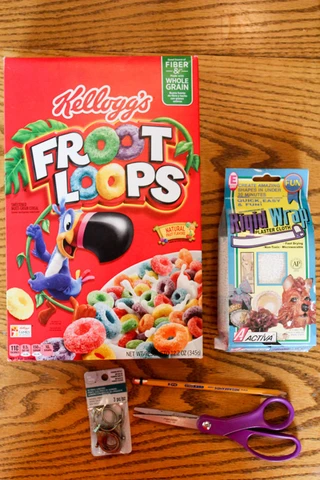
Supplies Needed for DIY Backpack Charms
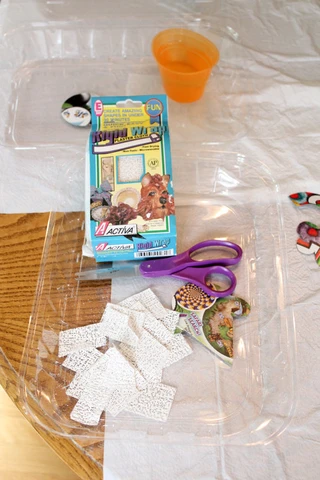
- Rigid Wrap plaster cloth
- Small bowl of water
- Cardboard (we used an empty cereal box)
- Pencil
- Scissors
- Jump rings
- Key ring hooks
- Acrylic paints in colors of your choice
- Paint brush
- Pliers
- Optional: Mod Podge
- Optional: Drill
How to Make DIY Backpack Charms
Begin by drawing or tracing a desired shape onto a piece of cardboard. We freehand drew our shapes, but you could download clip art online, print, and trace, if you prefer.
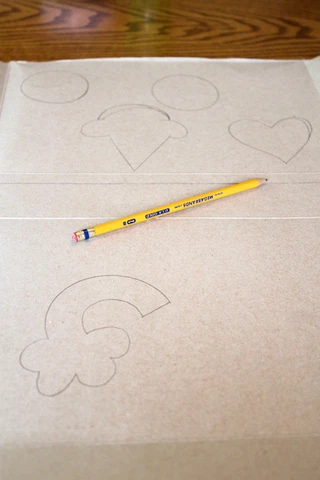
Cut out the shapes.
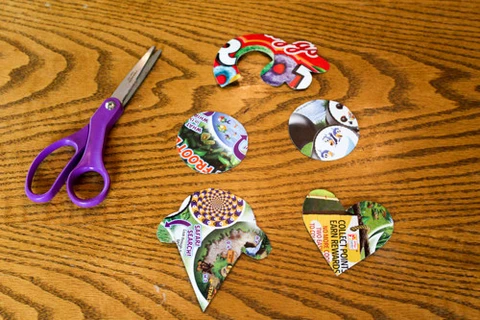
Cut several small strips of Rigid Wrap.
Dip a piece of Rigid Wrap in the water and run your fingers down it to remove the excess water. Place the wet Rigid Wrap strip onto a cardboard shape, wrapping the Rigid Wrap around the edge of the cardboard and smoothing it down.
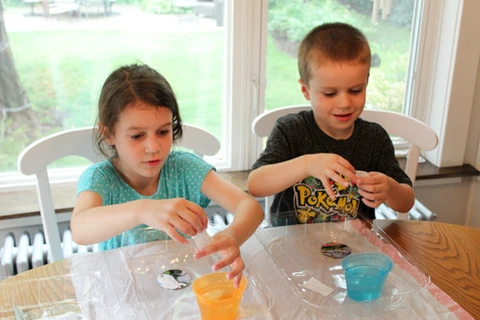
Layer Rigid Wrap in all different directions onto the cardboard until the cardboard shape is completely covered in Rigid Wrap. If desired, add additional Rigid Wrap for dimension and detail. Set aside to dry thoroughly, or dry in the microwave according to the directions on the package.
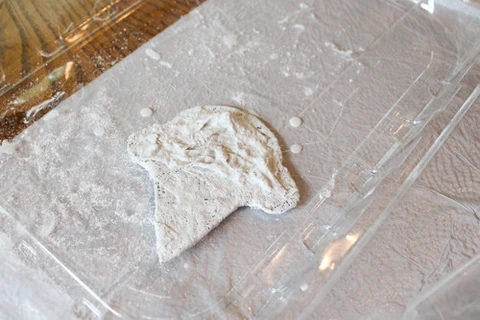
Once dry, drill a hole near the top of the charm. NOTE: If you prefer not to drill a hole, you could make a hole with scissors in the cardboard before it is covered with Rigid Wrap, taking care not to cover the hole while applying the Rigid Wrap to the cardboard.
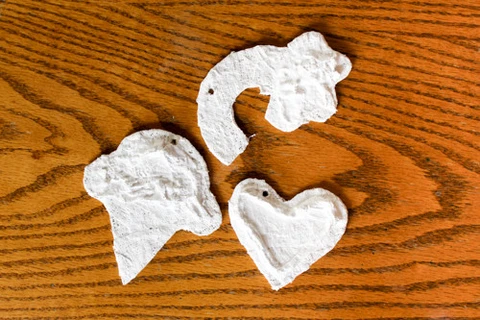
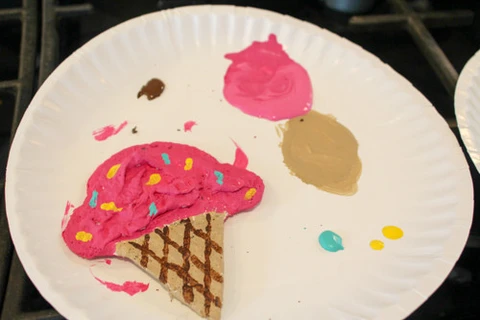
Paint the backpack charms however you like and set aside to dry!
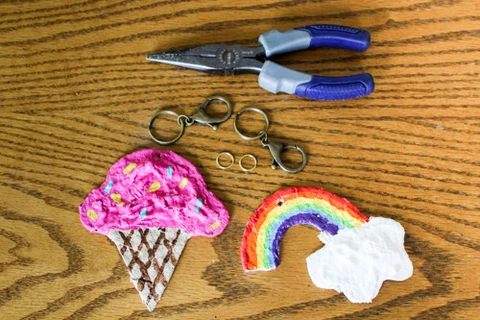
Once dry, put a jump ring through the hole in the backpack charm, and then attach the key ring hook to the jump ring.
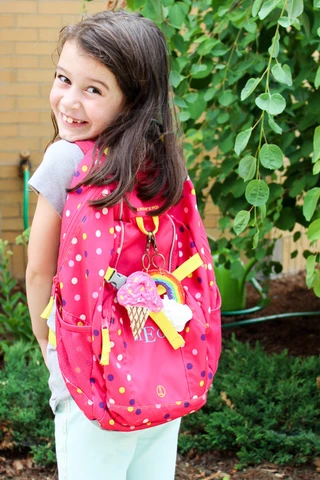
Let your children hang their DIY Backpack Charms on their backpacks and head off to school in style!
Shop for Rigid Wrap in our online store, and check out our Project Gallery for more creative arts and crafts ideas!


 />
/>
 />
/>