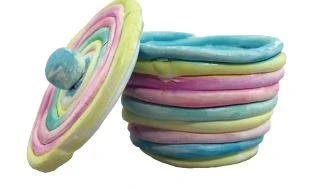
Activ-Clay Air Dry Clay Coil Pot
Make this cute little Air Dry Clay coil pot with Activ- Clay and then personalize it!

Material:
One package White ACTIVA Activ-Clay
Watercolor set
Shiny pearl, sparkly, or glossy finish
Toothpick
Instructions:
1. Roll the clay into thin snakes, (coils) about ¼” thick, 12” long.
around. Now start building up the sides. You will put the coils on top of each
other as you build up the sides.
think helps keep the clay together, you can also put a little water on the scored
clay, it acts like glue to also help keep the clay together,
together.
larger then the opening. Roll a ball and stick it to the top.


 />
/>
 />
/>