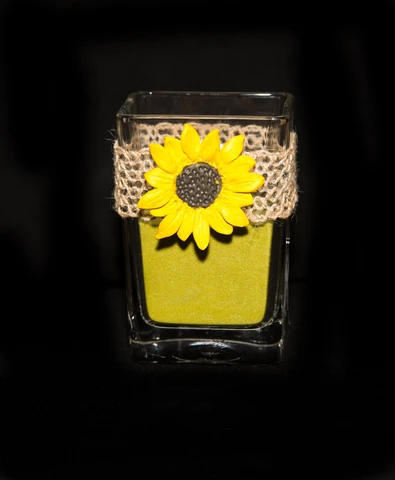
This air dry clay sunflower is sure to brighten any day!
Materials needed:
Color Plus air dry clay in yellow and black
ACTÍVA Product’s Clay Roller kit
Cotton sheeting cut into 3 8” x 8” squares
A small cup of water
Wooden skewer or needle tool
Pattern for circles 1” and 1 ¾” (think quarter or bottle tops)
Burlap ribbon
Rectangular glass vase
Hot glue gun
ACTÍVA Product’s colored sand in green
Clear acrylic spray to seal
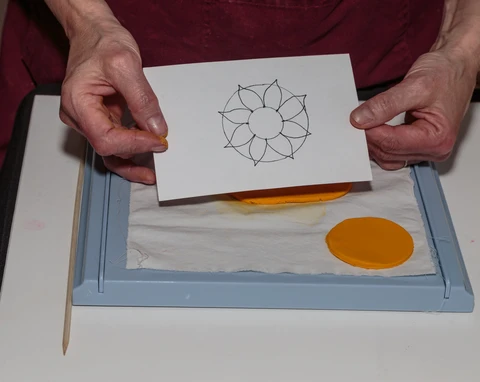
1. Condition the yellow clay in your hands by kneading and lightly spraying with water if it is dry. It should be smooth and pliable when you are finished. Use a designated square of cotton sheeting for each color of clay. Roll out a 3/16” thick slab of yellow clay using ACTÍVA Product’s rolling kit and cut a 1 ¾ “circle out. Set aside.
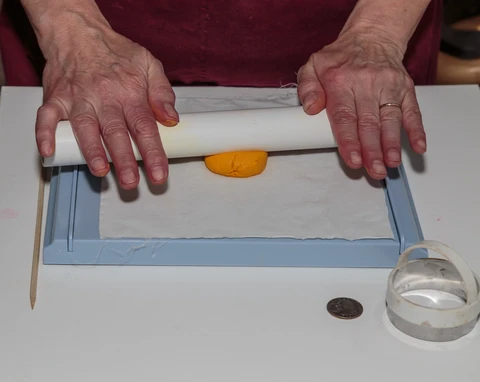
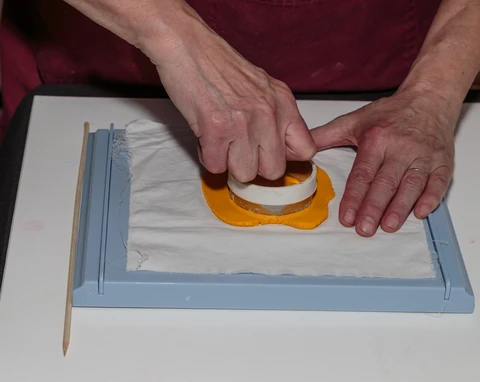
Roll out another 3/16” thick slab of yellow clay and cut out 16 petals for your sunflower. The 8 petals on the bottom row are a bit wider and have an arch cut out so they may butt up against the dark circle. The top 8 petals are thinner and shaped more like a leaf. Make the petals more realistic by taking a skewer and drawing lines on them. Set these petals aside. You will need to go wash your hands and clean your tools every time you switch clay color. Tools need to be cleaned after each use.
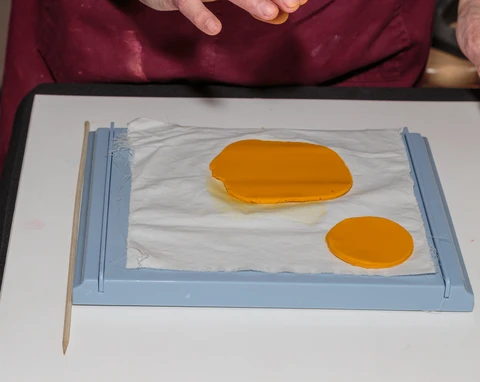
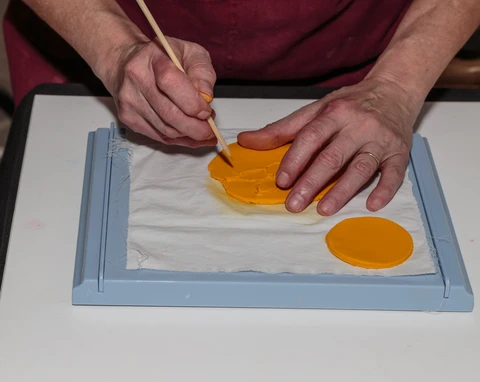
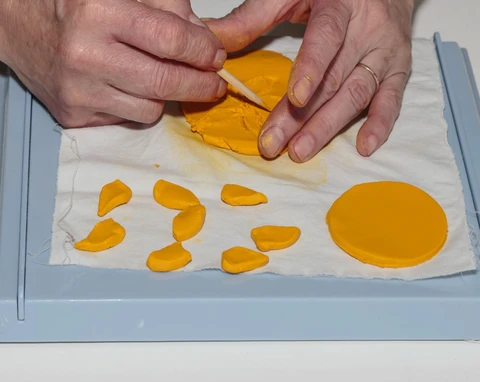
2. Condition the black clay by adding a small amount of yellow clay until you get the desired color to make the dark middle of your sunflower. Using a designated cotton sheeting for the dark clay, roll out a 3/16” thick slab and cut a circle the size of a quarter. Scratch or score the back of this dark circle and score the 1 3/4 “ yellow circle with a wooden skewer and lightly moisten each area and press the dark circle in the center of the yellow circle. Texture the dark circle with a dull pencil to make it appear to have seeds. This is the beginning of your sunflower.
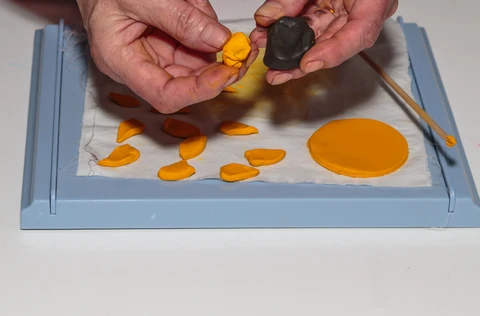
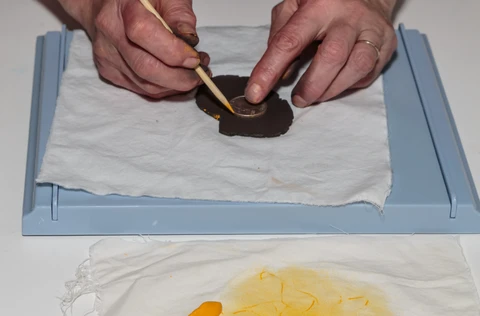
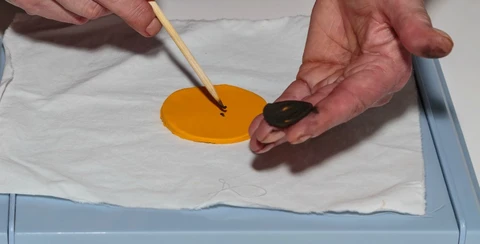
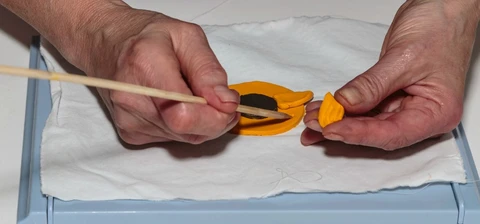
3. Score the bottom layer of petals and the yellow base and lightly moisten both sides and begin pressing the petals around the dark circle. Continue to the second row of petals alternating between bottom petals. Be sure to keep your hands and work area clean as the colors may smudge.
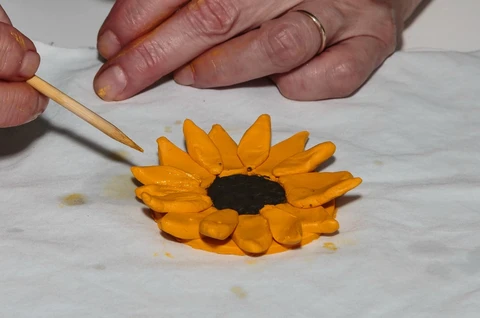
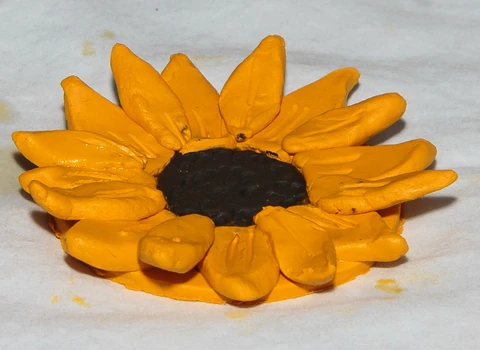
4. Let your art project dry thoroughly. Spray with clear acrylic spray to seal it.

Artwork created by Karen Lowrey
Photography by Don Auderer


 />
/>
 />
/>