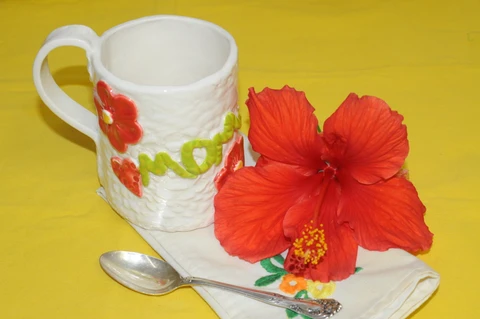
Show mom some love this Mother’s Day by making a very special mug just
for her!! This mug is slab rolled and textured with a crocheted doily. This
mug is functional and will be cherished for years to come!!
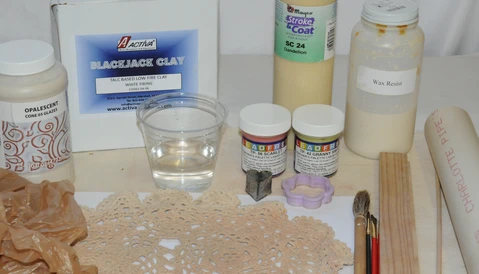
Materials needed:
3 lbs of Blackjack low fire clay
Doily and cookie cutters to cut and texture clay
Ruler
Cotton sheeting or canvas, 15” X 15”
A small cup of water
Wooden skewer or needle tool
Plastic bag
PVC pipe 12” long
Wooden slats – 3/16” thick and 12” long
Access to a kiln
Lowfire glaze of your choice (I used Amaco’s Transparent Pearl, TP-56 Scarlet, TP- 42 Granny Smith and Mayco’s Stroke and Coat SC-24 dandelion
Pint bottle to use as a mold
Wax resist
Paint brushes
Cut off wire
8 ½” X 11” piece of paper folded in half lengthwise
To begin this project, take a pint bottle and place it in a plastic bag and tie the top.
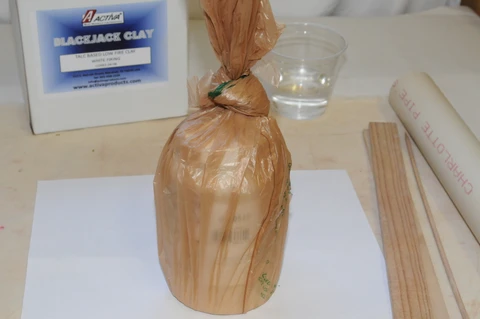
Next take your 8 ½ “ x 11” sheet of paper and fold in half lengthwise. This
will be your pattern for the mug. Wrap this around the pint bottle and make
sure it overlaps a 1/2´”.
Take your block of clay and slam it onto the table making the shape of the
block more like a long rectangle. This will help when you begin rolling it out.
Now cut a thin slab of clay off of the block of low fire Blackjack clay.
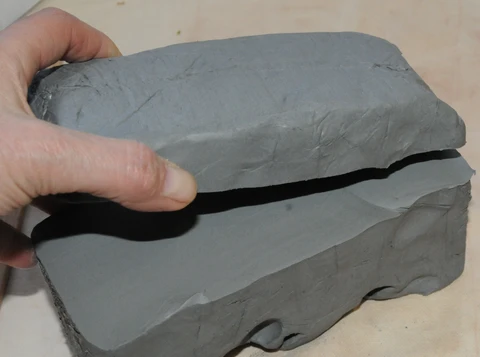
You can use a cutting wire made of fishing line and two thin dowels that have
a small hole drilled in each. Try to make the thickness uniform so that you
won’t have to roll the clay out too much. Place the clay on a piece of canvas
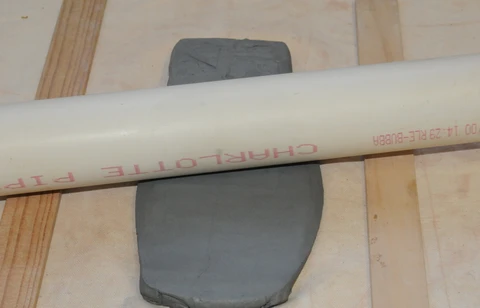
or cotton sheeting. Using the 3/8” slats and rolling pin begin to roll the clay out
into a rectangular shape. Make sure to keep the rolling pin on the slats to roll
the clay evenly. Don’t pick the clay up to move it, just slide the canvas around
to roll the clay out.
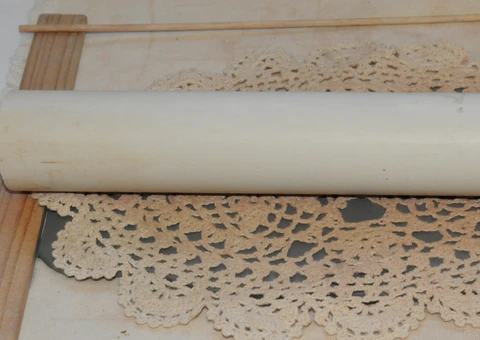
When you have the clay wide and long enough for your mug pattern, take the
doily and roll into the clay. You should continue to use the wooden slats for
guides even with the doily so the clay will not get too thin.
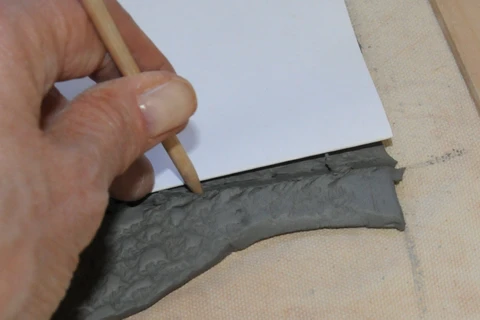
Cut the pattern out using a needle tool held at a 90 degree angle. Set this
aside to dry a bit so that your clay will get stiffer. Take your finger and slightly
moisten the edges to smooth them a bit. Wrap this piece of clay around the
plastic wrapped bottle to see where the seam will be. With the rolling pin,
slightly taper the edge of the clay and score with a needle tool on both edges
to be joined together. Take your finger and slightly moisten the edges that are
going to be joined.
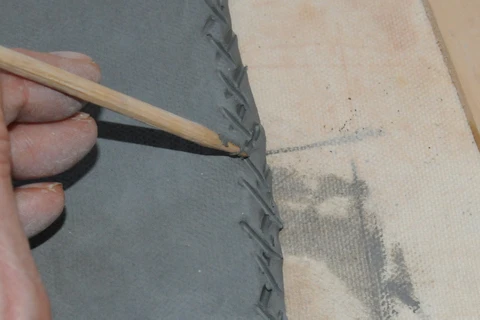
Press these two edges together firmly.
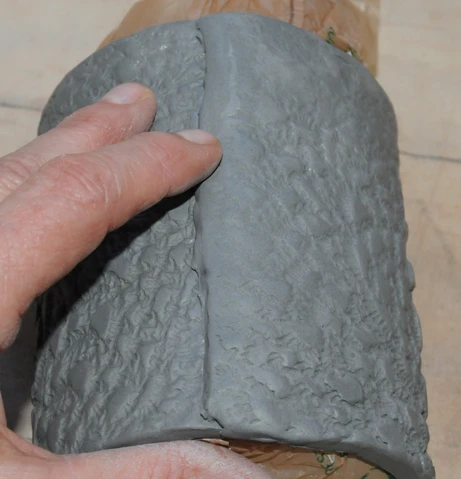
Use a piece of the doily to blend the edges together.
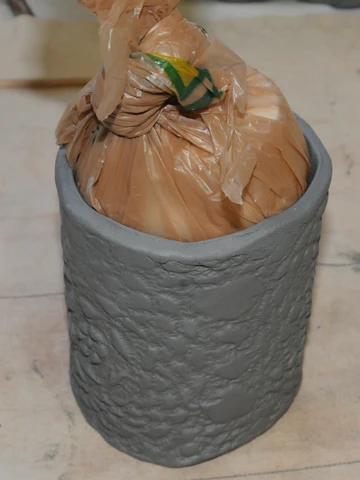
Repeat the process of slab rolling and pressing the doily into the clay to
make the bottom of your mug. Take the prepared mug form and set on
top of the rolled out clay.
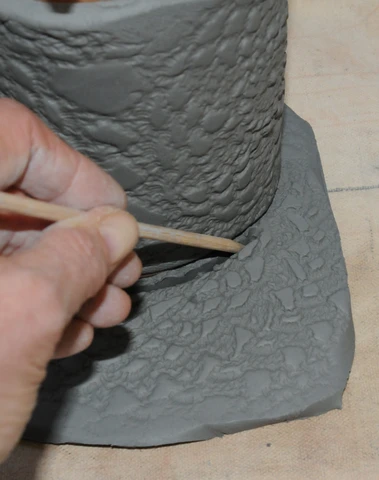
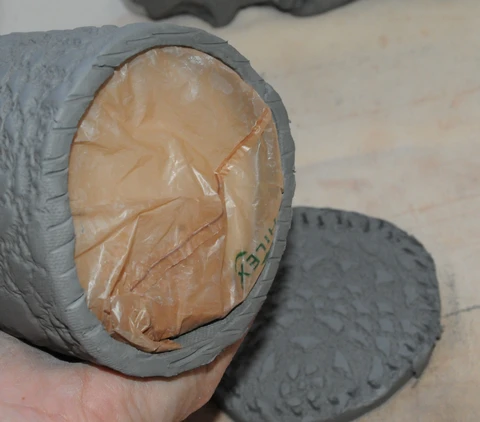
Score the bottom slab and the adjoining wall and slightly moisten to join the
two pieces. Make sure you don’t get the plastic bag caught in the seam.
Open the plastic bag and pull the bottle out and make sure the plastic is not
caught in the seam. Blend the bottom seam up with your thumb. Roll out a
thin coil of clay. Score and moisten and then press into the seam at the wall
and bottom to reinforce the bottom.
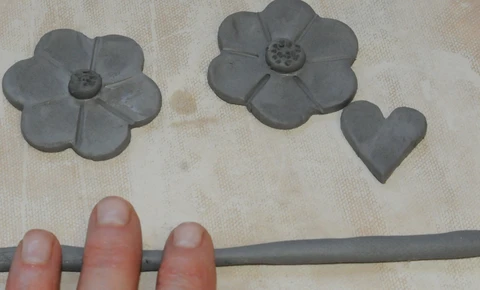
Using cookie cutters and coiled clay begin decorating your mug. Make sure
to score and slip each piece that is added on.
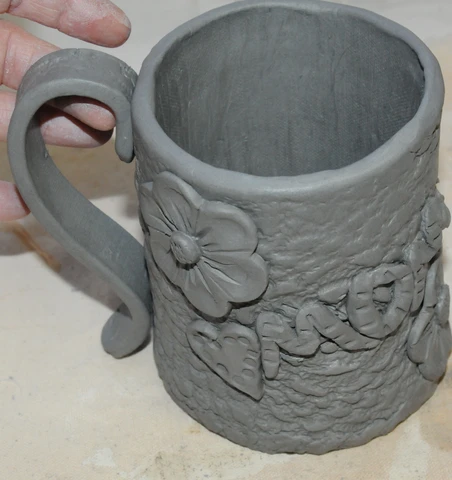
Make a handle by cutting out a 3/8” thick x 7” x ½“ piece of clay. The handle
could be slab rolled and textured or coiled. Attach the handle to the mug by
scoring and moistening both sides and firmly pressing it onto the side. Let
this dry completely. Bisque fire in a kiln to a cone 04.
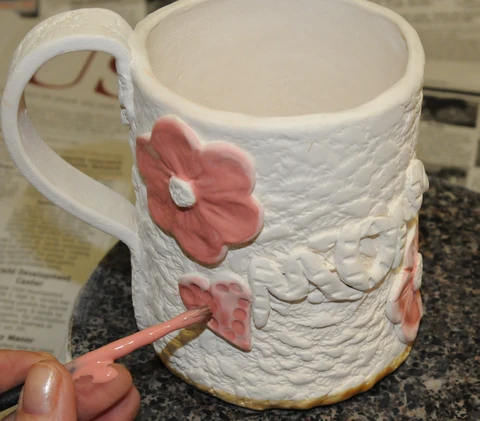
Glaze your piece of pottery with appropriate low fire glazes. I used a scarlet,
apple green and a dandelion yellow glaze and brushed wax resist over these
glazed areas and then brushed onto a white pearl glaze. Let dry. Glaze fire
to a cone 05. Your mom or loved one will cherish this for years to come!!
Happy Mother’s Day, MOM!
Artwork and Photography by Karen Lowrey


 />
/>
 />
/>