
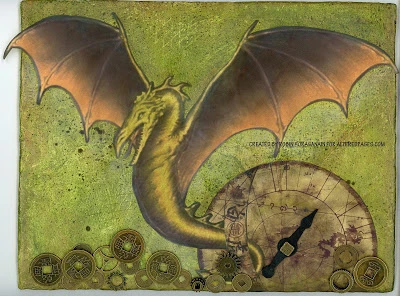
Who doesn't love Dragon's? First I had to make the canvas to hold him.
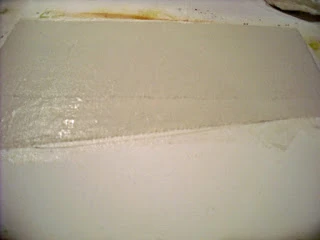
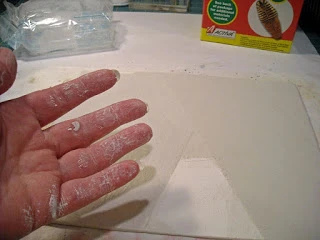
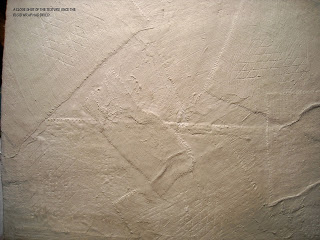
For that, I chose an 8x10 canvas board and added layer after layer of ACTÍVA
Rigid Wrap for texture. It was very easy to apply! And it's always fun to get in
and work a project with your hands. I stamped in a fine diamond shape while
the plaster was still wet in a couple of places. Because it was very wet from
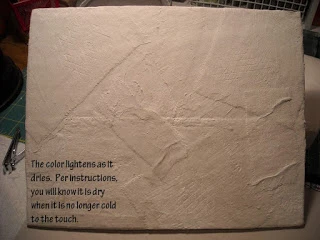
all of those layers, I set it off to the side to dry for about 24 hours.
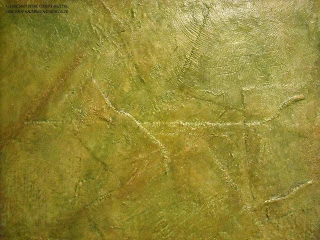
Then I added a layer of gesso and after that, I began to add color.
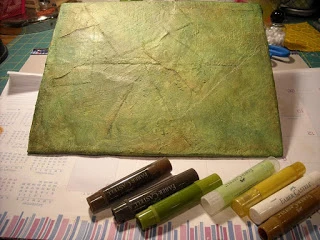
Art Anthology shamrock green is the base color. It goes on smooth
and has a light sheen to it. When that was dry, I added pigment from
my green, brown and gold Steampunk Gelatos. The entire canvas board
was sealed with a spray to prevent the Gelatos from smearing or rubbing off.
A touch of Irresistible spray was added for more texture.
Art Anthology green paint as the base color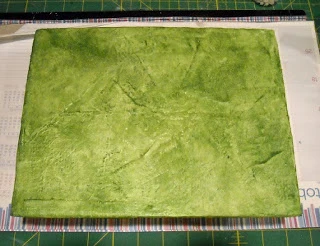
With highlights
Dried - without color
Dried - with color
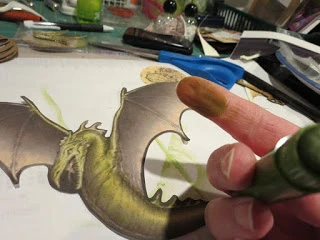
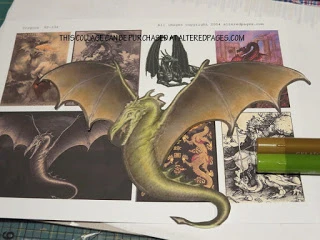
The dragon was resized in my print program to a full page size
and printed on heavy card stock. I applied Gelato pigment to my
fingertip and then rubbed it on the image to avoid streaks. I also
chose a background that had a dragon image on it and cut them both out.
The images were glued down with gel medium and the coins, gears
and tokens were attached with Tacky Glue.
 />
/>  />
/>