This DIY wedding décor project is so quick and easy that you can make loads of mini white wedding cakes in just one afternoon by simply stacking the circles and embellishing the layers with pretty pins. The Hearty White Lightweight Clay is perfect for this project – it’s bright white and super smooth so it looks just like cake fondant when dry. But if you enjoy a little sculpting and decorative painting, you can also customize a special cake for each table. It even looks good enough to eat – you might need to remind your guests to wait until the real cake is served!
Supplies
- Hearty White Lightweight Clay
- Fluted circle cookie cutters (3 sizes)
- Non-stick work mat
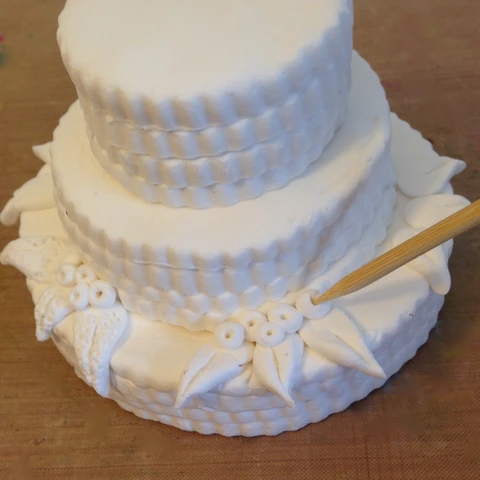
- Wood skewers
- Craft paint
- Pearl-head straight pins
- Mini paper flowers
- Die-cut numbers
- Dimensional foam adhesive pads
- Craft glue
1. Flatten handfuls of clay to about ¼” thick with the heel of your hand. Using 3 fluted cookie cutters (small, medium and large), cut 3-4 circles of each size. If you want a more perfectly uniform thickness for your circles, use a rolling pin and parchment paper instead of your hand.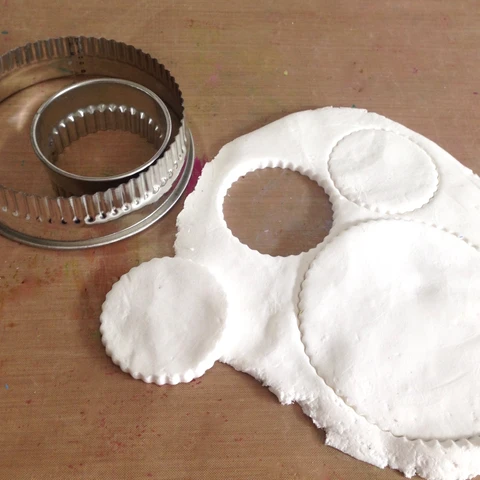
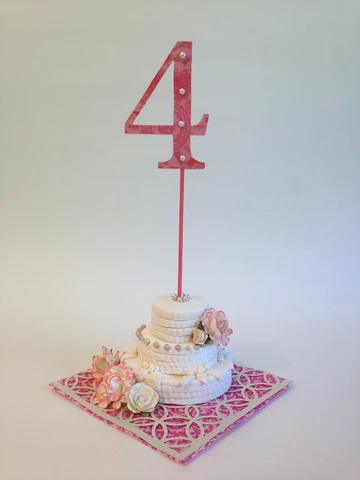
4. Adhere two die-cut numbers back to back with foam pads, leaving space at the bottom to fit the number on to the top of the cake skewer and secure with a little glue.
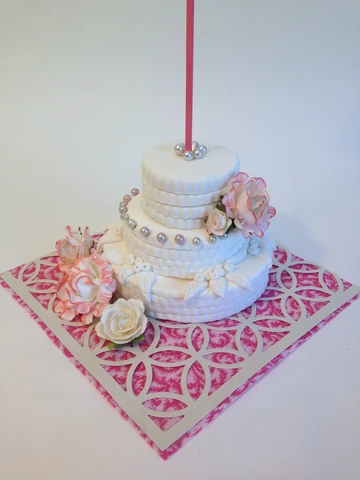
5. Allow the cake to dry for 24 hours and leave white or paint it to match your wedding colors if you prefer. Embellish with mini paper flowers and it’s ready for your tables at the reception.
 />
/>  />
/>